Saturday, February 9, 2013

Bolt Action Germans

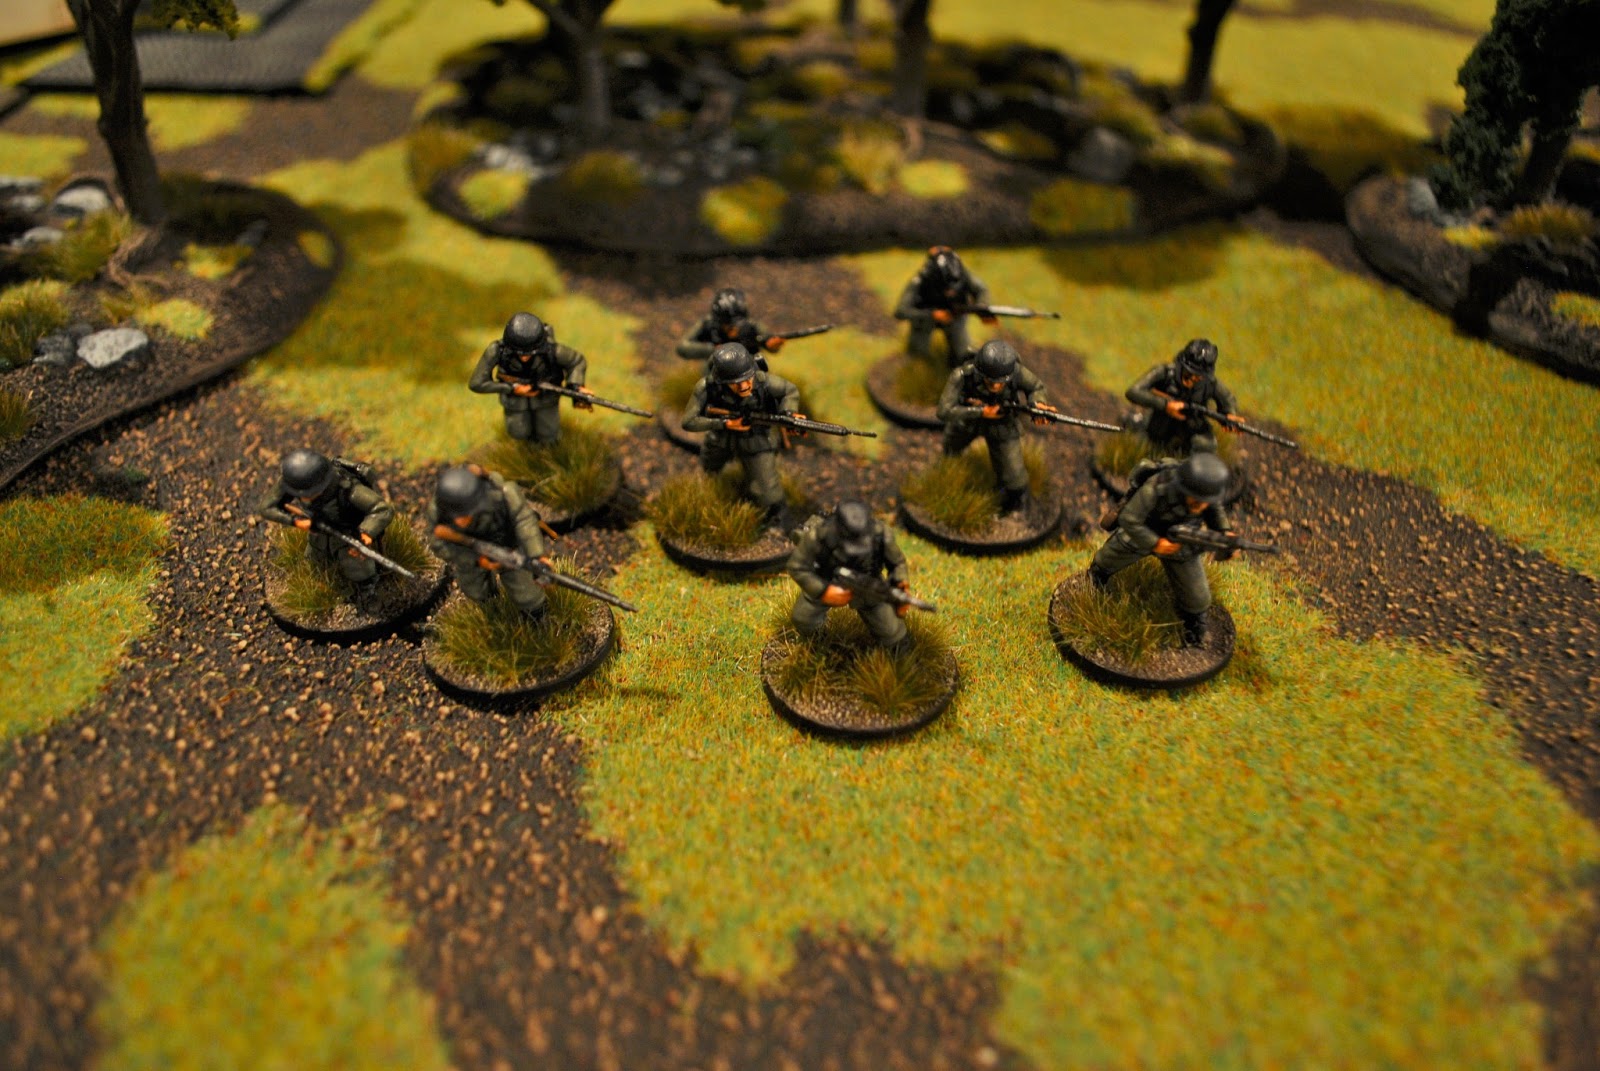
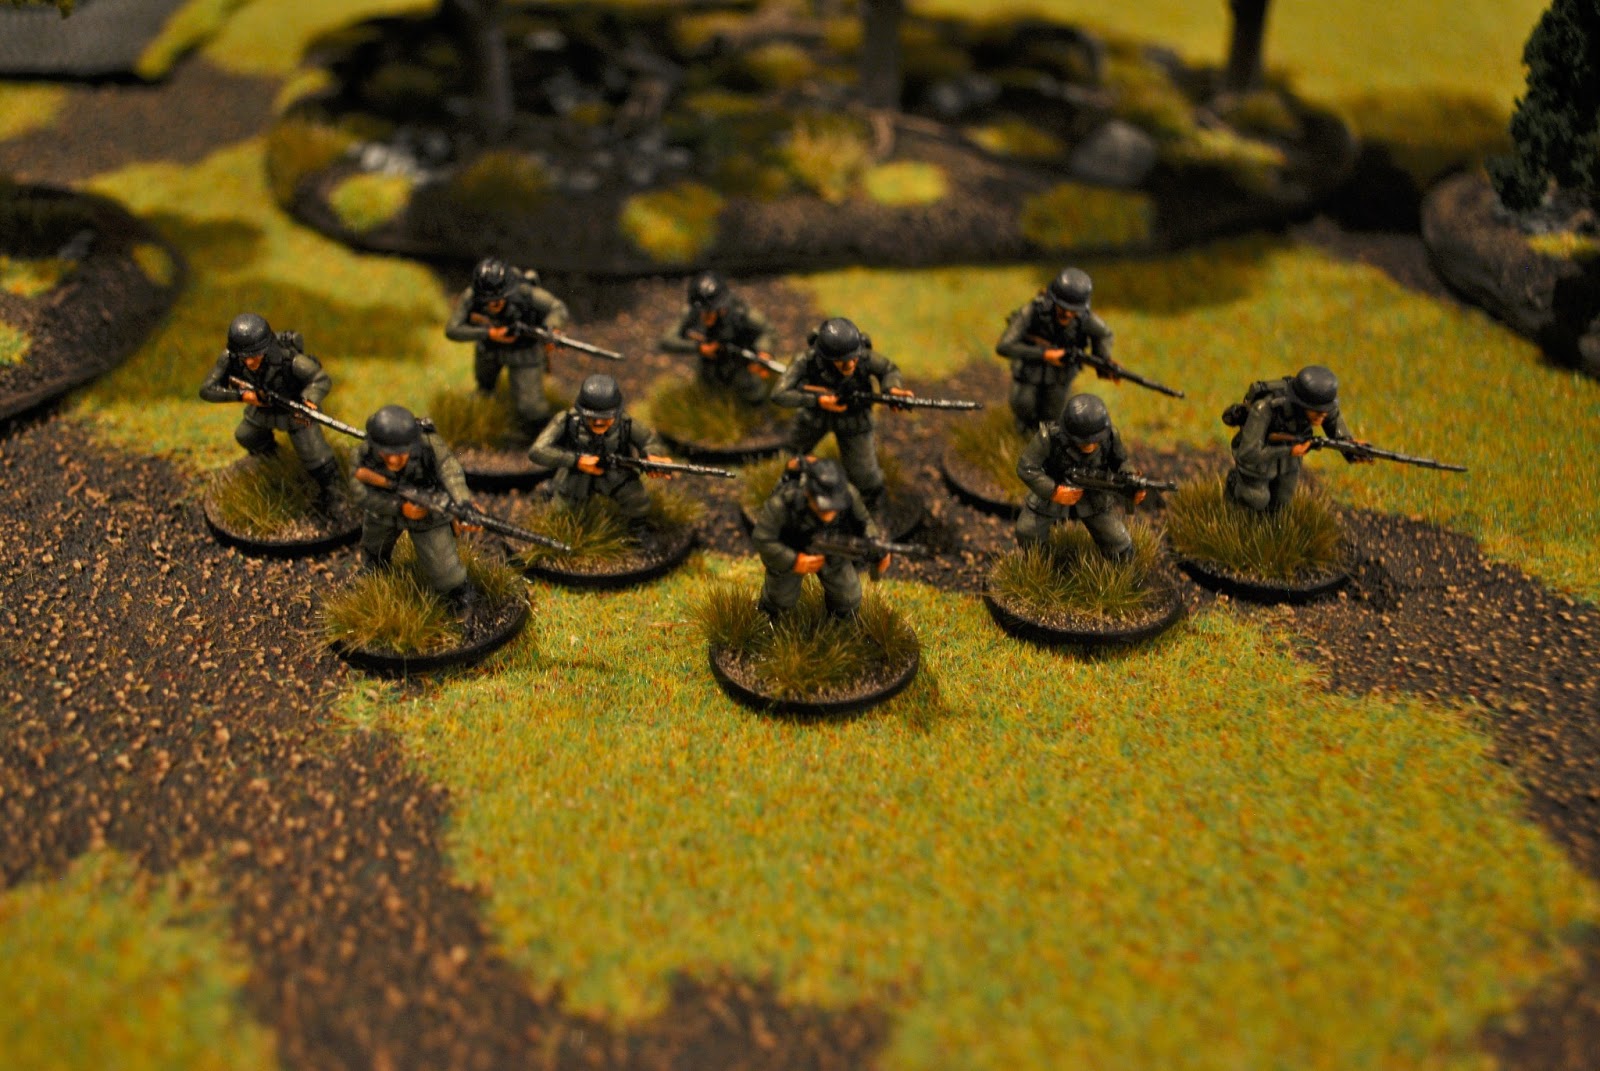
I've managed to get my first wave of Germans completed for Bolt Action.  This is the basis for my grenadier company - I'm painting a PaK40 at the moment - crew is done, but that will be added to the current group soon.  I'll have British done shortly (working through basing now) - same sized force for the most part.  I hope to follow up this batch with British airborne and German Fallschirmjager - 500 points each.  I also have several vehicles in the works that should make for some interesting supported options.

Right now I have:

1 x Officer with two extra riflemen
1 x Medic
1 x FOO
1 x 10 man section (2 x SMG, 1 x LMG, 7 x riflemen)
1 x MMG (MG42)
1 x Mortar (81mm)

Pictures below - enjoy!

The platoon sized force so far ...

81mm Mortar Team

MG42 MMG Team

MG42 MMG Team

Specialists - Medic and FOO

Medic and FOO

My (optional) Panzerfausts

1st Section

2nd Section

3rd Section

Officer with additional riflemen

In addition to the infantry, I also have a few vehicles ready for action.

King Tiger

Hetzer - "dang near killed her!"

Sherman (ok, not German ... but done)

That's all for now ... but stay tuned for more soon.

Sunday, February 3, 2013

Bolt Action WW2 Rules - First Impressions

I was able to get my first game of Bolt Action this evening.  I've read the rule book a couple of times to date and I'm in the process (as evidenced by the pictures) of basing my British and German armies.  I found the rules easy to read, well thought out and quick to pick up.

I decided to keep things simple for the first game.  The troops used are as follows:

BRITISH (all regular)

1 x Officer (2nd Lieutenant)
2 x Riflemen

1 x Forward Artillery Observer (free for British)

1 x NCO (SMG)
1 x LMG
8 x Riflemen

1 x NCO (SMG)
1 x LMG
8 x Riflemen

1 x NCO (SMG)
1 x LMG
8 x Riflemen

1 x MMG

GERMAN (all regular)

1 x Officer (2nd Lieutenant)
2 x Riflemen

1 x NCO (SMG)
1 x SMG
1 x LMG
7 x Riflemen

1 x NCO (SMG)
1 x SMG
1 x LMG
7 x Riflemen

1 x NCO (SMG)
1 x SMG
1 x LMG
7 x Riflemen

1 x MMG

Only a few pictures since this was just an "introduction" game ... I'm working on my WW2 terrain and look ... for this game I had put out some of the 4Ground WW2 buildings and my new cobblestone roads.  Both John Lantz (playing the British) and I had a grand time - the game was fluid and fun.  The dice activation system is outstanding.  I need to spice up my pin markers (ended up using small white dice).

I've heard that many think the MMG's in the game to be under-powered because they don't mow down entire units.  I think they have struck a nice balance with them.  They could be a touch more powerful but I think it would be hard to accomplish that - for example, my first thought would be to inflict two pin for each shot (vs. the standard one) ... but I think they would swing it too far in the other direction.

Close combat is deadly.  If you are the loser of close combat your unit is destroyed.  Although one may think this a little harsh, I like it ... hits are automatic in close combat so you are just rolling for casualties.  SMGs are especially important at this point as they get two dice in close combat ("assault" rule) ... they made a big difference for the Germans who had two in each section.

John and I focused on getting through the game, taking some extra time to make sure we did things correctly ... but even with that the game moved along at a steady pace.  The Germans won primarily because they caught a British section in the open attempting to enter one of the buildings (they were partially behind a building, but the Germans got around to their flank so they could fire at them in the open).  They got shot up very bad and essentially failed their order tests which kept them in the open (although "down").  After that section got hit a second occupied a house, which a German section was able to sneak up on (from the side of the house with no windows).  The German section engaged in the British in the house in close combat, starting <6" from them (so no reaction fire from the British on the move in).  I rolled hot and managed to win (thanks to those two SMGs).  Normally in close combat the attacker inflicts casualties before the defender can strike back (favoring the attacker significantly IMO), but when the defender is defending an obstacle or building the combat is simultaneous.

One thing we forgot to do throughout the first half of the game was to remove a pin marker from a unit that is pinned that successfully passes an order test (for something other than a down order, which is automatic when you are pinned - since you don't take an order test you don't loose a pin).

Only a few pictures as I'm still in the process of basing and doing terrain ...
Starting the game with the Germans on the
near side and British on the far side.


The battle climaxed over the central buildings with the
Germans assaulting the buildings and winning.
I look forward to many more games of Bolt Action in 2013!


Tuesday, January 22, 2013

Battle Report 1/20/2013 - SAGA

Still at my local game store (after playing Muskets and Tomahawks and a couple of board games) and with enough time to easily play a game of SAGA, we setup and got underway.  We played the scenario "challenge" where each Warlord starts the game in the middle of the table with the other units starting within M of their respective table edges.

The Anglo-Danes fielded:

1 x Warlord
4 x Hearthguard
4 x Hearthguard
8 x Warriors
8 x Warriors

The Vikings fielded:

1 x Warlord
4 x Hearthguard (Berserkers)
4 x Hearthguard
4 x Heardguard
8 x Warriors

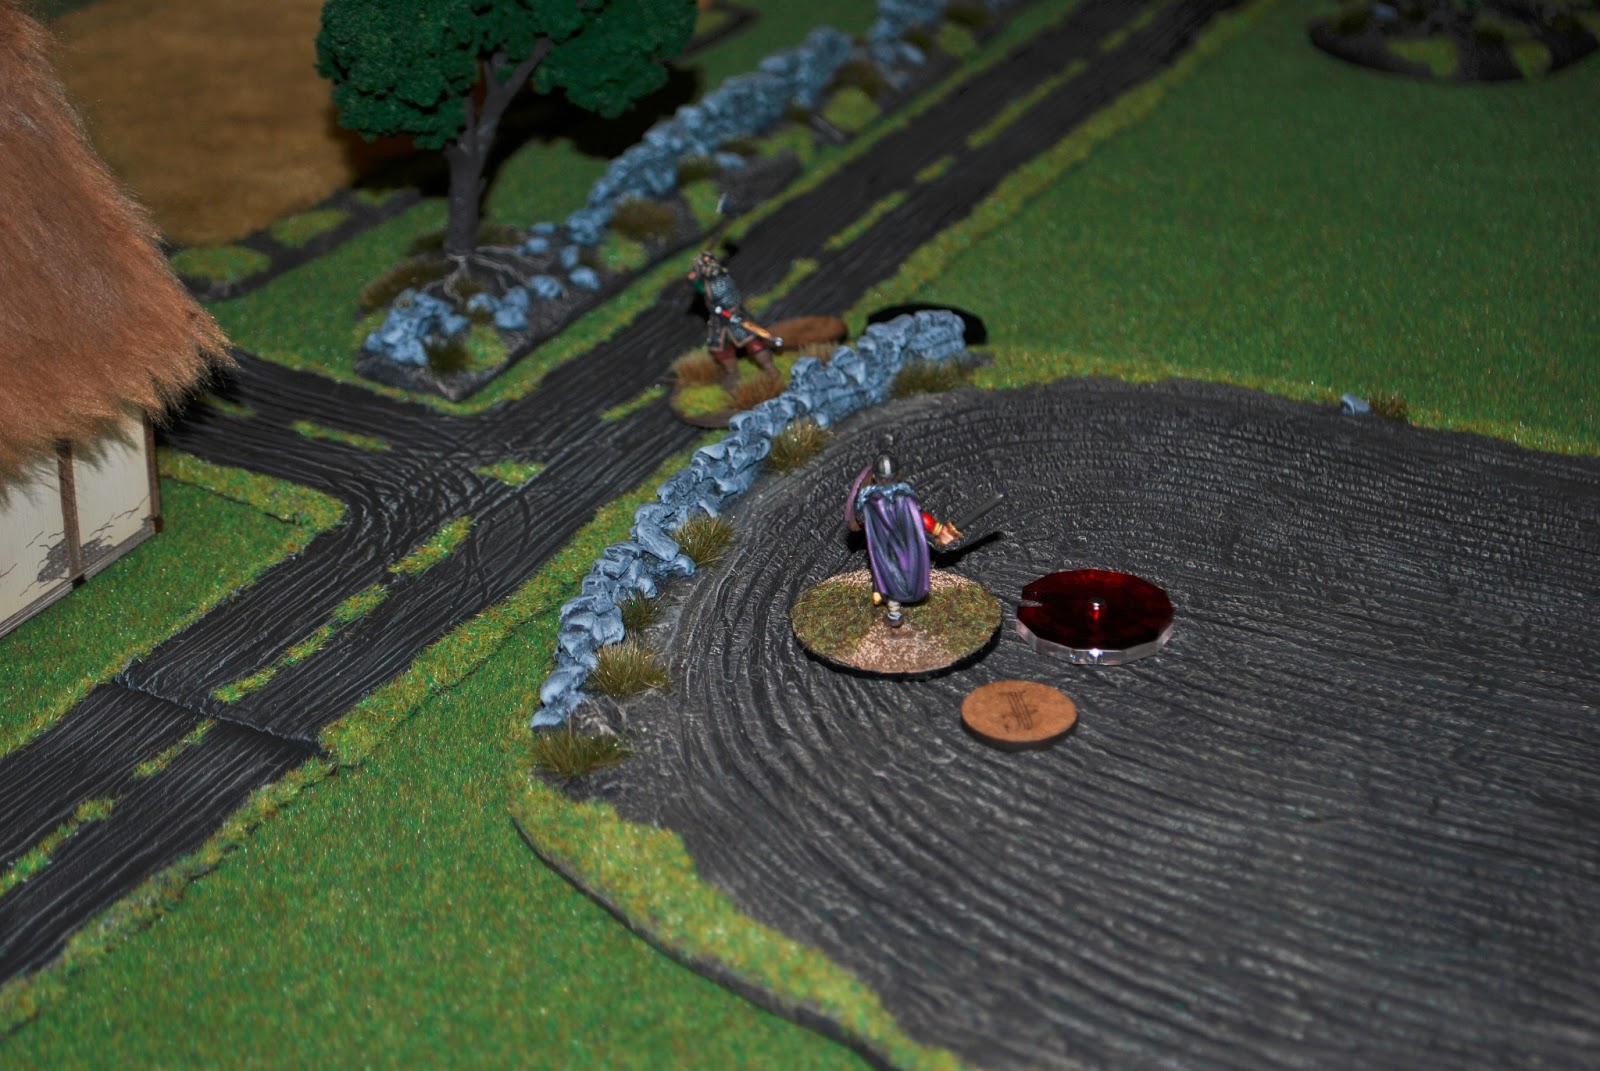
We moved up our units but both sides ultimately focused SAGA dice allocation on melee abilities for the Warlords.  Each Warlord starts the game with 12 wounds so as to make them last as normally, without any willing friendlies around to jump in front of mortal blows, they would die very quickly.

Some epic combinations of abilities saw each side rolling lots of melee dice but the fatigue took it's toll with armour values and ultimately each Warlord lost a few wounds a round on average.  What really turned the tide was the Vikings got a unit of Warriors within range for their Warlord to take advantage of his Resiliency ability - and that was it - the Anglo-Danish Warlord was still without support and just couldn't sustain the hits.

Pictures below.

Table setup.

The warlords start their challenge.

Deployment of supporting unit.


Both Warloads slug it out in epic fashion - both sides
plugged lots of dice into SAGA abilities for melee.


The Vikings manage to get up
some "fodder" first, turning the tide.

It pays off - the Anglo-Danish Warlord
is killed - revenge from the last game!

Battle Report 1/20/2013 - Muskets and Tomahawks

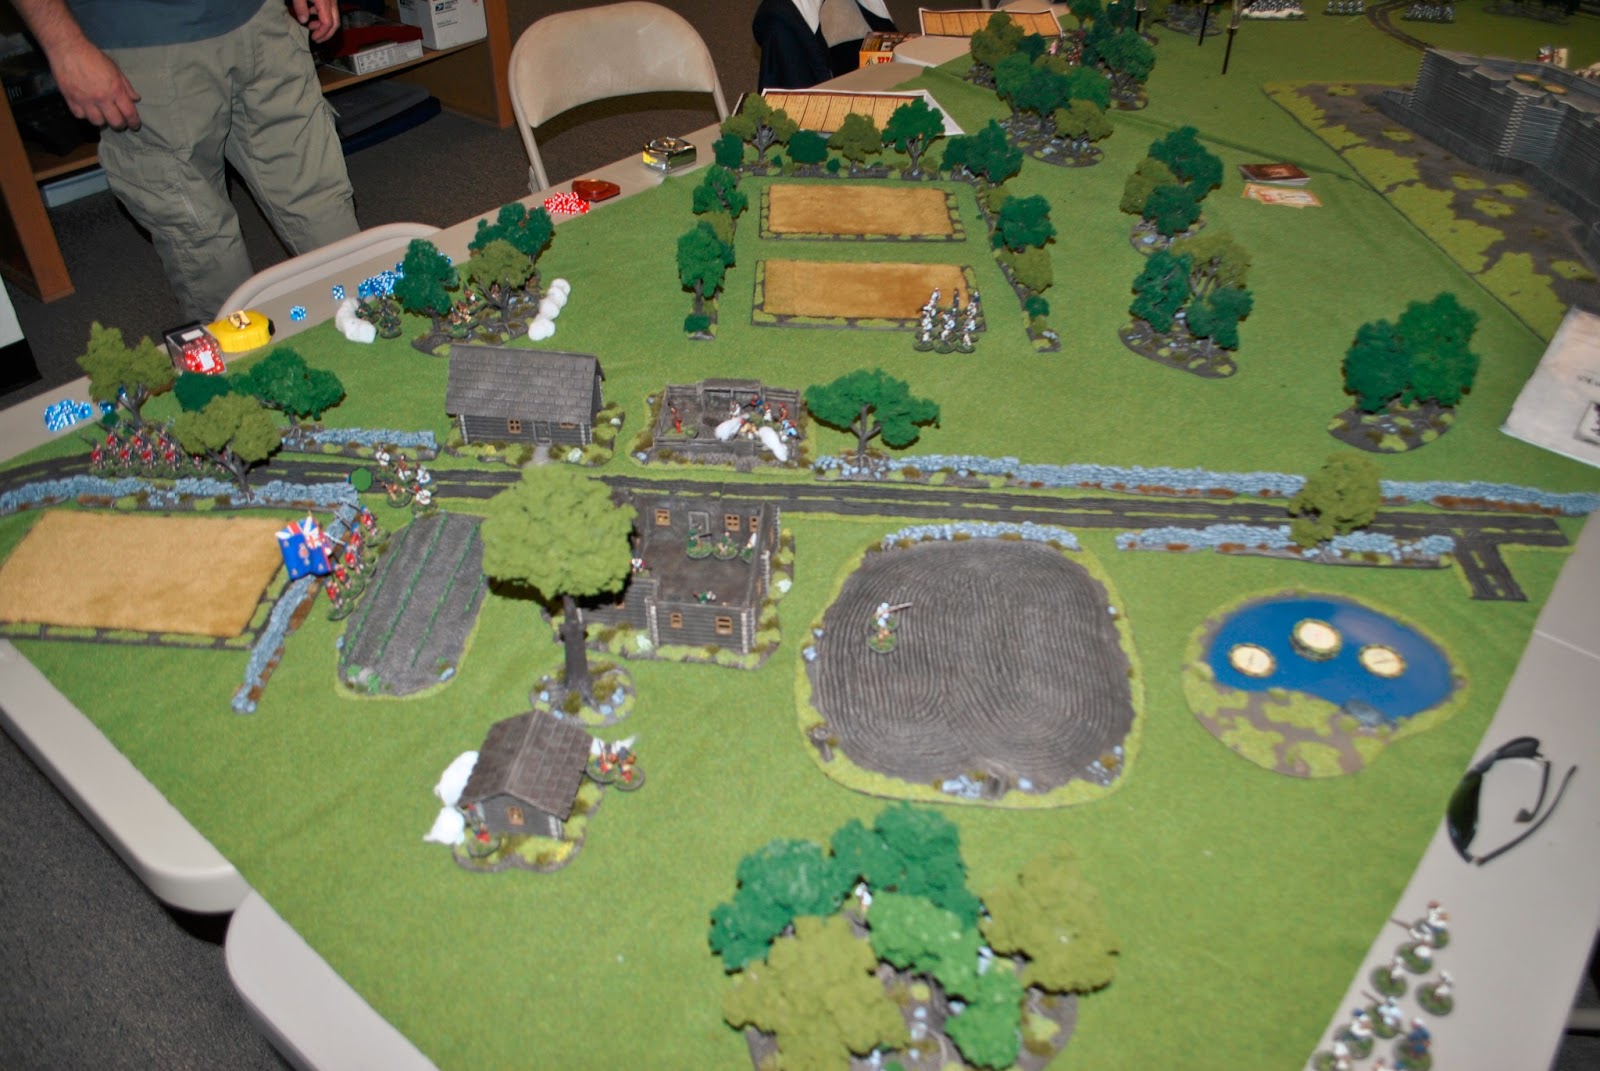
I decided to pack up my stuff and head down to the local game store (Game Kastle in Fremont, CA) for a day of gaming.  First on the agenda was a game of Muskets and Tomahawks.  I figured I would put out my Fort William Henry model.  Not knowing exactly how many people were going to show up I put together a 12'x4' table, with the main "game" being about 450pts and occurring around a town that resided near the fort.  For the main fort action I decided to have a "regular slug feast" out in front of it ... that is, several units of regulars lined up in the open against each other ... expecting a total bloodbath.  We were not disappointed on that front.

For the one side, with the regulars, each side fielded 3 x (12) regulars and 1 x (12) Grenadiers that started about 20" away from each other.  The dice favored the British slightly (even though the French got the first regulars card and did some serious damage), with the French failing two key reaction tests on turn three.

For the main event, we had a mixed force of French Compagnie Franches de la Marine and Indians split into two groups.

The French forces:

Group 1:
12 x Compagnie Franches de la Marine
1 x Indian Leader
6 x Indians
6 x Indians

Group 2:

12 x Compagnie Franches de la Marine
1 x Indian Leader
6 x Indians
6 x Indians
6 x Indians

The two groups deployed in opposite corners to each other.

The British forces:

1 x Regular Officer
2 x Civilian Ladies
12 x Regulars
12 x Grenadiers
8 x Rangers
8 x Rangers
8 x Light Infantry

The British deployed on the corner "in between" the two French corners.  The British objective was to escort two ladies to the fort by exiting the road on the far side of the table (across the 4' span).  They started 8" in from the corner edge with Highlanders deployed on the road (officer in the middle with his ladies), rangers flanking the regulars, and light infantry scouting ahead.  The French needed to cut the road and prevent the British officer and ladies from reaching the fort.

The British regulars got bogged down on the road with the lead unit attempting to deploy into the small field by the road.  The Rangers and Light Infantry had several rounds of vicious hand-to-hand fighting over the singe large building in the town.  The French Compagnie Franches de la Marine and Indians did a great job of keeping the British occupied.  Both sides suffered massive casualties in the several rounds of melee (lots of tomahawk throwing --- with a couple of rounds in which both sides start inside the house).  A spectacular affair indeed.

In the end the 2nd group of French forces managed to get an Indian unit positioned by the corner of the 2nd largest house.  They ran out and engaged the officer and ladies in the open.  They started by throwing tomahawks - but two brave Highlanders jumped in front of the throws and paid dearly.  Then the Indians moved into melee --- fighting a couple of rounds before taking down the Officer and one of the ladies ... all that was left was to kill the last lady.  Her scalp was taken with the roll of some dice and that was the game.


Pictures below of the setup and in game progress.

Getting underway.


British deployment.


French Group 1 who fought a vicious melee for the large
house against the British Rangers and Light Infantry.

Regulars slugging it out in the open (side event for fun).


Compagnie Franches de la Marine gain the house
and force the Light Infantry out.


Indians take the scalp of the last lady, ending the game.
 After this game we played a couple of rounds of a board game called "King of Tokyo" (and ton of fun) before I setup for a game of SAGA.

Thursday, January 17, 2013

Custom Movement Trays

Given I always use my regulars in Muskets and Tomahawks in a firing line I have been looking to buy some movement trays that allow the miniatures to stay in base-to-base contact (6 wide, 2 deep - 12 miniatures).  There are some options available out there but I figured I would give making my own a go before I bought.

I have lots of 3mm MDF sitting around (I use it for lots of projects/terrain basing).  I also have a nice home drill press along with a 1" (very near 25mm) drill bit.

My drill press and the MDF I used to make the base.
This shows how I plotted out the tray on the MDF (X marks
the spot for the middle of the drill bit).  This is of course
after I had drilled out the holes.

Above you can see how I plotted out the movement tray on the MDF (using a ball point pen).  Each of the squares in 25mm square (since I use 25mm round bases).  The "X" lines through each box would tell me where to align the drill bit (which has a point at it's center - that is what caused the indentation in the middle of the circles).  I aligned each X one at a time, clamped the tray then used the depth measure on the drill press to know just how far down to drill (essentially routing out the base).  Before I started all this I used a test MDF part to figure out the depth I needed to use.  After all this it was just a matter of aligning each hole and drilling to my depth setting.

After cutting out the base using a jigsaw and sanding the edges.

After all the holes got drilled (not all the way through), I used my jigsaw to cut out the base.  I used a 5mm buffer around the edges of the base.  After cutting it out I used sandpaper to take the edge of the sides of the base.

With miniatures.

Next up I checked that everything fit and they did - all in base-to-base contact.  I can use this for the firing line that is 6 wide x 2 deep, or if they are marching down a road it can be 2 wide x 6 deep.  What is great about this is that it is a single piece of MDF and costs next to nothing provided you have the tools.

Lastly I sanded the base, sprayed it black, then drybrushed my normal progression (scorched brown, graveyard earth and foundry base sand 10C).  A few wilderness tuffs from Army Painter and all set!  Completed pictures below --- not too shabby for the effort.

Completed movement tray.

Completed movement tray.


Completed movement tray.

Monday, January 14, 2013

SAGA Anglo-Danish Warband

After posting my last SAGA battle report I was asked to host some pictures of my friend Roy Scaife's Anglo-Danish 4pt warband.  It consists of a Warlord, two units of Hearthguard, and two units of Warriors.  The warband was painted by John Comiskey (who has his own warbands for SAGA - Jomsvikings and Scots).  Pictures below.

Warlord

Hearthguard
Hearthguard

Warriors

Warriors

Warriors

Warriors


Warriors