Hello all!
Had an amazing game of Bolt Action today! I took lots of pictures and it was a real nail bitter right up until the end of the game. We played the point defense scenario on a 6'x6' setup - which seems to be a great size for Bolt Action battles. The Germans defended with 1200 points and the Americans attacked with 2400 points.
 |
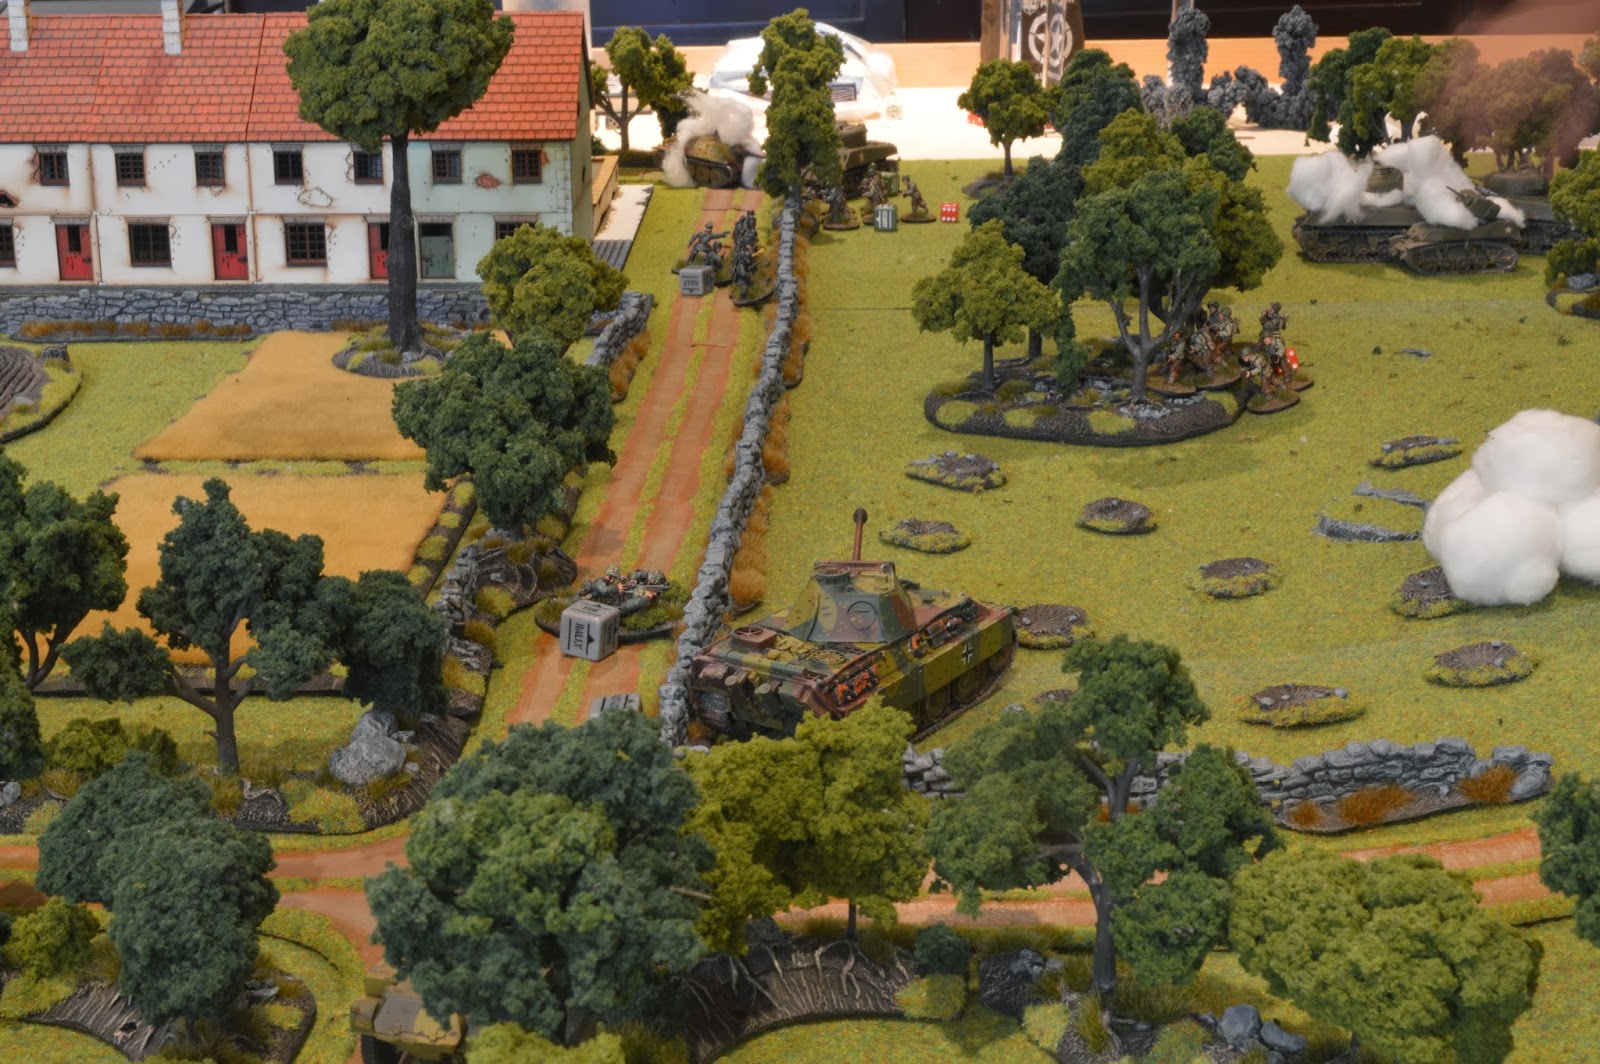
A Panther laying in ambush opens up on a Firefly VC
and opens the hostilities with a boom! |
First off, apologies - this is a long post as I took some 60 pictures!
German Army - Order Of Battle
Officer, Regular, 2nd Lieutenant
Heer Grenadier Squad (10), 2xSMG, 1xLMG, 1xPanzerfaust, 6xRifles
Heer Grenadier Squad (10), 2xSMG, 1xLMG, 1xPanzerfaust, 6xRifles
MMG Team
Sdkfz 222 Armoured Car
Sdkfz 234/2 "Puma" Armoured Car
Hetzer
Panzer V "Panther" G
United States Army - Order Of Battle
Officer, Regular, 2nd Lieutenant
Regular Infantry Section (12), 1xSMG, 1xLMG, 10xRifles, AT Grenades
Regular Infantry Section (12), 1xSMG, 1xLMG, 10xRifles, AT Grenades
Regular Infantry Section (12), 1xSMG, 1xLMG, 10xRifles, AT Grenades
Regular Infantry Section (12), 1xSMG, 1xLMG, 10xRifles, AT Grenades
HMG Team
Light Mortar Team
Bazooka Team
Bazooka Team
3 x Sherman Tanks (75mm)
1 x M5 Stuart Light Tank
1 x M8 Greyhound Armoured Car
Attached - British Armoured Support
1 x Sherman Firefly VC (17pdr AT)
1 x Sherman V (75mm)
Objectives & Victory
If the attacker (US) held no objectives at the end of the game the defender (German) would win. If the attacker (US) held 1 objective at the end of the game it would be a draw. If the attacker (US) held 2 or more objectives at the end of the game the attacker (US) wins.
The game lasted 6 turns, at the end of the 6th turn you start rolling. On a 1-3 the game is over and on a 4-6 it continues another turn (check again at the end). I rolled a 2 at the end of turn 6 which ended the game with the US in control of two objectives - but not the two the set out to secure.
 |
German positions turn 1 (recce has moved
forward) and objectives. |
The table setup can be seen above. Allied forces had to move onto the table during the first turn while the Germans where all in defensive positions along the main road. The British armour and US armoured car would make a move towards the crossroads objective, supported by an infantry section, light mortar, and two bazooka teams. Roy was hoping that would be enough to keep the Panther and German armoured cars busy while he focused the rest of his force on the building and intersection objectives.
The captions of the pictures below should tell the story ...
 |
The Panther enjoyed a commanding view of the
action by the crossroads objective. It would do a fair
amount of damage before the end of the game. |
 |
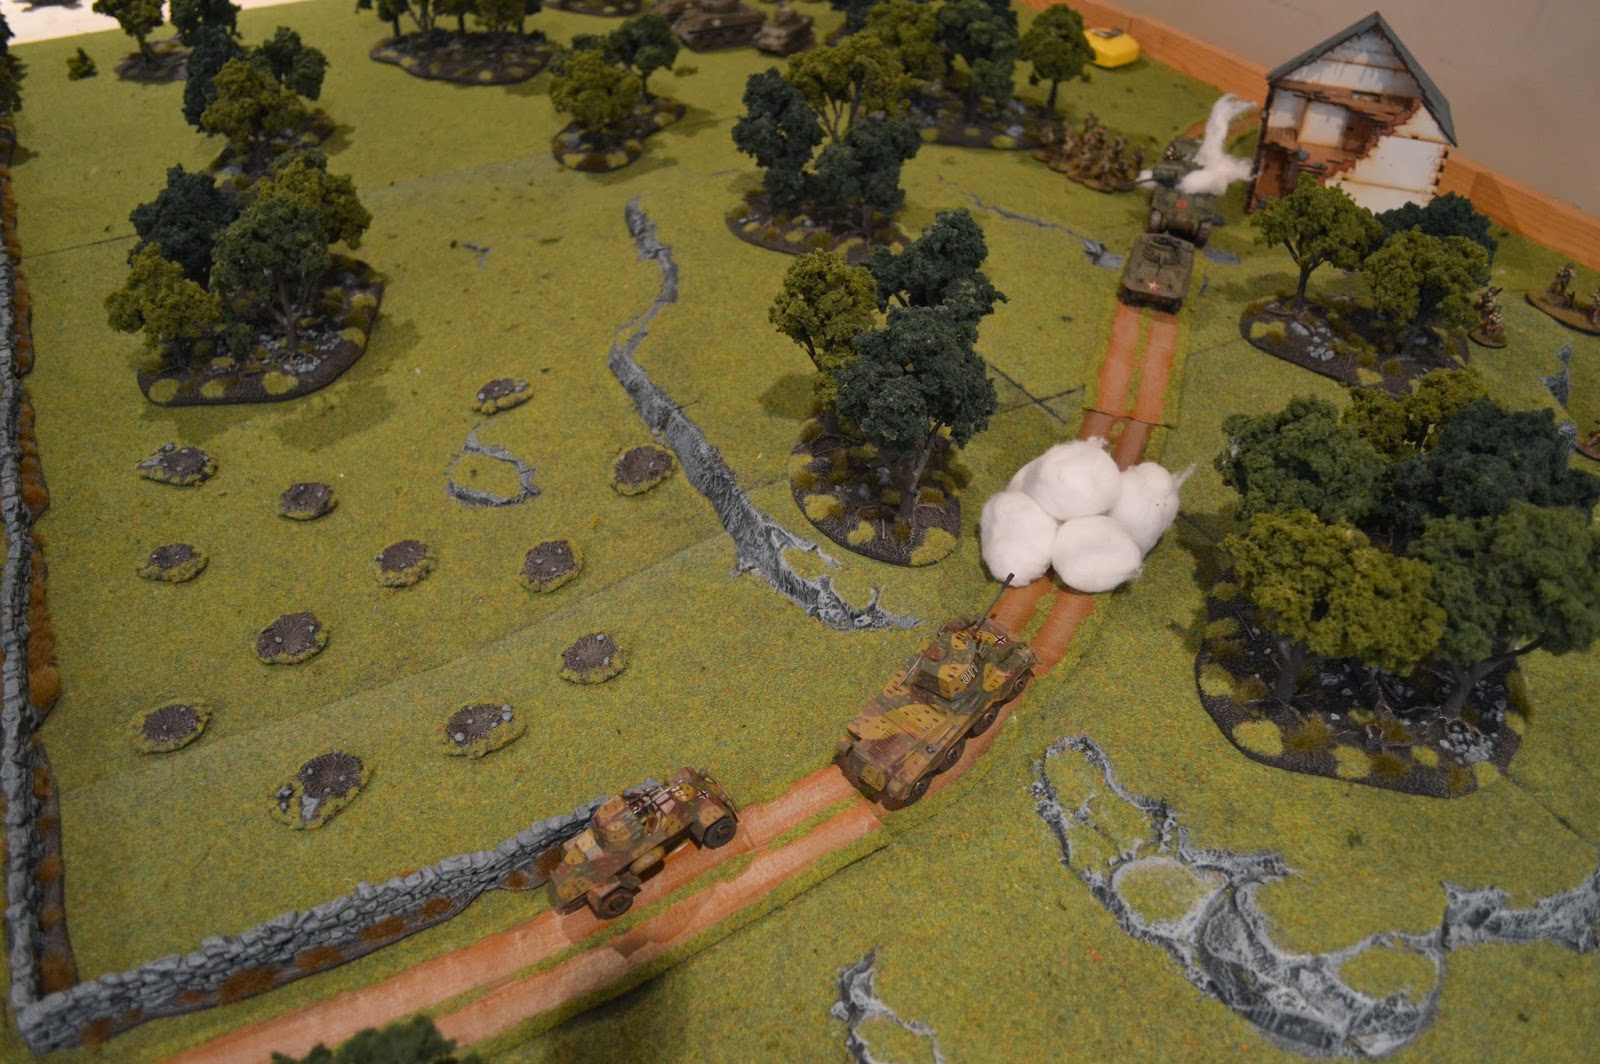
The German recce section would play cat and mouse
with the US M8 Greyhound, but they would also
MG the two bazooka teams before the end of the game. |
 |
The Hetzer waits in ambush by the intersection objective,
supported by a grenadier squad. Both units would
be destroyed by the end of the game. |
 |
| British armour advances towards the crossroads objective. |
 |
Smoke! The US screens their advance from
the German recce section. |
 |
| The Firefly VC is the first to fall to the dreaded Panther! |
 |
A whole bunch of US armour and infantry heads
towards the Germans holding the intersection
and building objectives. |
 |
| Panthertastic! |
 |
| I don't see you - do you see me? |
 |
| Looking down the line. |
 |
| The US pushes on their left flank. |
 |
Smoke starts to land in several places to obscure
the view of the Panther. |
 |
| All camo'd up and waiting for targets. |
 |
US mortar team in action dropping smoke while the
M8 armoured car has made an escape move
away from the German recce units. |
 |
The M5 Stuart is sacrificed against the Hetzer (who
was in ambush) so the Shermans can make their
move forward to knock out the Hetzer ...
unsuccessfully this turn. |
 |
| The allies are making steady progress. |
 |
| From the other side. |
 |
| A narrow road ... |
 |
| The light mortar team decides to attempt to hit the Puma. |
 |
| The M8 Greyhound is back in the action! |
 |
| US units are nearing the German positions. |
 |
| Allied armour starts to take a beating on the advance. |
 |
| A Sherman V takes up position to fire on the Panther! |
 |
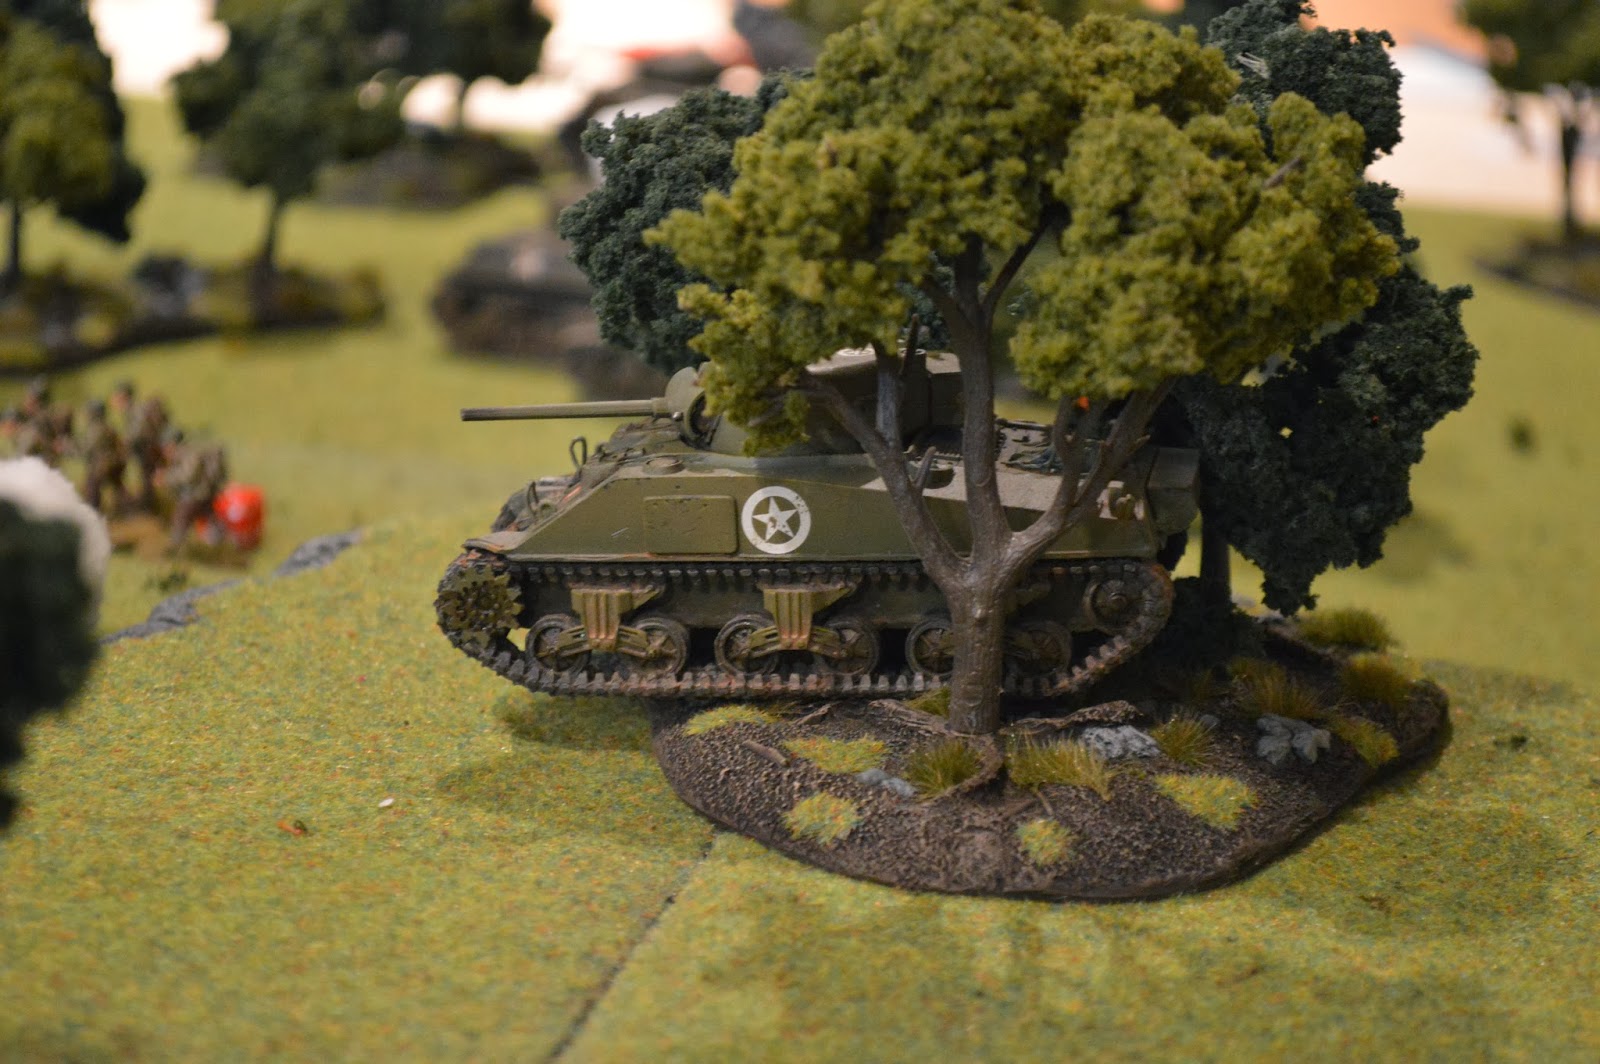
Two Shermans move past the smoking wreck
of the M5 Stuart. The Sherman with the red dice
becomes immobilized for the rest of the game. |
 |
The M8 Greyhound moves between smoke and
the smoking ruin of the Firefly VC. |
 |
Staging for the assault against
the intersection objective. |
 |
| The Hetzer goes down in smoke and flames! |
 |
The third US Sherman advances right up to point blank
range to destroy the Hetzer! |
 |
| Things start to fall apart on the German left flank. |
 |
| Smoke'em if ya got'em! |
 |
The Germans ponder how to support the left flank ...
but the right flank, although going much better, still
isn't in a secure state. |
 |
| Smoke screens and smoking wrecks ... |
 |
The Panzerfaust in the German Grenadier squad
attempts to stop the Sherman, but misses! |
 |
| The Sherman V takes a hit from the Panther ... KABOOM! |
 |
| The M8 Advances up hoping to get in a shot. |
 |
The Puma escapes back to
cover at the crossroads objective. |
 |
The German grenadier squad at the intersection
starts to take many hits and pins. |
 |
The US pushes hard on their right flank - the German
left flank is folding ... putting two objectives
into sight of US units. |
 |
The Panther moves out to support the collapsing
German left flank. It takes a shot at the Sherman
but just misses! |
 |
The Puma holds down the crossroads and guards
the rear of the Panther. |
 |
The M8 Greyhound pops out at fires at the Panther
in the side, hitting (adding a pin) and doing
superficial damage (additional pin marker). |
 |
A great shot by the M8 Greyhound puts a pin on
the Panther, lucky shot with a light AT gun
that has put 2 pin markers on the Panther! |
 |
| Order tests just got harder to pass ... |
 |
The light mortar drops an HE round on the Panther!
No damange, but another pin marker ...
that makes 3!!! |
 |
A US infantry section moves within assault range
of the crossroads objective. The German recce
are too busy to do anything about it! |
 |
The Sdkfz 222 burns up the escape move on the
M8 Greyhound and the Puma jumps ahead
to fire at it - doing 2 pins (rolled a 1
on the damage table - d'oh)! |
 |
The German left collapses - the grenadier squad is
destroyed, and the remaining squad runs for
the building objective to hold it. |
 |
The US infantry section assaults the Sdkfz 222 which is
forced to escape away from the crossroads objective
which now falls into US hands! |
 |
The German MMG team does it's best to reduce
the US infantry at the crossroads. |
 |
| The US takes the intersection objective. |
 |
What remains of the second Grenadier squad is
holding down the building objective. |
 |
The Puma moves back to MMG the US infantry at
the crossroads, which helps, but the Panther
fails it's orders test and goes down! |
 |
Endgame - the US holds 2 objectives (intersection and
crossroads) and win the game. |
 |
| US units holding the intersection objective. |
 |
US infantry at the crossroads - they took several
MMG hits, but hold steady! |
 |
If the game had continued, the Germans may
have pushed the US out of the crossroads, but
they would have lost the building objective. |
 |
| Sad Panther - can't pass a fricking orders test! |
And there you have it! A real nail bitter right up to the end! I have to say I really - REALLY enjoy playing Bolt Action ... it is just a great system that delivers a highly enjoyable gaming experience!