In the early hours of June 6th, 1944, British airborne troops in gliders landed and secured the Bénouville bridge (later renamed Pegasus Bridge) and Ranville bridge. The operation was successful with the code words "ham and jam" being transmitted to command indicating both bridges had been taken intact.
From a wargame perspective there is balance necessary to introduce as the historical engagement was extremely one sided. The German garrison didn't wake up through the assault (German exercises and regular bombing of Bénouville down the road had them used to shooting and explosions at night). That isn't to say there wasn't a fight at all, just a very brief and generally one sided fight. The German "counter attack" in the evening wasn't really a counter attack and more of a probe. With all this in mind, I've strayed a little from the historical forces to create what I think is a more balanced and fun game that still represents the key objectives and actions of the historical event.
Pegasus Bridge - British Airborne Assault on D-Day
Objectives & Game End
There are four objectives as indicated on the map (see Table & Terrain section below). To hold an objective there must be no enemy units present within the objective area (denoted by the model/terrain) and at least one friendly unit must be present. Each objective is worth 1VP, and each eliminated enemy dice is worth 1VP. The game lasts 7 turns, with an 8th turn played on a 4+ (roll at the end of turn 7).
Scenario Special Rules
Surprised! – German garrison units count as inexperienced until the start of turn 4 at which point they become regulars. All German reinforcements are veterans.
Behind Enemy Lines – German reinforcements roll for their entry point when activated and moved onto the table for the first time. Roll for each unit separately. On a 1-4 the unit enters from the table edge at the designated arrow on the map. On a 5-6 the German player selects which entry point can be used.
Night Engagement – The entire engagement takes place at night. The night fighting limited visibility rules are in effect. At the start of turn 2, and on each turn thereafter, roll 1D6. On a result of 4+ a flare goes up and visibility is normal until the end of that turn. The Bolt Action night fighting rules (Flare!) can be found
here.
Cautious Advance – German reinforcements moving onto the table must use an advance order and cannot run (they can move normally from their next turn on-wards).
AT Gun Position – Unmanned to start the game. Any British or German “team” unit can occupy and use the position (medium at gun, 360° LOS).
Order of Battle - German Garrison
1 x Regular Officer (1st Lt., pistol) + 2 men (rifles)
1 x Veteran Medic
1 x Regular Infantry Section (2 x SMG, 1 x LMG, 7 x rifles)
1 x Regular Infantry Section (1 x SMG, 4 x rifles)
1 x Regular Infantry Section (1 x SMG, 1 x LMG, 3 x rifles)
2 x Regular MMG Teams
The officer (+ 2 men), medic, and larger (10 man) infantry section start in Café Gondree.
The remaining troops are positioned as indicated on the map.
Order of Battle - German Reinforcements
1 x Veteran Marder III Ausf. M
1 x Veteran Panzer III Ausf. L
1 x Veteran Infantry Section (1 x SMG, 2 x assault rifles, 1 x LMG, 6 x rifles)
1 x Veteran SdKfz 251/1C Half-Track
German reinforcements enter at random locations. See the "Behind Enemy Lines" special rule. The infantry section enters the board mounted in the half-track.
Order of Battle - British Airborne
Glider Assault Team #1
1 x Veteran Officer (Major, SMG) + 2 men (SMGs)
1 x Veteran Medic
1 x Veteran PIAT Team
1 x Veteran Infantry Section (4 x SMG, 1 x LMG, 5 x rifles)
Glider Assault Team #2
1 x Veteran Light Mortar Team
1 x Veteran PIAT Team
1 x Veteran Sniper Team
1 x Veteran Infantry Section (4 x SMG, 1 x LMG, 5 x rifles)
Glider Support Team
1 x Veteran Medium Mortar Team
2 x Veteran MMG Teams
1 x Veteran Infantry Section (4 x SMG, 1 x LMG, 5 x rifles)
All teams are deployed as indicated on the map.
Table & Terrain
The picture below shows the map, objectives and terrain elements used for this scenario. The table is a 4'x8' table and the game is played down the "length" of the table. Key locations and starting deployments as well as special rules are summarized below as well. You can see my own table layout for this scenario
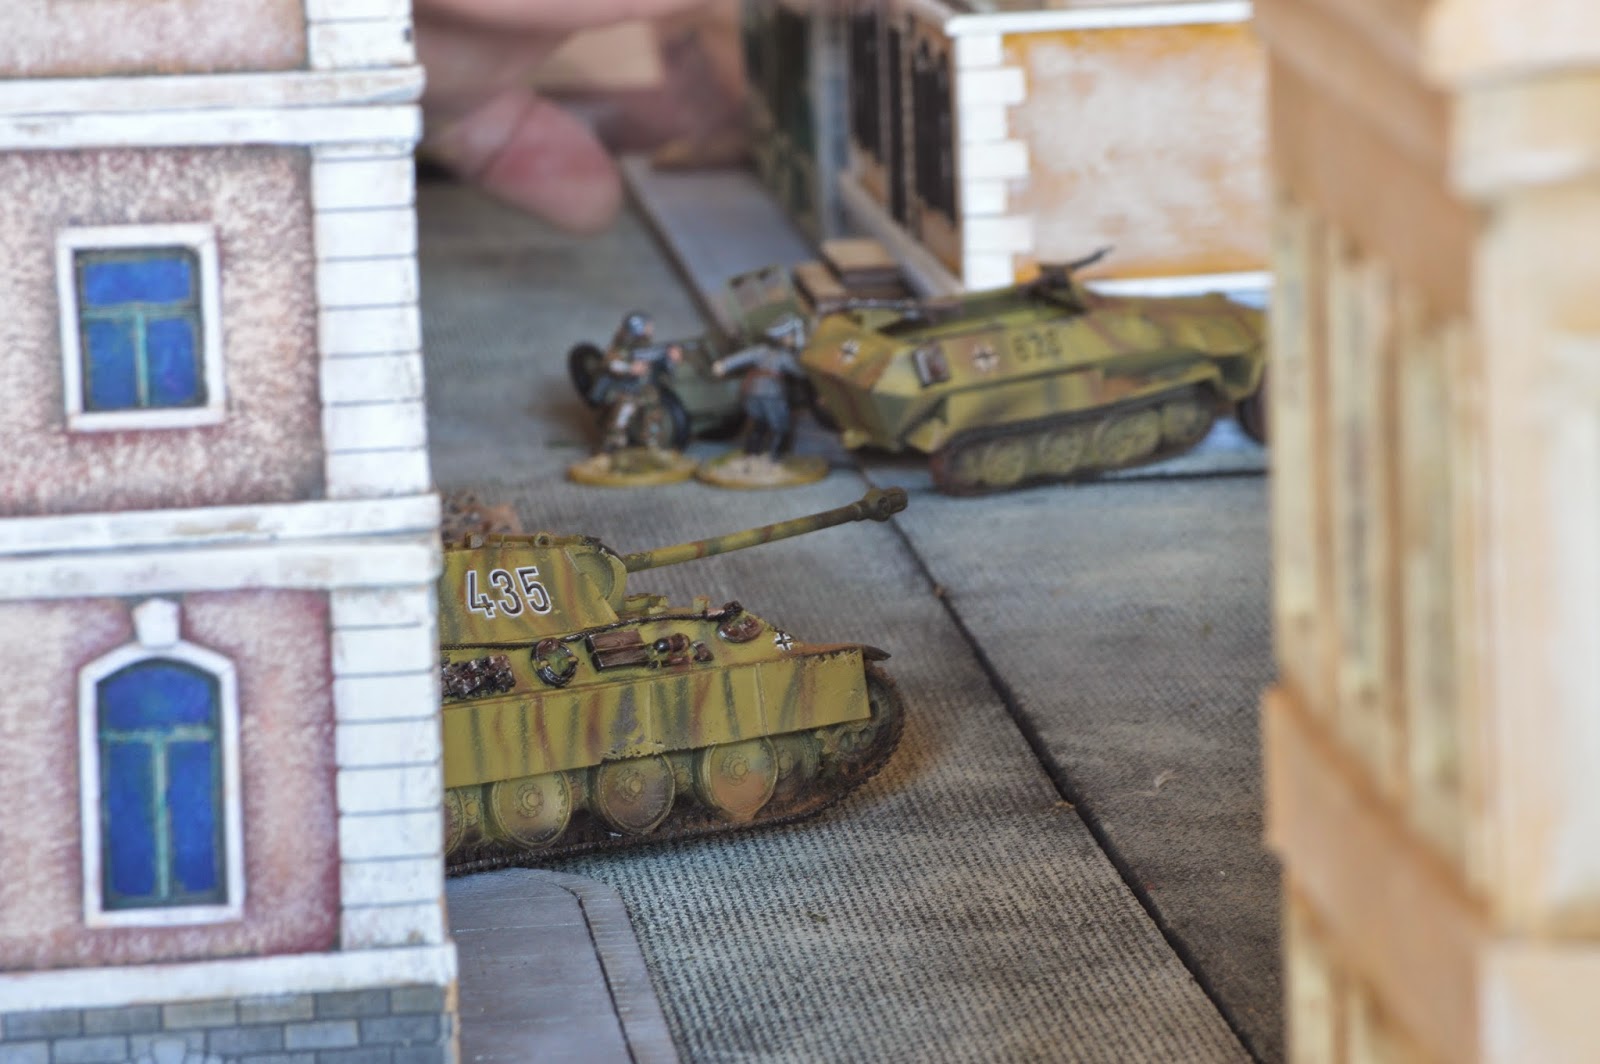
here. Some "in action" pictures from a convention where I ran this game can be seen
here.
That's it - I hope you all enjoy this scenario as much as I have!