Battle of Salamanca – July 22nd, 1812
Roy Scaife, John Lantz and I got together today to play test our Napoleonic scenario for Black Powder that we plan to run at KublaCon this coming May (memorial day weekend here in the US). Roy did a great job of putting together the scenario - working partly from the historical battle and the scenario that is covered in the Albion Triumphant: Volume 1 expansion for Black Powder.Background
After the capture of Badajoz and Ciudad Rodrigo, the Duke of Wellington advanced into Spain. Marshal Marmont’s French Forces were waiting for him. Marmont was able to threaten the British supply lines and force Wellington to fallback. On July 22nd, Marmont encountered a British force in plain view on a ridge and clouds of dust moving away to the south. Thinking he had caught Wellington’s rearguard, Marmont extended his army to flank the defenders. Unfortunately for Marmont, what he thought was the rearguard was Wellington’s left flank, and the clouds were from the baggage train Wellington had sent towards Ciudad Rodrigo. Wellington immediately ordered his army to attack.Overview
This scenario covers the center of the Battle of Salamanca. The French left is certainly lost to Marmont’s fatal mistake. With Thomieres’ and Curto’s Divisions unsupported they are relatively easy for Packenham’s infantry and Cotton’s cavalry to overwhelm. On the French right Foy and Ferrey attempt to support the center, but they are checked by the 1st and Light Divisions of the British. A victory in the center for either side will divide the enemy’s army and deal a decisive blow to the enemy. |
| The overall battlefield and focus area of our battle. |
As you can see from the map above, we are focusing in on a specific part of the overall battlefield. This translates into the table layout below.

Victory Conditions & Points
The game lasts 6 turns or until, at the end of a turn, one or both of the armies become broken (1/2 or more brigades are broken). Victory points are allocated as follows:- Lesser Arapiles hill - French controlled = 6VP, British controlled = 3VP
- Greater Arapiles hill - French controlled = 3VP, British controlled = 6VP
- For each full size Infantry or Cavalry unit destroyed or shaken (at game end) = 2VP
- For each Artillery unit or small/tiny sized unit destroyed or shaken (at game end) = 1VP
- For each enemy general (brigade or C-in-C) removed from play = 1VP
- If your opponents army is broken = 6VP
- For each of your opponents broken brigades = 2VP
At games end, count up your victory points. Determine the difference in victory points. For the player with more victory points, consult the following results:
- +0-5VP = Draw
- +6-10VP = Minor Victory
- +11 or more = Major Victory
British Order of Battle
C-in-C:
- Wellington – SR 9
1st Brigade – Clinton – SR-7:
- 79th Line - Cameron Highlanders
- 92nd Line - Gordon Highlanders
- 2nd Line - King’s German Legion
- 85th Light - Bucks Volunteers
- 60th Rifle Company
- 1st Royal Foot Artillery
2nd Brigade – Cole – SR-7:
- 3rd Foot Guards - Scot's
- 2nd Foot Guards - Coldstream
- 52nd Light - Oxfordshire
- 1st Line - King’s German Legion
- 95th Rifle Company
- 3rd Portuguese Foot Artillery
3rd Brigade - Leith – SR-7:
- 42nd Line - Royal Highlanders
- 5th Line - King’s German Legion
- 29th Line - Worcestershire
- 35th Line - Sussex
- 95th Rifle Company
- 2nd Royal Foot Artillery
4th Brigade - Hope – SR-7:
- 51st Light - King’s Own/Yorkshire
- 2nd Light - King’s German Legion
- 9th Portuguese Cacadores Light Regiment
5th Brigade – Cotton – SR-8:
- 1st Hussars (Light) Cavalry- King’s German Legion
- 10th Hussars (Light) Cavalry - Prince of Wales Own
- 3rd KGL Horse Artillery
French Order of Battle
French C-in-C:
- Marmont – SR 8
1st Brigade – Sarrut – SR-7:
- 2nd Line Infantry
- 4th Line Infantry
- 27th Line Infantry
- 36th Light Infantry
- Foot Artillery Battery
2nd Brigade – Bonnet – SR-7:
- 118th Line Infantry
- 119th Line Infantry
- 122nd Line Infantry
- 130th Light Infantry
- Foot Artillery Battery
3rd Brigade - Brennier – SR-7:
- 65th Line Infantry
- 22nd Line Infantry
- 50th Line Infantry
- 17th Light Infantry
- Foot Artillery Battery
4th Brigade - Maucune – SR-7:
- 15th Line Infantry
- 25th Light Infantry
- Foot Artillery Battery
- Foot Artillery Battery
5th Brigade – Boyer – SR-8:
- 6th Dragoon Cavalry
- 11th Dragoon Cavalry
- Horse Artillery
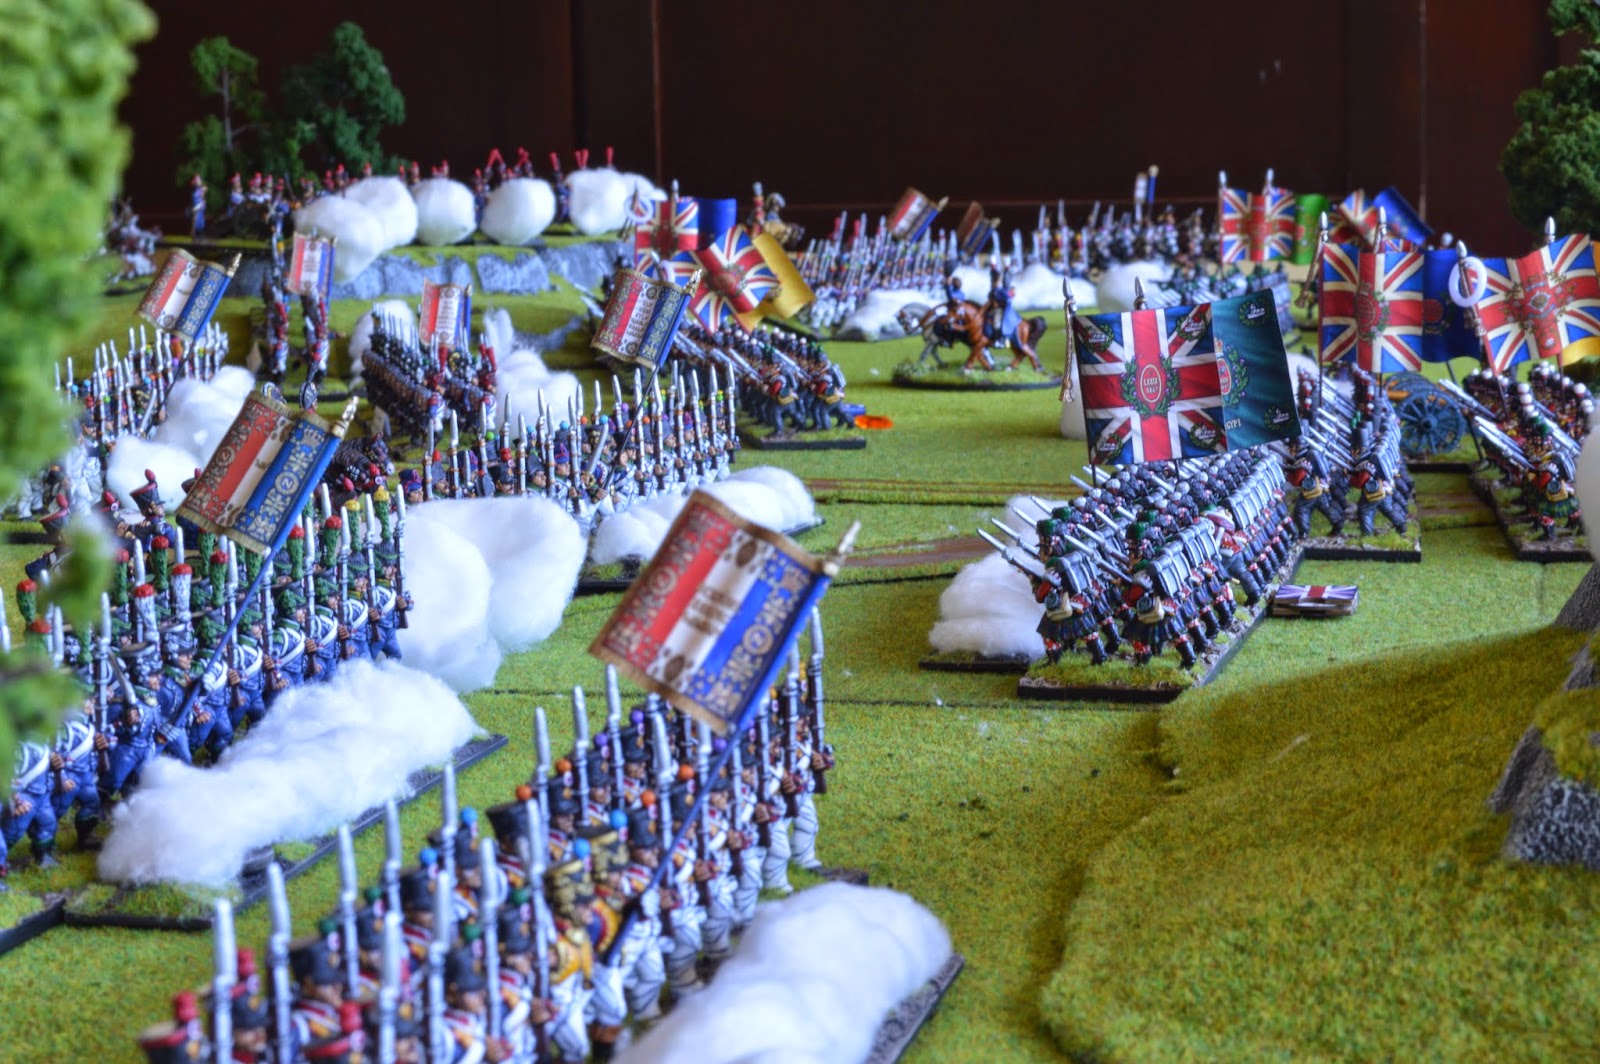
Pictures & Our AAR
Our game lasted 5 turns. By the end of turn 5 both armies had broken, with 4 of 5 French brigades broken and 3 of 5 British brigades broken. Two British generals died when the units they where leading in melee were destroyed. The French suffered heavy casualties - and it wasn't looking good for them until they managed a great round of shooting in turn five that saw many British units move to "shaken" (with counts against brigade and army morale). The British cavalry was destroyed by turn two but the French could never capitalize on the opportunity due to poor command rolls. Two of the British brigades (in the center) failed brigade orders in the first couple of turns which delayed getting them engaged and allowed the French to move forward early to engage the left and right British flanks. The official VP results are after the pictures below.


So who won? The end of turn 5 VPs worked out as follows:
British:
- +3VP (holding lesser Arapiles)
- Destroyed/shaken French units:
- 6 x Infantry = 12VP
- 2 x Cavalry = 4VP
- 1 x Artillery = 1VP
- +6VP (French army broken)
- +8VP (4 x broken French brigades)
TOTAL = 34VPs
French:
- +3VP (holding greater Arapiles)
- Destroyed/shaken units:
- 8 x Infantry = 16VP
- 2 x Cavalry = 4VP
- 2 x Rifle Companies = 2VP
- +2VP (British generals killed)
- +6VP (British army broken)
- +6VP (3 x broken British brigades)
TOTAL = 39VP
That leaves the difference in VPs at +5 in favour of the French which is a DRAW (one more VP and they would have pulled out a minor victory!).
Overall it was a great game --- we are adjusting two things:
- The woods between the two central British brigades will be reduced to a single tree -- the larger tree clump really limited the British ability to deploy their brigades.
- Replace one of the French Dragoon units with a French light cavalry unit (either Hussars or Chesseur a Cheval).
I also finished my army quick references for the Albion Triumphant Volume 1 French and British lists this morning ...


Well --- that's it for today --- I hope you enjoyed the report!


