Since I don't own any AWI miniatures, Matt was kind enough to bring his collection along - so I provided the terrain and Matt provided the armies for our engagement. Matt is well known around the area for running spectacular looking AWI and ACW games at the various conventions using the Brother Against Brother rules - I had always managed to just miss his games --- so for me this was a game a long time in the coming (oh, the waiting!).
Tibor and I ran the British forces, that consisted of a healthy contingent of Hessian's (and even a native American unit). Matt and Roy ran the "colonials" --- or rather the American forces. Here is the breakdown of the forces:
British Order Of Battle
1st Group (1 x Mounted Officer)
- 12 x Light Infantry, "Elite", "Skilled Shots"
- 12 x Grenadiers, "Elite"
- 3 x Light Artillery (1 gun being a howitzer)
2nd Group (1 x Mounted Officer)
- 11 x Native Americans
3rd Group (1 x Mounted Officer)
- 12 x Regulars
- 12 x Regulars
4th Group (1 x Mounted Officer)
- 12 x Hessian Regulars
- 12 x Hessian Regulars
I ran groups one and two while Tibor ran groups three and four.
American Order Of Battle
1st Group (1 x Mounted Officer)
- 12 x Regulars
- 12 x Regulars
- 12 x Provincials/Militia
- 12 x Provincials/Militia
2nd Group (1 x Mounted Officer)
- 12 x Regulars
- 12 x Regulars
- 12 x Provincials/Militia
- 12 x Rangers, "Rangers", "Skilled Shots"
- 3 x Heavy Artillery (1 gun being a howitzer)
Matt ran group one while Roy ran group two.
The objectives for both armies was to take a hold the "Terrytown Road" (the central round running down the majority of the table). It was a bloody engagement that went back and forth at least three times ... but at the end of the day the British eventually secured the road and drove off the Americans. Lots of pictures below ...
The objectives for both armies was to take a hold the "Terrytown Road" (the central round running down the majority of the table). It was a bloody engagement that went back and forth at least three times ... but at the end of the day the British eventually secured the road and drove off the Americans. Lots of pictures below ...
 |
| Looking down the deployment of the British forces. |
 |
| Matt's Americans advance. |
 |
| The British artillery battery. It would engage the American artillery in counter battery fire most of the game - knocking out one of their guns and a few crew. |
 |
| The "other" end of the American deployment. The rangers are the closest unit - they would destroy the native American unit before being driven off. |
 |
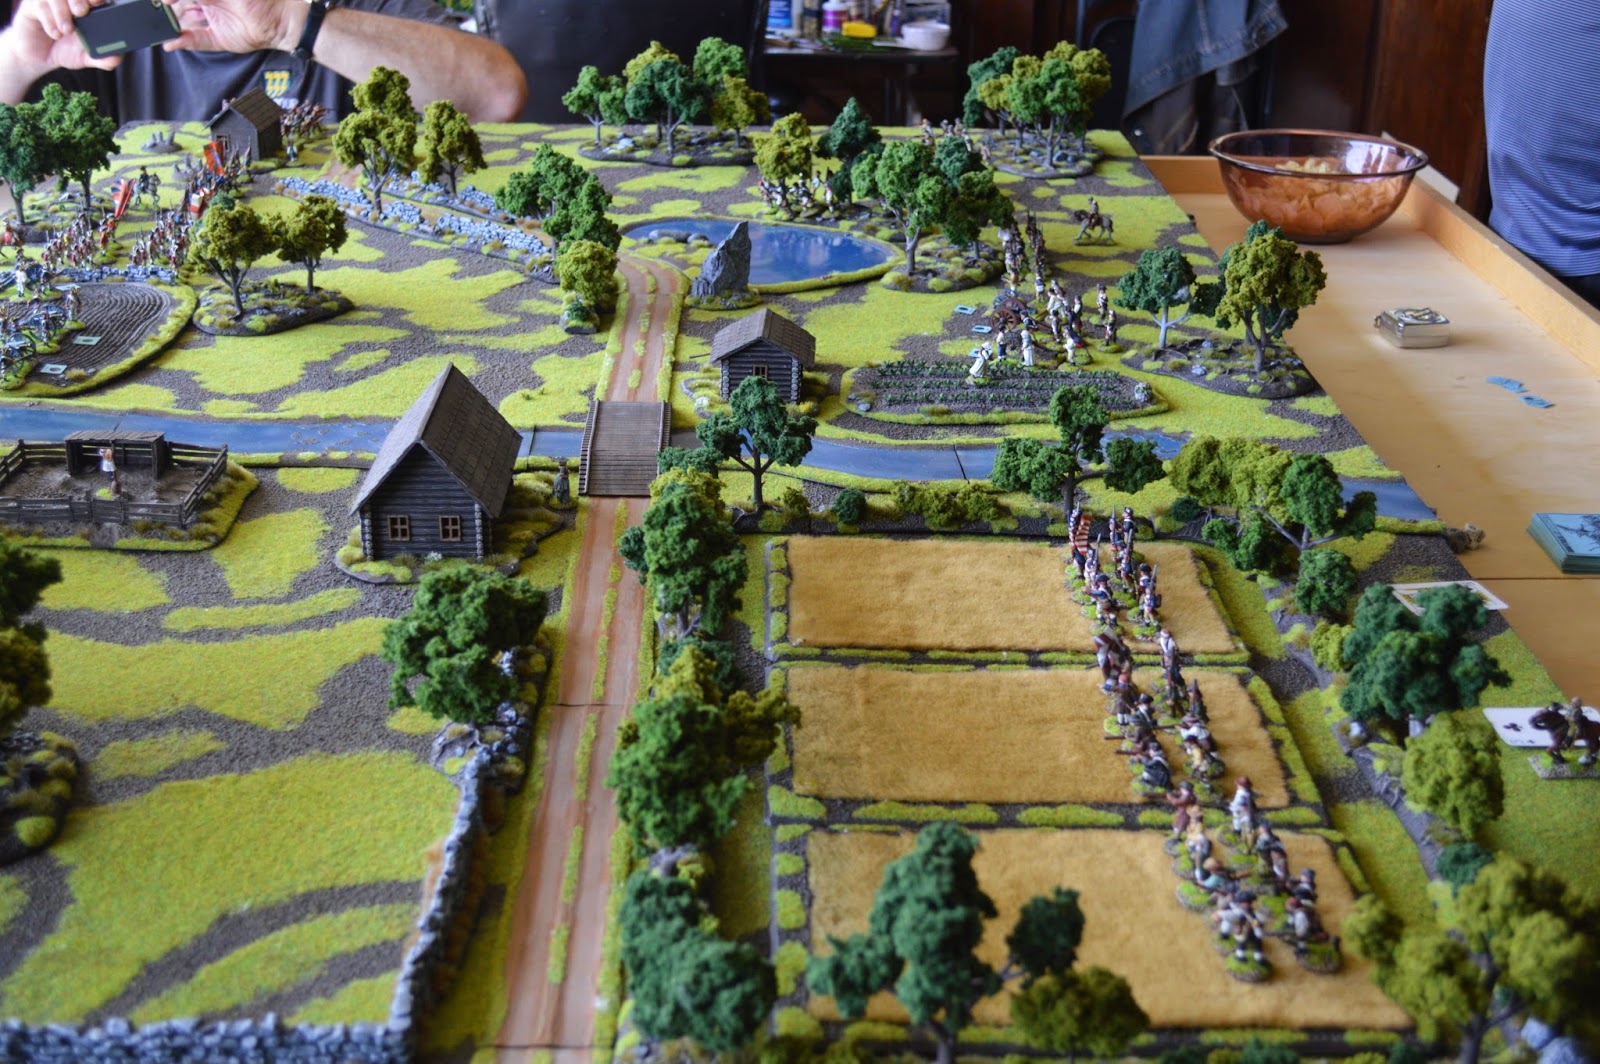
| Picture time - the overall table after initial deployment. |
 |
| British deployment overall. |
 |
| Que beer drinking and movement of lead ... dice to be rolled in anger momentarily ... |
 |
| The Grenadiers would loose half their number before gaining the stone wall, but came back with a vengeance at the end winning a melee against some provincials, then turning to destroy a second unit before retiring for the day. |
 |
| Overall American deployment. |
 |
| A closer look at the advance through the fields. |
 |
| The American artillery would kill several British regulars and Hessian regulars throughout the engagement. |
 |
| The American's fire the first shots ... |
 |
| A daunting line to behold! |
 |
| The British and Hessian's make to hold the road and gain the stone wall for cover - unfortunately the American artillery can see directly down the road. |
 |
| The howitzer would support the British/Hessian advance while the two guns to the right focused on counter battery fire. |
 |
| The British light infantry would decimate this particular unit - but the remaining troops eventually moved into the corn fields to fire into the flanks of the British. |
 |
| Smoke everywhere - the engagement is well at hand! |
 |
| The British Grenadiers gain the road in a bloody melee! |
 |
| What is that off in that corn field? |
 |
| The game progressed at a nice pace ... overall I had a very fun time with the rules. |
 |
| The British desperately attempt to hold off the American advance on the left of the picture. |
 |
| A little later on - the British Grenadier finally had enough, but not before taking two American units out of action, with the British light infantry taking out another, the situation looked much better. |
 |
| The British volley fire takes it's toll on the American units. A bloody melee would occur at the stone wall, but to no avail for the Americans. |
 |
| The British artillery did well this day ... running low on ammunition it is time for tea! |
 |
| The American left flank has collapsed - the British light infantry stand to hold the road among he piles of dead bodies. |
 |
| British victory on both flanks! |
 |
| Matt provided his *awesome* home made corn field (much better than mine). All the "leaves" are rubber bands that have been cut up, painted, and glued to the wire core stalks. A spectacular effect and they are very durable. |
Well - that's it for now folks. I hope you enjoyed the report. Now back to my west front town project for Bolt Action --- and now that my table is back out and setup, I can finally film the Muskets & Tomahawks episode for GameTime.
Of course you'd play the dirty Tories, you Halifaxer! :-) Did you enjoy your tea-fueled win??
ReplyDeletelol ... why of course! "Halifaxer" should actually be "Halogonian" :-) If by tea you mean beer ... why yes :-)
DeletePS - Sorry I couldn't make it. It turned out that Maddy stayed home and I had to hold the fort.
ReplyDeleteOh no problem man ... stuff happens :-)
DeleteImpressive looking game! Great looking minis and some amazing terrain! And a nice AAR too :)
ReplyDeleteThanks - it was a lot of fun! :-)
DeleteWonderful looking game Jay! Great report and photos!
ReplyDeleteGreate AAR !!! Lovely looking game !
ReplyDeleteBest regards Michael
Thanks Michael --- I see your church is coming along nicely! :-)
DeleteAnd how did the BoB rules stack up against the M&T? Excited to hear that you are going to still do the Game Time videos, I have really enjoyed the others!
ReplyDeleteThanks! I've had several requests for a comparison between BAB and M&T ... so I'm going to do a separate blog post to cover it. Thanks for watching game time ... nearing the finishing stages of the M&T episode :-)
Deletereally enjoyed your blog. pictures and battles report are awesome !
ReplyDeleteStf
Thanks Stef ... happy to hear you found it interesting :-)
DeleteAbsolutely stunning scenery and figures. Great narrative and some inspiring ideas for scenery....in particular the bowl of chips and beer. Brillaint. That's what's known as gentlemanly war-gaming and long may it last.
ReplyDeleteWhy thank you sir! :-) Long may it last indeed!
DeleteAny chance we can get a tutorial from Matt for his corn stalks?
ReplyDeleteGreat-looking game, as usual. But I think I'll stick to M&T for rules.
I'll check with Matt --- he might do that ... but it is a painfully long process.
Delete