Black shingles. Yes, shingles you put on your roof. One pack, which at the local hardware store here in California costs about $30, will give you enough paved roads for your table and likely one to two of your friends. The black shingles I use are pictured below ...
 |
| Black Roofing Shingle This is the underside, it is the perfect pavement colour. |
 |
| Black Roofing Shingle Top side, with the pebbled surface. |
Now, why black roofing shingles? Well, first off, they are black. The "pebbled" side is **NOT** the side you want to use. It is the underside of the shingle. The tar and smoother (relatively speaking) side. Some key benefits here:
- The underside is the perfect pavement colour blend - so you don't have to paint it!
- Shingles are flexible and just heavy enough to "settle" into mild variations in your tabletop.
- Other than the pebbles, the core of the shingle is soft and easy to cut with an exacto knife.
A single shingle for me can yield 6 x 12" x 5" roads. For 28mm I'm using 5" wide roads - plenty for me. If you are using smaller scales then you are in luck, because you'll only be able to make even more roads out of a single pack - enough to start a business if you are playing 15mm, lol!
You'll notice on the bottom of the shingle there is a dark black line down the middle. This is an important feature! The outside edges of the shingles are not square, making measuring a challenge. Fear not, that dark black line is the perfect straight edge. I cut down either side of it - and the result is a perfectly straight edge - which one I have that, I can use a square and ruler to cut straight lines and right angles. I highly recommend cutting all edges of your roads so they are straight and line up with each other well - getting lazy and using the rough edges will lead to alignment issues.
Picture below of the flexibility of the shingles ...
 |
| Black Roofing Shingles Flexible and heavy enough to settle on the tabletop. |
My roads will consist of 12" straight sections, a T junction, and a 4-way intersection. The measurements I used are below ...


Alright, with my material selected and my measurements ready, I used some cardboard to create some stencils for the road markings. Cardboard works for me - but of course you can use anything that is "stencil" worthy. You can see the two stencils I created below. This is the most difficult part of this entire project. Once you have the stencil done though, you can reuse it for all your roads.
 |
| Road Marking Stencils (Top View) |
 |
| Road Marking Stencil It is helpful if you build a lip that the road can fit into so you don't have to muck around with alignment before spraying. (the yellow part is the lip under my stencil that I fit the road into before spraying) |
I decided to do the markings rather generic. I bought some white spray paint but you could of course use different colours. I also decided to do the intersections with the cars driving on the left side of the road ... I'll also do intersections for the right side of the road as well - and - because of the way I marked the straights, they'll work for both types of intersections/junctions.
A little bit of cutting and spraying later and I had a good start into my paved road project ...
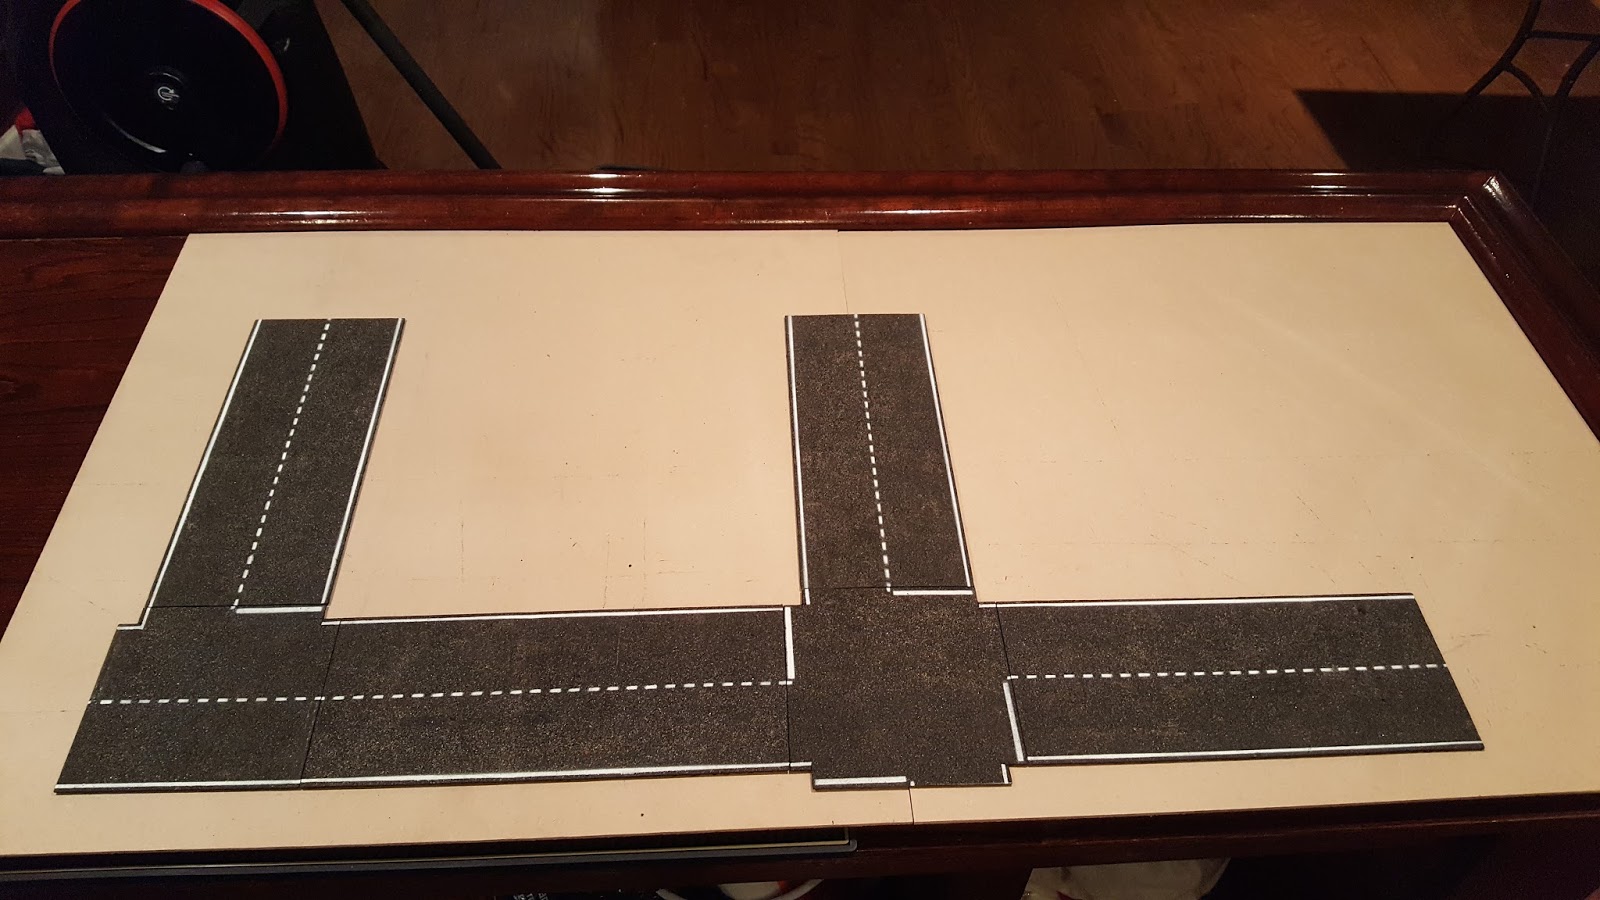 |
| Putting the sections together. |
 |
| SUV from Spectre Miniatures for reference. |
As you can see from the pictures above, they don't look too shabby! The texture and colour of the underside of the shingle is perfect.
You don't need to be a modelling expert to pull this off. Other than cutting out the stencils (which, if you want, some companies sell them for you), easy peesy lemon squeezy! Now, back to making more roads.
Very nice!
ReplyDeleteThanks!
DeleteVery topical; I was looking into making my own roads yesterday! I'll be back to this page again!
ReplyDeleteWell timed then, glad you found it useful :-)
DeleteGreat work. Going to have to steal this idea.
ReplyDeleteSteal away good sir :-)
DeleteAn excellent idea.
ReplyDeleteThanks Neil! :-)
DeleteThank you for this very handy tip!
ReplyDeleteNo problem :-)
DeleteAwesome tip.
ReplyDeleteI ordered some of these today.
Excellent ... hopefully you didn't break the bank ;-) lol
DeleteVery neat idea, I will have to give it a try
ReplyDeleteThanks Russ - definitely worth a try :-)
DeletePosted a link to this article on the BGG Car Wars forum!
ReplyDeleteCan you put up a pic or other download of your templates? I guess you could also use strips of paper cut out, with the "no passing" lane lines or something...!
Hey - thanks!
DeleteWorking on posting the templates ... I just cut them out from memory ... the images in the post are from PowerPoint just to show the measurements. A buddy of mine has apparently put them in a Word doc ... waiting for him to send me that then I get it posted.
As modern asphalt roads, they look very realistic on the game table. Best I've seen yet. Great idea using the roofing tiles.
ReplyDeleteThanks Matt! :-)
DeleteI shared this on the modern miniature warfare FB page and a gentlemen there would like to know how you keep the tar from getting sticky in the heat?
ReplyDelete