 |
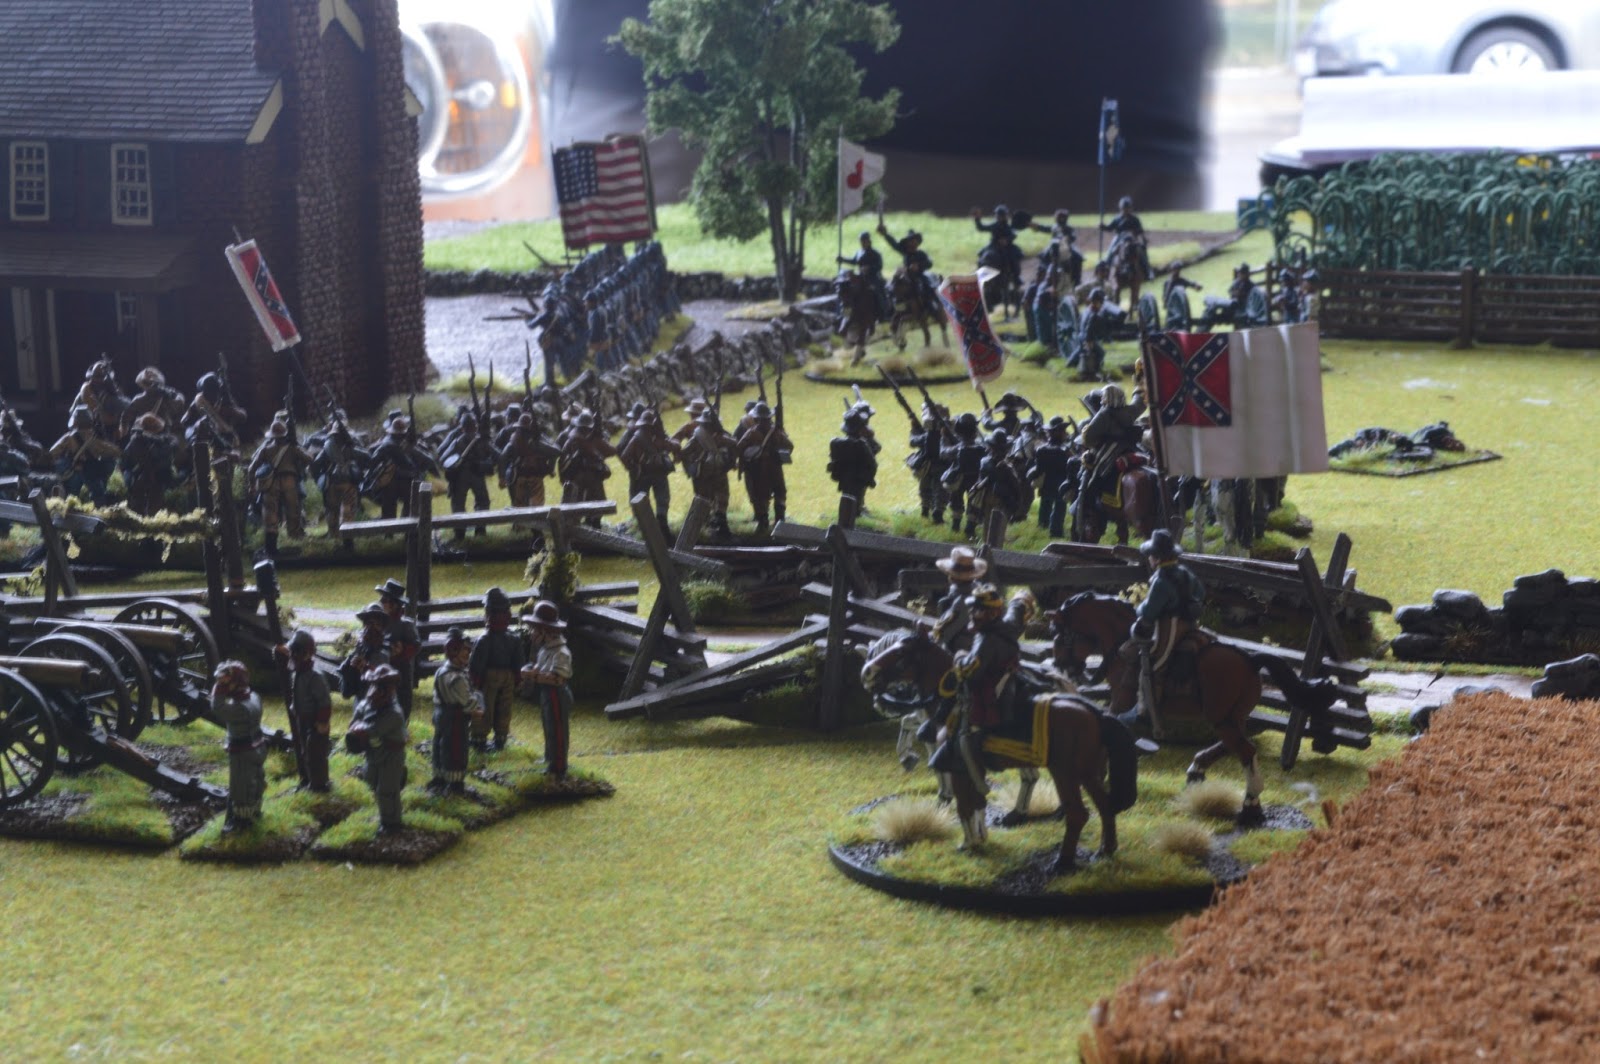
| Milling about before the game. |
I wanted to accomplish several things with this first play test:
- Get a goodly portion of terrain on the table, specifically light woods and lots of fences (wood and stone).
- Farm buildings with yards that would have to be navigated.
- Corn fields that provide obscurity (but not cover) to units that are within the field.
- Fight a meeting engagement against equally match sides.
The game took about 4 hours, and that is with all new players and me taking notes and explaining rules thoughts along the way. I was both happy with the game play experience and the length of the game - as where the others.
I've included a brief overview of the rules after all the fancy pictures below.
Union Order Of Battle
- Army Commander
- 1st Brigade (Iron Brigade)
- 1 x Brigade Commander
- 5 x Infantry Units
- 1 x Artillery Unit
- 2nd Brigade (Irish Brigade)
- 1 x Brigade Commander
- 3 x Infantry Units
- 1 x Artillery Unit
- 3rd Brigade
- 1 x Brigade Commander
- 4 x Infantry Units
- 1 x Artillery Unit
- 4th Brigade
- 1 x Brigade Commander
- 2 x Cavalry Units
Confederate Order Of Battle
- Army Commander
- 1st Brigade
- 1 x Brigade Commander
- 4 x Infantry Units
- 1 x Artillery Unit
- 2nd Brigade (Texas Brigade)
- 1 x Brigade Commander
- 4 x Infantry Units
- 1 x Artillery Unit
- 3rd Brigade
- 1 x Brigade Commander
- 4 x Infantry Units
- 1 x Artillery Unit
- 4th Brigade
- 1 x Brigade Commander
- 2 x Cavalry Units
The Game
What a game! The Rebel cavalry held out the entire game against the Union cavalry that was supported by the Iron Brigade. The Iron Brigade managed to turn the flank of the Rebel line but it was too late as the Texas Brigade had already done the same on the opposite side (after some rather nasty melee in the light woods). My Irish Brigade held the central farm until a multiple unit charge from a couple of fresh Rebel units broken through and punch a wide hole straight through the center of the Union line before the units over extended themselves (via breakthrough charges) and eventually got shot up by Iron Brigade units and what little remained of the Irish Brigade.A very bloody battle, but in the end the day went to the Rebs! Lots of pictures below (some taken on my phone, some with my camera).
 |
| Starting positions. |
 |
| The Union left flank would see heavy fighting in the light woods against the Texas Brigade. |
 |
| The Texas Brigade would carry the day for the Rebs. |
 |
| The Iron Brigade marches into position. |
 |
| Dismounted rebel cavalry would prove a constant thorn in the Union right flank. |
 |
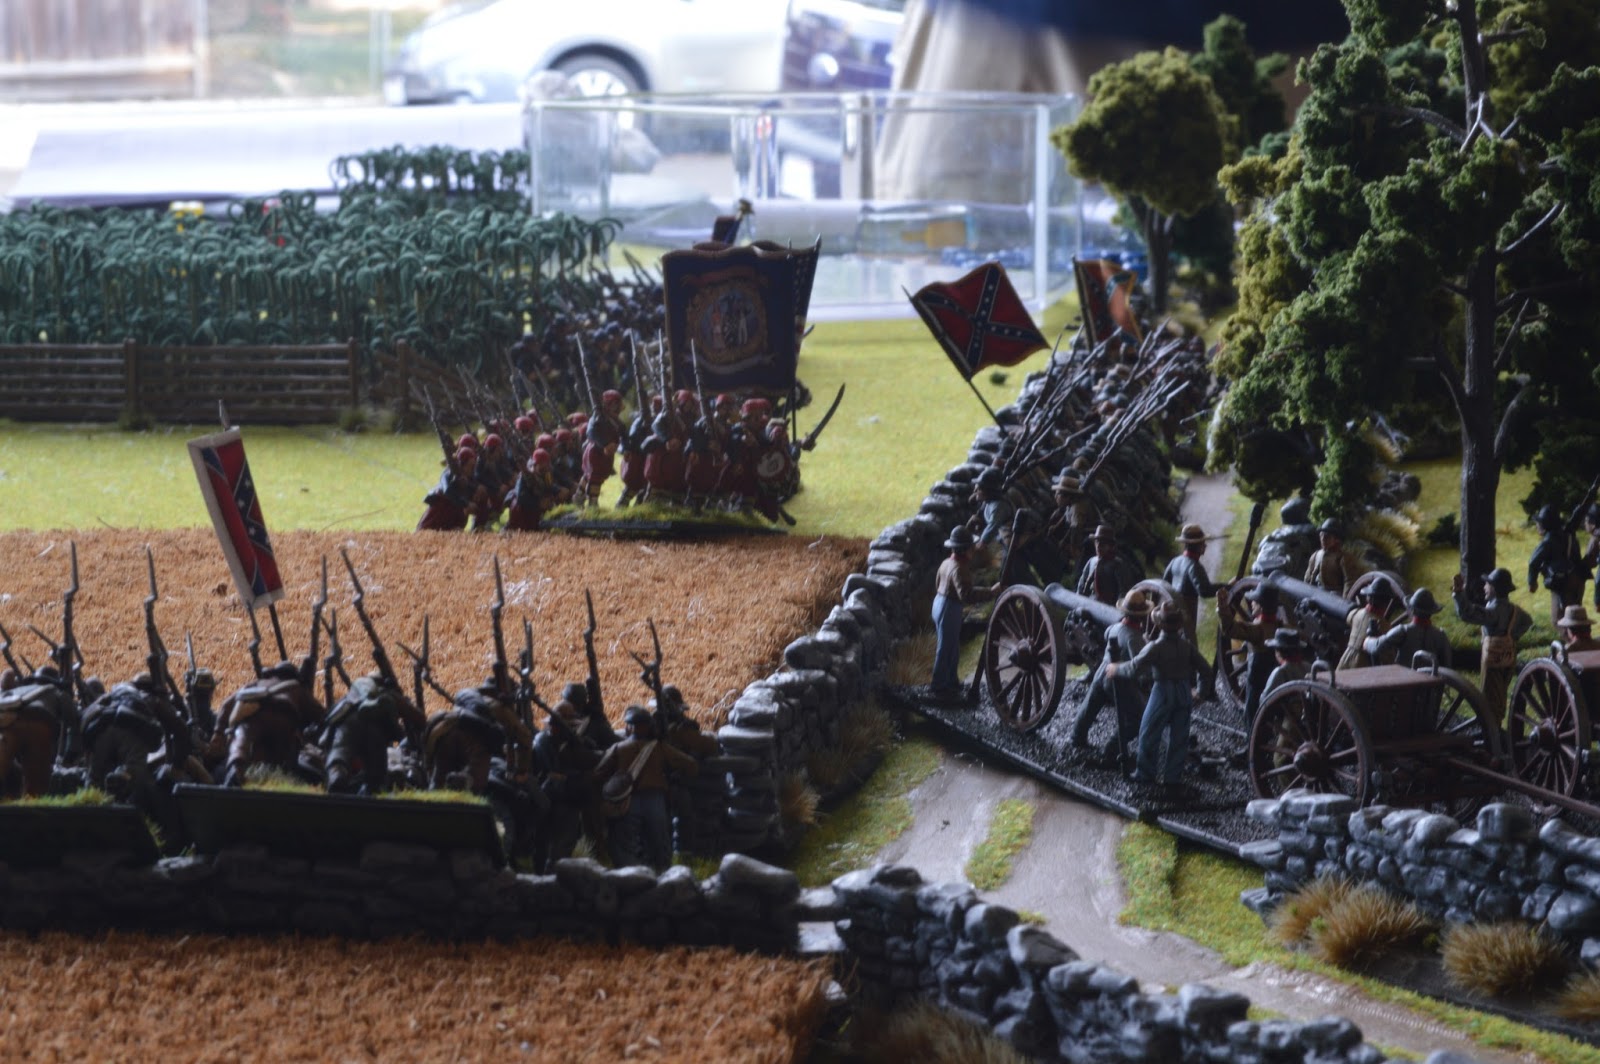
| Virginians advancing - they would break through the Union center to cause all sorts of problems. |


 |
| First melee of the game. The melee was a draw but not for long as the Union infantry was flanked by swarming Texas units! |


 |
| The Iron Brigade struggles in a bottleneck around the white farm building. They would take to long to turn the Rebel flank. |
 |
| Ka-Pow! The lead Irish Brigade units are overrun and the Virginians break through the Union center! |
 |
| Union staff are surprised and quickly order all available units to put fire into the advancing Virginians. |


 |
| The Union center and now left flank is hit hard by the Rebel Yell - this final melee would carry the day for the Rebs! |
 |
| The 5th NYSV facing a wall of Confederate grey. |


 |
| A bloody mess, after forcing the Virginians back there are only dead bodies and destroyed Union guys to show for the Union center. |


 |
| There is going to be some hauntings in these woods! |
There you have it. A great game overall and very bloody on both sides. Now a little about the rules (I'll do a more detailed post after making the edits I need to do based on this game).
The Rules (Briefly)
It is probably best to provide a quick run through of the turn sequence, with each of the phases broken out into their individual steps as well. The overall turn sequence is as follows:
- Initiative Player
- Command Phase
- Shooting Phase
- Melee Phase
- Non-Initiative Player
- Command Phase
- Shooting Phase
- Melee Phase
- End Phase
The command phase is used to move and manage your units on the table. Before resolving individual brigade activation, players must resolve all charges first (that is, the charge to contact, not fighting the actual melee which happens in the melee phase).
- Attach or detach commanders
- Resolve Charges
- Activate Brigades
- Select a brigade to activate
- Resolve orders for all units in the brigade (that have not charged)
- Move brigade commander (if not attached)
- Repeat steps a thru c until all brigades have been activated
- Move army commander (if not attached)
There are six orders that can be issued to a unit: hold, advance, march, charge, rally and reform. Orders are automatic unless the unit has hits on it. Any unit with hits has to take an orders test. Orders test are successful by getting a result higher than the current number of hits on the unit. This means that units that are more damaged are less likely to follow orders (due to battlefield confusion, loss of unit leadership, and so on).
All charges are resolved at once so that any multiple unit charges can be resolved as a group. Once resolving all charges, the remaining units in the army activate by brigade to resolve orders (then shooting, then melee). Provided a unit can successfully charge, they will take a charge home test to see if they actually make it into contact with the target (many charges where checked or faltered for any number of reasons, turning into a firefight at close range rather than a hand-to-hand affair). As a result, a charge home test could result in anything from being yellow bellied (not moving at all), moving forward to deliver fire, charging in or even a determined charge (meaning, no morale test required from defensive fire).
No surprises in the shooting phase - it is fairly straight forward. I've gone to great lengths to simplify the effect of terrain on shooting and be clear about line of sight.
Likewise, melee is also straight forward and deadly as there are no saves in melee. I wanted melee to be deadly and costly for units as a melee was a deadly and messy affair.
For morale I've opted to go with the Kings of War system of units collecting hits and taking a morale test that is 2D6, add hits and check against two numbers. Each unit in the game has a "shaken" and "break" number. For example, an infantry unit is 14/16. If you roll a morale test and get a result of 13 or less, the unit remains steady. If the result is 14 or 15 the unit becomes shaken and will be severely limited in what it can do in the game (the unit is on the edge of breaking). If you get 16 or more the unit breaks a is removed from the game. I've really come to like this system for morale - it gets you rolling more dice for shooting and melee, and gives units a little more staying power than other systems I've played.
Ok, that is just a quick overview. Hopefully that all makes sense. Certainly more to come on this front.