 |
| French troops push hard around the Gemioncourt farm. |
This is another "large" game for Empires at War (EAW) - our home brew Napoleonic rules. It takes the better part of a day to play. Dan Kerrick and myself took up the Anglo-Allied forces while John Lantz and Roy handle the French.
The Anglo-Allies managed to pull out a victory --- 38 VPs for the French and 49 VPs for the Anglo-Allies. It was a very close run thing.
There are a ton of pictures below as usual, but first some of the scenario write up from Roy ...
Background
After escaping the Isle of Elba, Napoleon has reenergized his French forces and is marching to defeat the Prussians at Ligny before turning to engage Wellington. Marshal Ney has been given the task of taking a crucial crossroad at Quatre Bras which will divide Wellington’s forces and halt reinforcements from marching to Ligny. Wellington’s Netherland forces grasped the strategic importance of the crossroad and have taken defensive positions. Although the Netherland forces are heavily outnumbered they prepare to defend the crossroad.Map & Scenario Notes/Special Rules

Bois du Bossu woods: Units may only Advance through woods. Unit is Obscure when in the woods. No penalty when shooting out of the woods. Cavalry do not receive a Charge bonus when charging a unit in the woods.
Gemioncourt: Gemioncourt has two zones. One unit may occupy each zone. Up to two units may attack Gemioncourt simultaneously. If opposing units are in each zone they must Charge each other in the next melee phase. Charge order tests are automatically successful. Line and Light units in Gemioncourt fight using shooting and melee dice for Attack formation.
Reinforcements: Reinforcements are issued a ‘Run’ order when the enter the table and may not charge. See reinforcements schedule for unit and arrival information.
Game Length: Play will continue for 10 turns.
Initiative: The French have the initiative and must act first.
Standard victory points apply from the rules --- with the following additions:
- Gemioncourt: +15 VPs if held at the end of the game.
Victory: If the difference in VPs is between 0-10 VPs, the game is a draw. If the difference in VPs is 11+ VPs, the side with the higher number of VPs wins.
Anglo-Allied Order of Battle
C-in-C – Field Marshall Arthur Wellesley (B-2)
I Corp – Major General William, Prince of Orange
1st Division, 1st Brigade – General William Beresford (B-5)
1st Foot Guards - Grenadiers
2nd Foot Guards – Coldstream
3rd Foot Guards – Scot’s
2nd Netherlands Division, 1st Brigade – Lieutenant-General Chasse
4th Belgium Line Regiment
2nd Dutch Line Regiment
7th Belgium Line Regiment
35th Belgium Light Regiment
1/95th Rifles
2/95th Rifles
13th Foot Artillery Battery - Dutch-Belgium
4th Royal Horse Artillery Battery
11th KGL Horse Artillery Battery
2nd Netherlands Division, 2nd Brigade – Colonel F. von Godecke
Orange-Nassau Line Regiment
2nd Usingen Line Regiment
2nd Nassau Line Regiment
5th Royal Horse Artillery Battery, Large
I Corp – Major General William, Prince of Orange
2nd Netherlands Division, 3rd Brigade – General Wilheim von) Dornberg (B-3)
8th Dutch-Belgian Hussars
3rd Dutch-Belgian Carbiniers
3rd Division, 5th Brigade – General Robert ‘Black Bob’ Craufurd (B-6)
24th Line - Warwickshire
29th Line - Worcestershire
35th Line - Sussex
52nd Light - Oxfordshire
3rd Division, 1st Hanoverian Brigade – Major General Friedrich von Kielmansegg (B-6)
Osnabruck Line Regiment
Bremen Line Regiment
Grubenhagen Light Regiment
Gifhorn Landwehr Regiment
Jaeger (Rifle) Detachment
16th Foot Artillery Battery, Large – Hanoverian
II Corp - General Rowland Hill (B-2)
Reserve Division, 9th Brigade – General Thomas Picton (B-2)
71st Light - Glasgow Highlanders
92nd Line - Gordon Highlanders
42nd Line - Royal Highlanders
79th Line – Cameron Highlanders
Brunswick Corp - General Uxbridge (B-6)
Brunswick Division, 1st Brigade – Duke of Brunswick (B-6)
1st Line Regiment
2nd Line Regiment
2nd Light Regiment
3rd Light Regiment
Lieb Regiment
14th Foot Artillery Battery, Large - Brunswickers
Brunswick Cavalry Brigade – Brunswick Commander (B-7)
Brunswick Hussars
Brunswick Uhlans
Hanoverian Verdan Hussars
15th Horse Artillery Battery, Large - Brunswickers
French Order of Battle
C-in-C – Marshal Michel Ney
II Corp – General Reille
6th Division, 1st Brigade – General Jerome Bonaparte (F-4)
2/3rd Line Regiment
3/3rd Line Regiment
1/2nd Line Regiment
2/2nd Line Regiment
11th Foot Artillery Battery (8 lb.) – Large, Howitzer
6th Division, 2nd Brigade – General Soye (F-4)
2/3rd Line Regiment
3/3rd Line Regiment
1/2nd Line Regiment
2/2nd Line Regiment
11th Foot Artillery Battery (8 lb.) – Large , Howitzer
9th Division, 2nd Brigade – General Foy
1/100th Line Regiment
2/100th Line Regiment
3/100th Line Regiment
1/4th Light Regiment
2/4th Light Regiment
3/4th Light Regiment
3rd Foot Artillery (8 lb.) – Large, Howitzer
III Corp – General Baron L’Heritier
2nd Cavalry Division, 1st Brigade – General Comte Pire
1st Chasseurs
6th Chasseurs
2nd Cavalry Division, 2nd Brigade – General Wathier
5th Lancers
6th Lancers
1st Horse Artillery Battery (6 lb.) - Large, Howitzer
9th Division, 1st Brigade – General Marbais
1/92nd Light Regiment
2/92nd Light Regiment
1/93rd Line Regiment
2/93rd Line Regiment
3/93rd Line Regiment
7th Foot Artillery Battery (8 lb.) – Large, Howitzer
11th Cavalry Division, 1st Brigade – General Picquet
2nd Dragoons
7th Dragoons
11th Cavalry Division, 2nd Brigade – General Guiton
8th Cuirassiers
11th Cuirassiers
Reinforcements & Starting Forces
See map for exact positions of starting forces.
Anglo-Allied Starting Forces (On Table)
I Corp – Major General William, Prince of Orange
2nd Netherlands Division, 1st Brigade – Lieutenant-General Chasse
4th Belgium Line Regiment
2nd Dutch Line Regiment
7th Belgium Line Regiment
35th Belgium Light Regiment
1/95th Jaegers (Rifles)
2/95th Jaegers (Rifles)
13th Foot Artillery Battery - Dutch-Belgium
4th Royal Horse Artillery
11th KGL Horse Artillery Battery
2nd Netherlands Division, 2nd Brigade – Colonel F. von Godecke
Orange-Nassau Line Regiment
2nd Usingen Line Regiment
2nd Nassau Line Regiment
5th Royal Horse Artillery, Large
French Starting Forces (On Table)
C-in-C – Marshal Ney
II Corp – General Reille
9th Division, 2nd Brigade – General Foy
1/100th Line Regiment
2/100th Line Regiment
3/100th Line Regiment
1/4th Light Regiment
2/4th Light Regiment
3/4th Light Regiment
3rd Foot Artillery (8 lb.), Large, Howitzer
2nd Cavalry Division, 1st Brigade – General Comte Pire
1st Chasseurs
6th Chasseurs
2nd Cavalry Division, 2nd Brigade – General Wathier
5th Lancers
6th Lancers
1st Horse Artillery Battery (6 lb.), Large, Howitzer
III Corp – General Baron L’Heritier
9th Division, 1st Brigade – General Marbais
1/92nd Light Regiment
2/92nd Light Regiment
1/93rd Line Regiment
2/93rd Line Regiment
3/93rd Line Regiment
7th Foot Artillery (8 lb.), Large, Howitzer
11th Cavalry Division, 1st Brigade – General Picquet
2nd Dragoons
7th Dragoons
11th Cavalry Division, 2nd Brigade – General Guiton
8th Cuirassiers
11th Cuirassiers
Reinforcement Schedule
Turn 2
British Turn:
Wellington arrives at crossroads via north road.
II Corp, Reserve Division, 9th Brigade arrives east side of the north road.
Turn 3
British Turn:
I Corp, 2nd Netherlands, 3rd Cavalry Brigade arrives via the west road.
Turn 4
French Turn:
II Corp, 6th Division, 1st Brigade arrives via road from the south.
II Corp, 6th Division, 2nd Brigade arrives via west side of road from the south.
Turn 5
British Turn:
I Corp, 1st Division, 1st Brigade arrives via the west road (2’-3’ from British table edge).
Turn 6
British Turn:
Brunswick Corp, Brunswick Division, 1st Brigade arrives via north road.
I Corp, 3rd Division, 5th Brigade arrives via the east side next to the north road.
I Corp, 3rd Division, 1st Hanoverian Brigade arrives via the far east side of the north road.
Turn 7
British Turn:
Brunswick Corp, Brunswick Cavalry Brigade arrive via the east side of the north road.
Turn 9
British Turn:
Duke of Brunswick is wounded and carried from the field.
Turn 10
Last Turn. Darkness falls and game ends.
Pictures


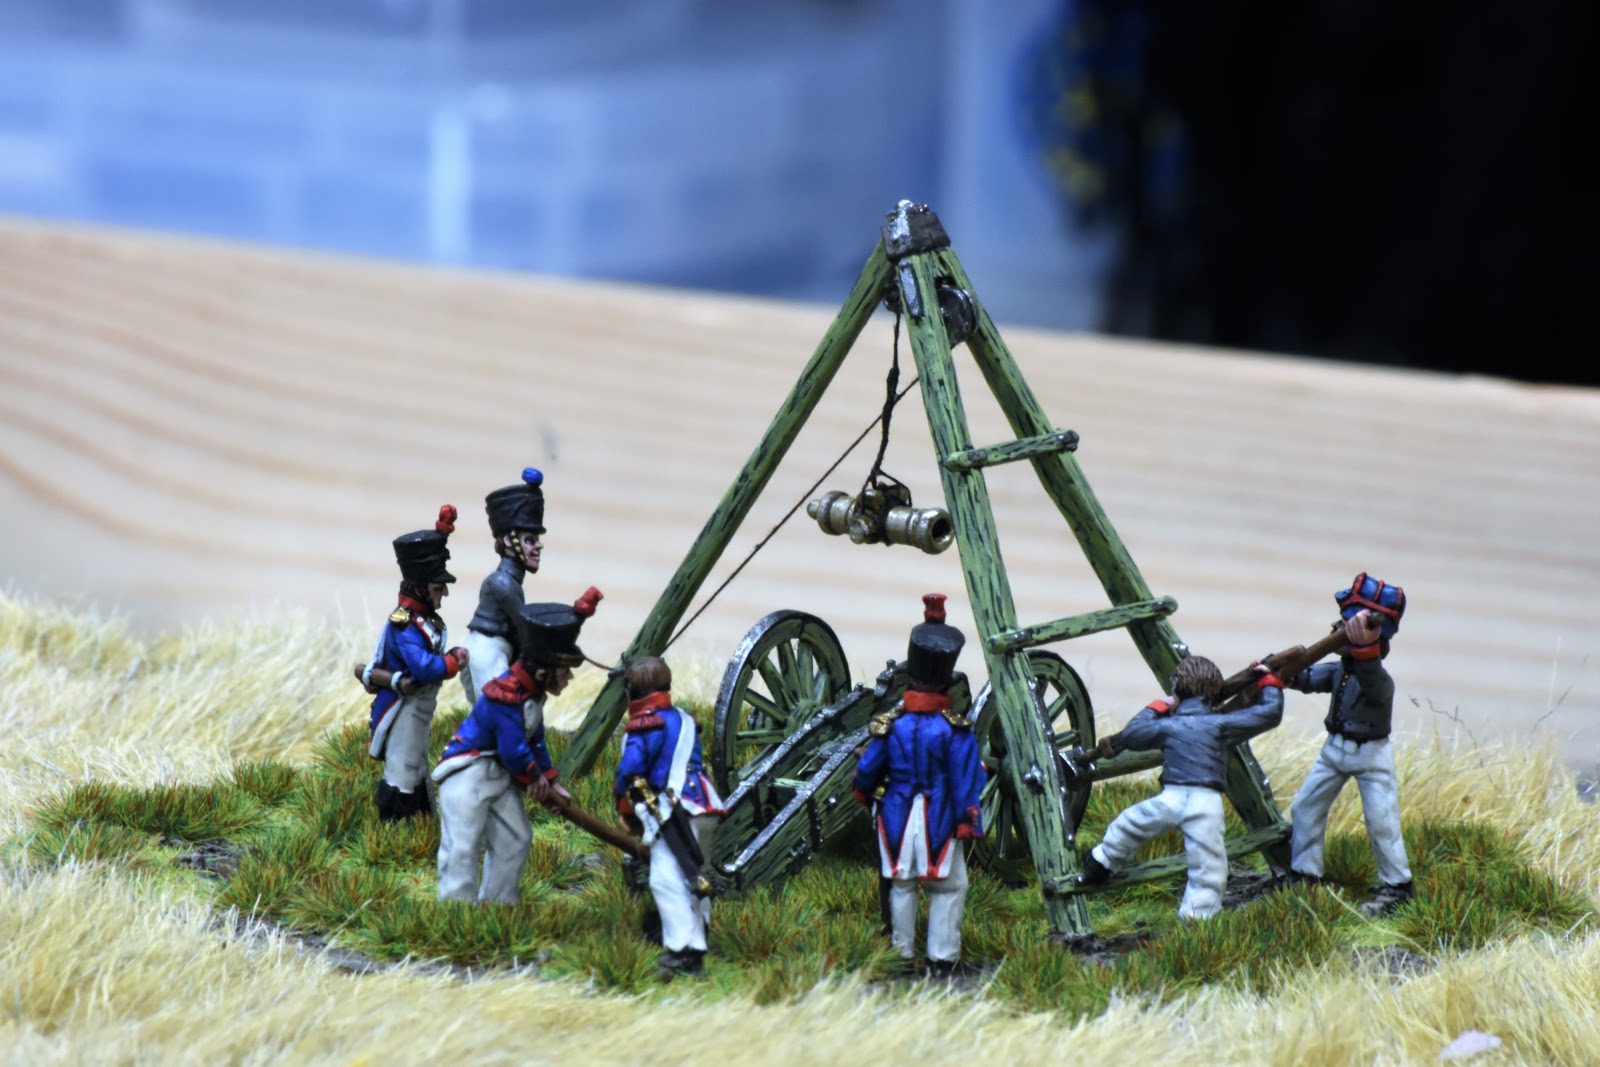


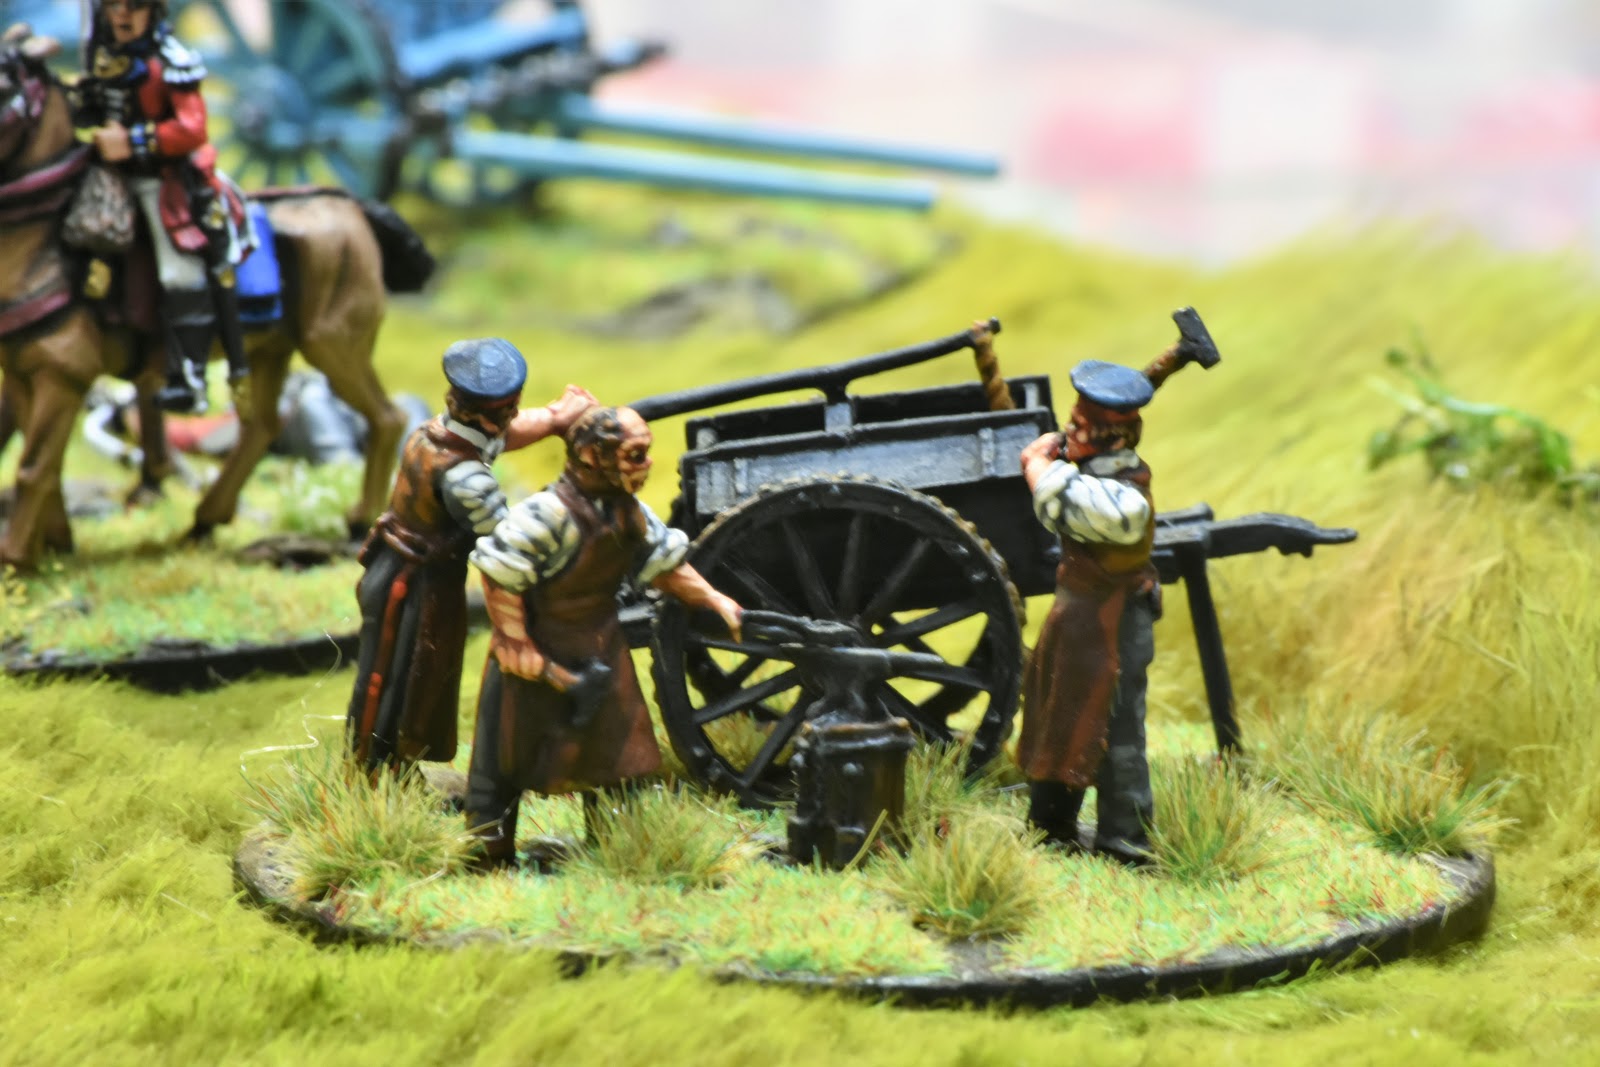


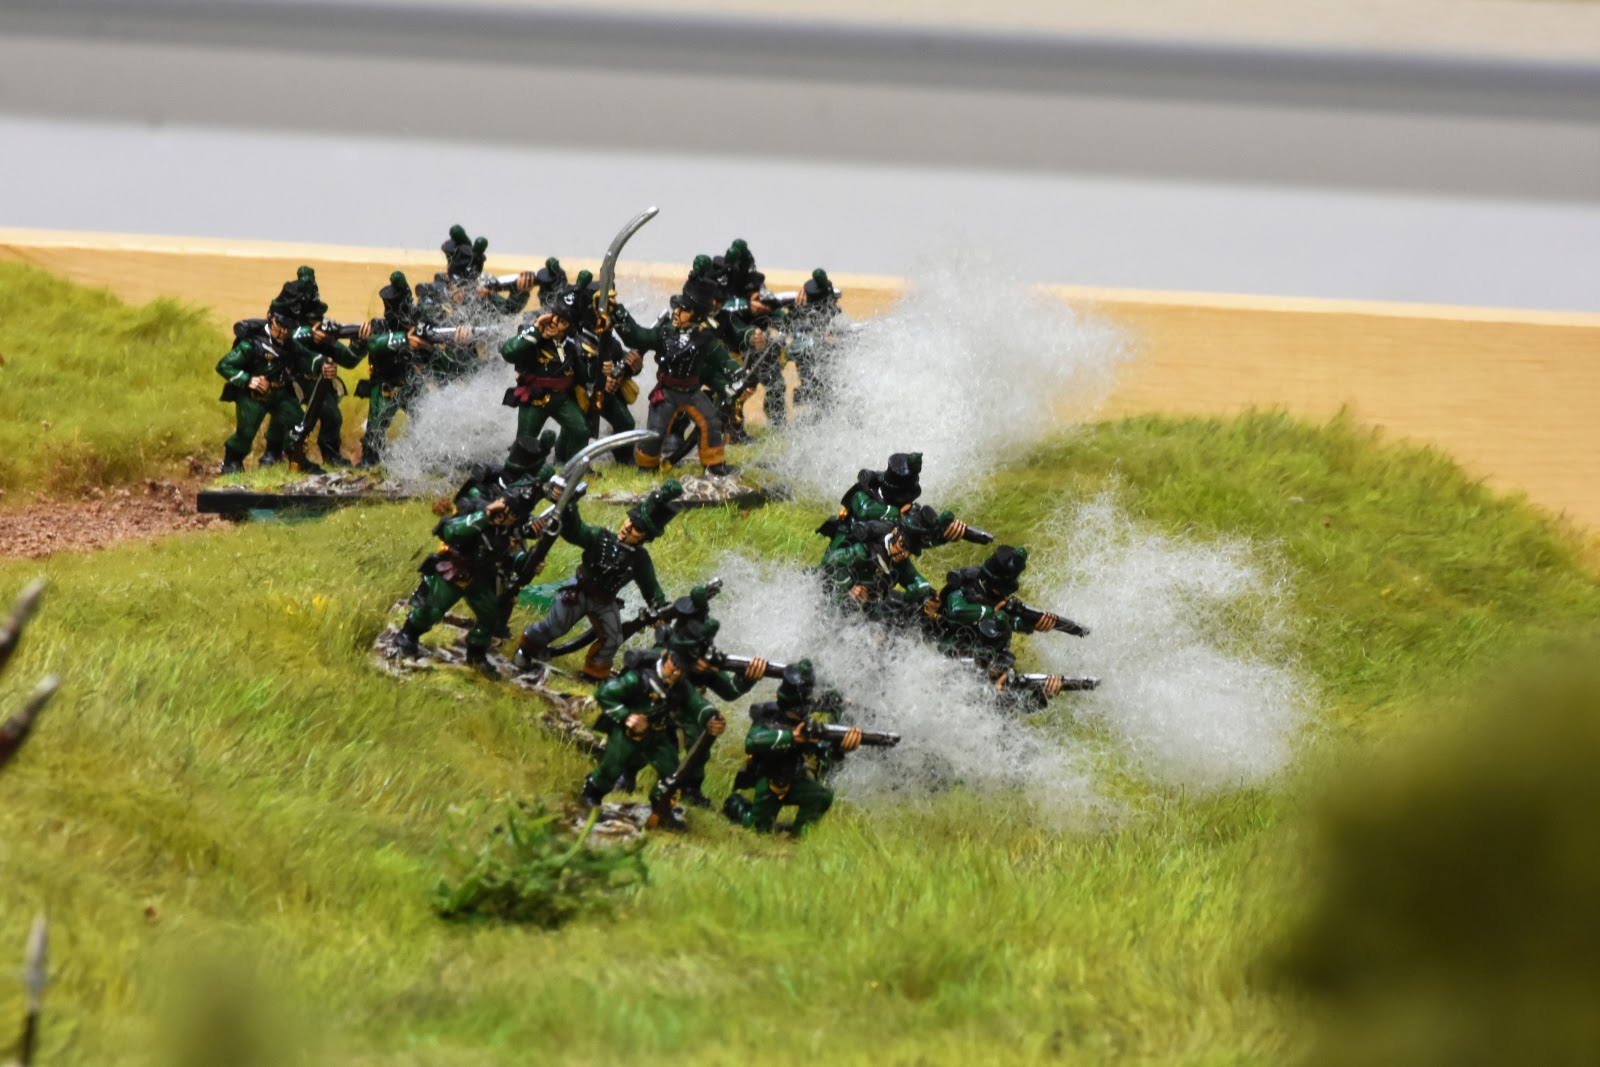


Pictures from mobile phone below ...


There you have it folks!