Saturday, February 16, 2013

Battle Report 2/15/2013 - Bolt Action

I was fortunate to get a game of Bolt Action in last night.  I very much enjoyed my first game of Bolt Action a couple of weeks ago and was excited to get another go at it.  Since the last game I was able to finish basing my Germans ... but I'm still in the process of basing the British.  I still need to fix the helmets on the German MG42 team (MMG) as they should be camo - I'm getting to it soon!  I still have a lot of work to do on my terrain for the period ... but I have enough to gear up a fun game at the moment.

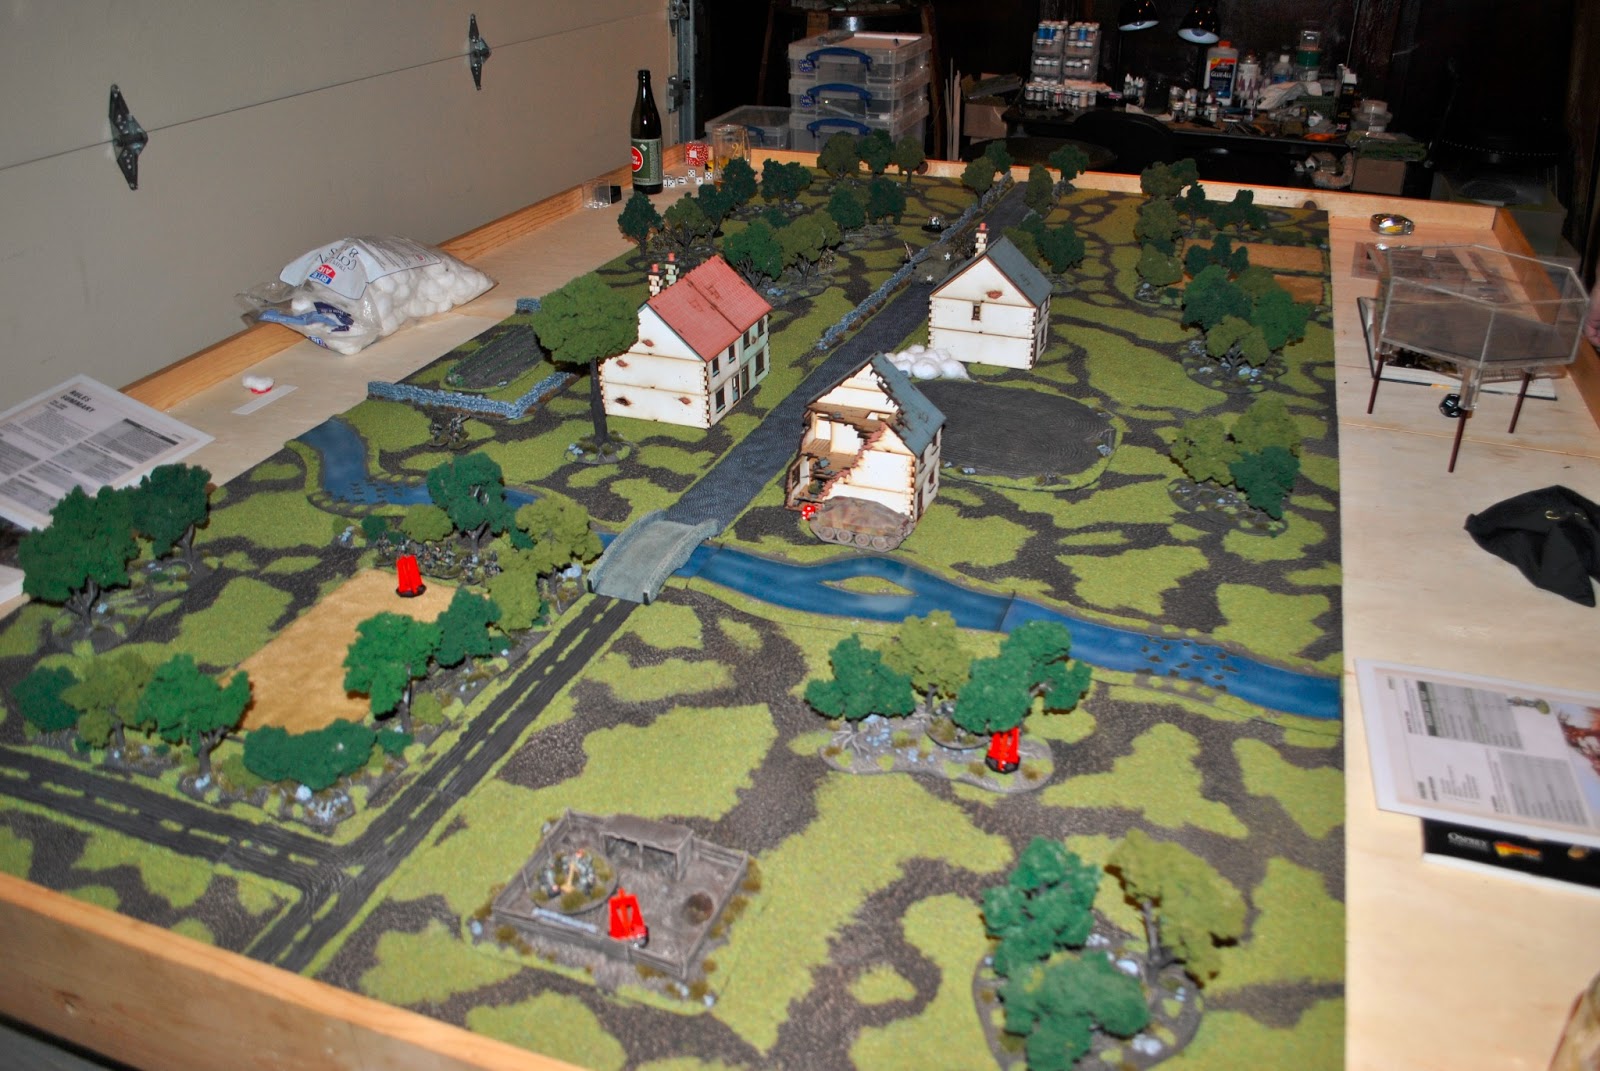
We rolled the "Point Defence" scenario.  The British decided to be the attackers and the Germans choose the table edge nearest the town.  Normally it is expected that the players will play across the 4' table span - but for fun we decided instead to play down the length of my 4'x8' table.  As a result, we adjusted the deployment zones.  Normally the defender deploys 12" in from the table edge - we modified this to 24" (anywhere in "front" of the river - see pictures for table layout).  Normally the attacker moves onto the table in the first turn - we modified this to be a full movement (so each unit got to "run" onto the table to start) - this meant most everything was at 12" with the exception of the Sherman tank which got out to 18" on the main road.

For the scenario, at the end of turn 6 you roll to see if the game continues.

BRITISH ARMY (Roy Scaife)
Regular 2nd Lieutenant (50), 2 x Riflemen (20) = 70pts
Regular NCO + 9 men (100), 1 x LMG (20), 1 x SMG (3) = 123pts
Regular Forward Artillery Observer (free) = free
Veteran Medic (30) = 30pts
Regular MMG team (50) = 50pts
Regular Medium mortar (50) = 50pts
Regular Light Mortar (35) = 35pts
Regular PIAT team (40) = 40pts
Regular Sherman tank (195) = 195pts
TOTAL POINTS = 839pts

GERMAN ARMY (Jay White)

Regular 2nd Lieutenant (50), 2 x Riflemen (20) = 70pts
Regular NCO + 9 men (100), 1 x LMG (20), 2 x SMG (6), 2 x Panzerfaust (10) = 136pts
Regular NCO + 9 men (100), 1 x LMG (20), 2 x SMG (6) = 126pts
Veteran Medic (30) = 30pts
Regular MMG team (50) = 50pts
Regular Medium mortar (50) = 50pts
Regular Hetzer tank (225) = 225pts
TOTAL POINTS = 838pts

The British preparatory bombardment put 1-2 pin markers on most of the German infantry units.  The unit advancing over the bridge took a single casualty.

Turn 1 saw the Germans moving their two infantry sections with Panzerfausts towards the nearest buildings in the town.  The British advanced and not much else of note other than moving into positions.

Turn 2 the two advancing German infantry units gain the two buildings (1st floors).  The British started their Mortar attacks against the buildings.  Most of those attacks saw the rounds explode on the roof level or 2nd level ... not making it down to the first floor.  The Hetzer moved towards and behind the blown up building - in position to pop out and take the advancing Sherman by surprise.  My plan was to activate the Hetzer first, and if it was unsuccessful in taking out the Sherman tank, I would use my medium mortar to lay a smoke screen on the road.  Of course, no plan survives contact with the enemy ...

Turn 4-6 saw the British continue to fire upon the infantry in the buildings while inching forward.  They would not get much farther than this point.  The mortar hits on the building continued to explode on the roof or 2nd floors ... but the pin markers started piling up.  The Hetzer did pop out and I rolled very well and the Sherman tank was knocked out.  That really took the luster out of the British advance.

In the end, on turn 6, we rolled and the game ended.  We started playing the game late at night ... we should have added at least two more turns ... but both of us were tired and Roy (this being his first game) was very happy with the rules/game ... so I'm looking forward to filling out my armies and terrain for this period.

Lots of pictures below.

The table setup - view 1

The table setup - view 2

The table setup - view 3

The table setup - view 4

German deployment

German deployment

German deployment - the red markers are the three
objectives that are required by the scenario.

"Hetzer - dang near killed her!"

Medium mortar provided support primarily
by laying smoke screens.

The two sections with Panzerfausts advanced forward
to occupy the buildings hoping for an opportunity
to fire at the Sherman tank.

The MG42 holds the left flank of the German line.

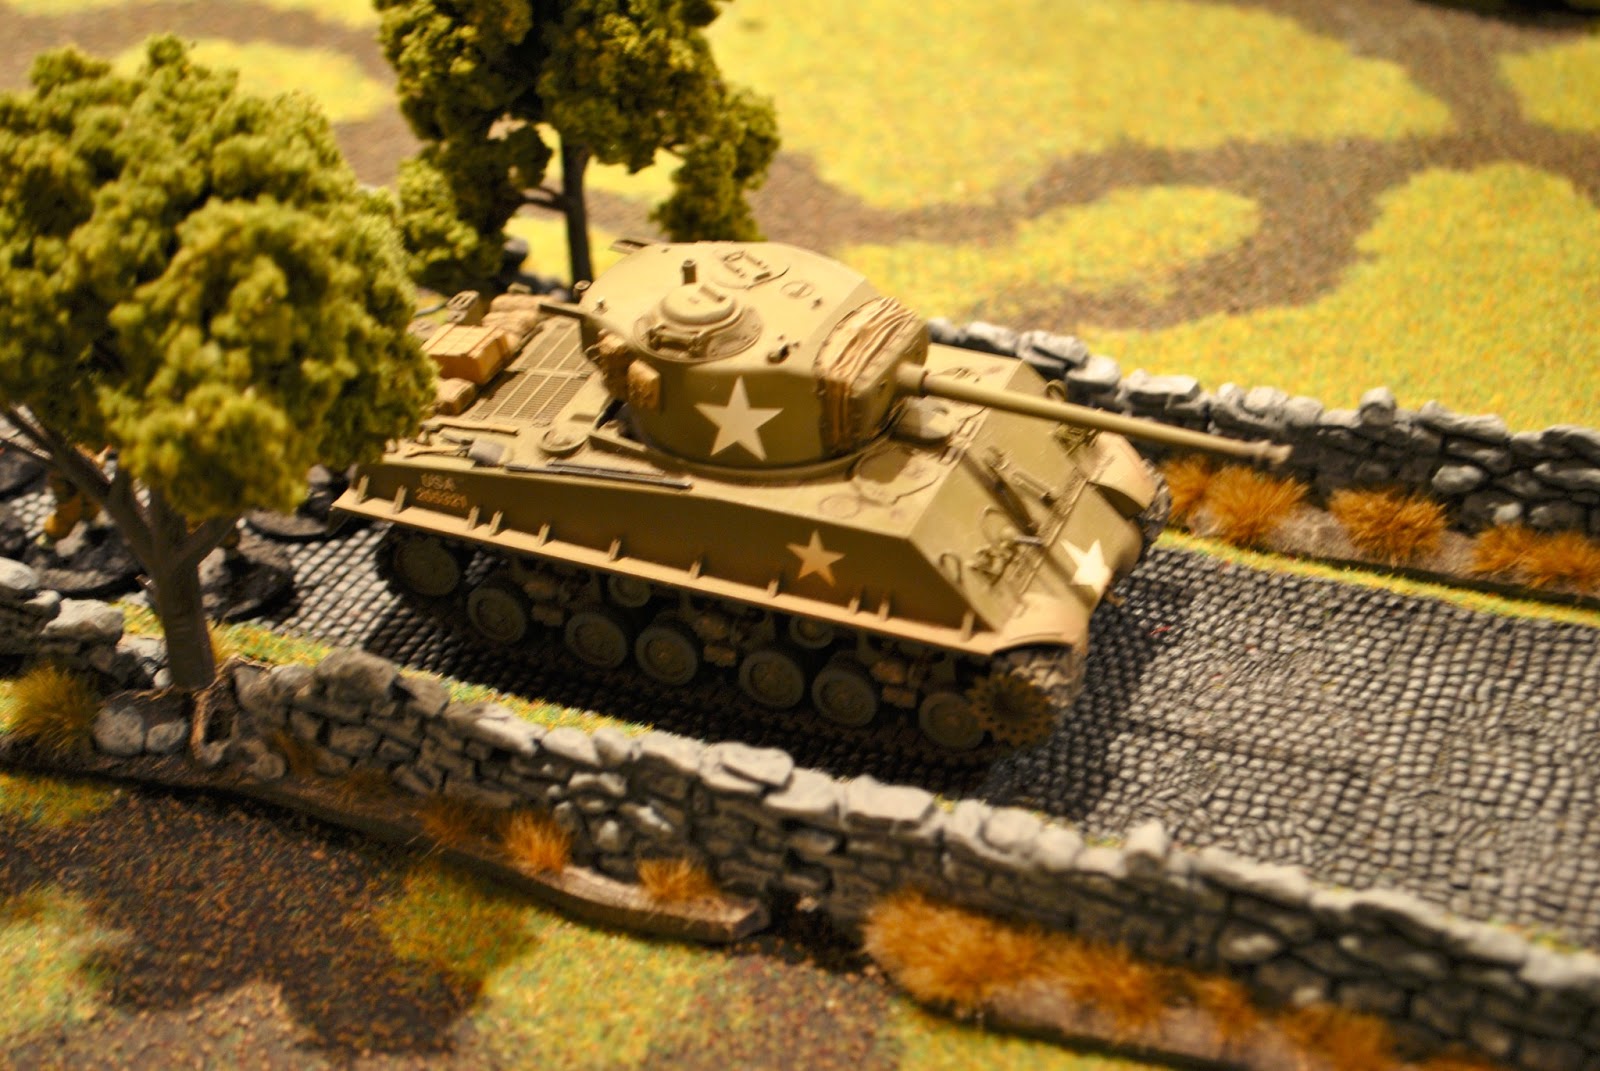
That 75mm is damn nasty!

The British get underway - heavy concentration
against the German right flank.

Everyone is deployed.

End of turn 1

End of turn 1

End of turn 1

End of turn 2 - the Hezter is position to
spring a trap against the Sherman!

End of turn 2

Just one more action ...

The trap is sprung - and my dice are hot!
The Sherman goes "KA-BOOM" ...

The smoking hulk of the Sherman provides
cover for the advancing infantry.

The British continue to push on their right flank
but the German infantry in the buildings
are keeping them busy.

I think we are going to need the PIAT ...

The Hetzer advances to MMG the PIAT team
that has moved out of cover - killing one of the team ...

Two smoke screens are visible.  The British are focusing
medium and light mortar attacks on the "green"
house - the pin marks on the German Infantry
are starting to pile up ...

More pictures ... showing turns 4, 5 and 6 (which when we rolled became the last turn).


Turn 6 - endgame - called in favour of the Germans.
That's all for now folks!

Wednesday, February 13, 2013

Battle Report 2/13/2013 - Muskets and Tomahawks

I had a great game with Geoffrey Hummel this evening.  We played on a 4'x4' table.  What was excellent about this game to start was this is the first time I truly used an Indian-only force.


BRITISH FORCE (Geoffrey Hummel)
Scenario: Protection - 10% of points are used to purchase civilians.  At least 1/2 of the civilians must survive the game.  Roll 2D6 at the end of each turn - if the result is equal to or less than twice the number of turns completed the game ends.
Side Plot: 66 - Let us thwart their plans!:  To fulfill the conditions of this side plot the opponent must not achieve theirs.

Officer (25pts) = 25pts
8 x Regular Infantry (64) = 64pts
8 x Grenadiers (88) = 88pts
6 x Rangers (54), Marksmen (6) = 60pts (started in reserve)
=297pts

Morale Card = added after 15 casualties
5 x Civilians (10) = 10pts (required by the scenario)

INDIAN FORCE (Jay White)
Scenario: Scouting Mission - divide the table into 4 equal quadrants.  All 4 quadrants must be scouted (friendly models within the quadrant at the end of a turn will scout that quadrant).  Once all quadrants are scouted at least 1/3 of your figures must leave your table edge (game ends immediately once that is done).
Side Plot: 45 - Emotive:  Your Officer doesn't want the blood of his men to be spilled for nothing.  If at the end of the game the Morale card of your side has never been played and resolved, you have fulfilled the conditions of this side plot.

Indian Sachem (20), Guerrilla (10), Hunting Rifle (2) = 32pts
6 x Indian Warriors (42), Braves (6), FIW Veterans (12) = 60pts
6 x Indian Warriors (42), Braves (6) = 48pts
= 296pts

Morale Card = added after 16 casualties
1/3 of force = 11 figures

Turn 1
Random Event: 53 - Hate and vendetta:  Until the end of the turn, all units gain a +1 bonus to all their Aggressiveness rolls.

The Rangers fail to appear.  The Indians move forward on all fronts and take cover where possible.  The British Regulars and Grenadiers hold steady in the village and buildings.  Some shots are exchanged to no great effect (poor rolling).  One of the veteran brave units charge against the British Grenadiers that had just moved into the large building.  Tomahawks were thrown (making a lovely display in the side of the house - no effect).  The Indian recoil and lick their wounds ... but not before the Grenadiers charge out and force the Braves to recoil yet again.  That additional +1 bonus to Aggressiveness rolls comes in handy ... although we both roll terrible. 

At the end of turn 1 the Indians have scouted 3 out of 4 sectors.

Turn 2
Random Event: 46 - When everything else failed, pray:  Each player rolls a D6.  This is the number of single D6 re-rolls that players receive.  Each of these re-rolls may be spent to re-roll a single D6.  When the Event card 1 is played again, all unspent re-rolls are lost.
*We both rolled a 5.  I ended up using all 5 re-rolls but Geoffrey lost 3 of them (unused) when the Random Event card 1 came up early in the 3rd turn.

Both Ranger units are still absent.

My second veteran Brave unit that had scouted the far side of the right-hand side of the board starts back - taking the opportunity to melee the remaining Grenadiers (after throwing tomahawks ... again to no effect ... primarily because the Indian shooting dice haven't been very hot).  Both sides take casualties (single Grenadier left and single Brave) ... but the Grenadiers inflict one more casualty then the Braves ... who end up routing.  Two Braves remaining from the first melee with the Grenadiers manage to mop up the last survivor with some well placed musket shots (from the protection of a nearby wood).

Additional shots are exchanged between the British Regulars in the house and the Braves moving up the stone wall.  The British Regulars in the house become shaken (loose an action on their next activation) - this from getting a recoil result while in the building (as they will not leave the heavy cover).

The Braves moving up the left-hand side of the table achieve the far side sector and scout it.

At the end of the turn all sectors have been scouted.  At this point the British have suffered 13 casualties while the Indians have suffered 14.  Time to get 1/3rd of my force off the table to win (before I take 16 casualties).

Turn 3
Random Event: 44 - A leader is born:  Randomly determine a unit.  One of the figures of that unit becomes an Officer, and counts as a separate unit from now on.
*This ended up randomizing to the unit of Civilians (ha!) - so a new Civilian Leader was born ... and promptly hid in the house with the rest of the Civilians ...

One of the Ranger units shows up!

Not much to say for this turn.  The Braves dropped everything and high-tailed it towards their table edge.  I was able to exit 9 figures quickly (leader, 6 x Indians and 2 x Indians).  I had 4 remaining Indians by the stone wall who made it back - once they exited the game ended in an Indian victory.  The side plot was achieved for the Indians as the Morale card had not been resolved during the game.

A valiant defence of the village by Geoffrey ... all civilians survived ... but since I achieved by sub plot, he did not.

Pictures below ...

Initial deployments.

Getting underway ...

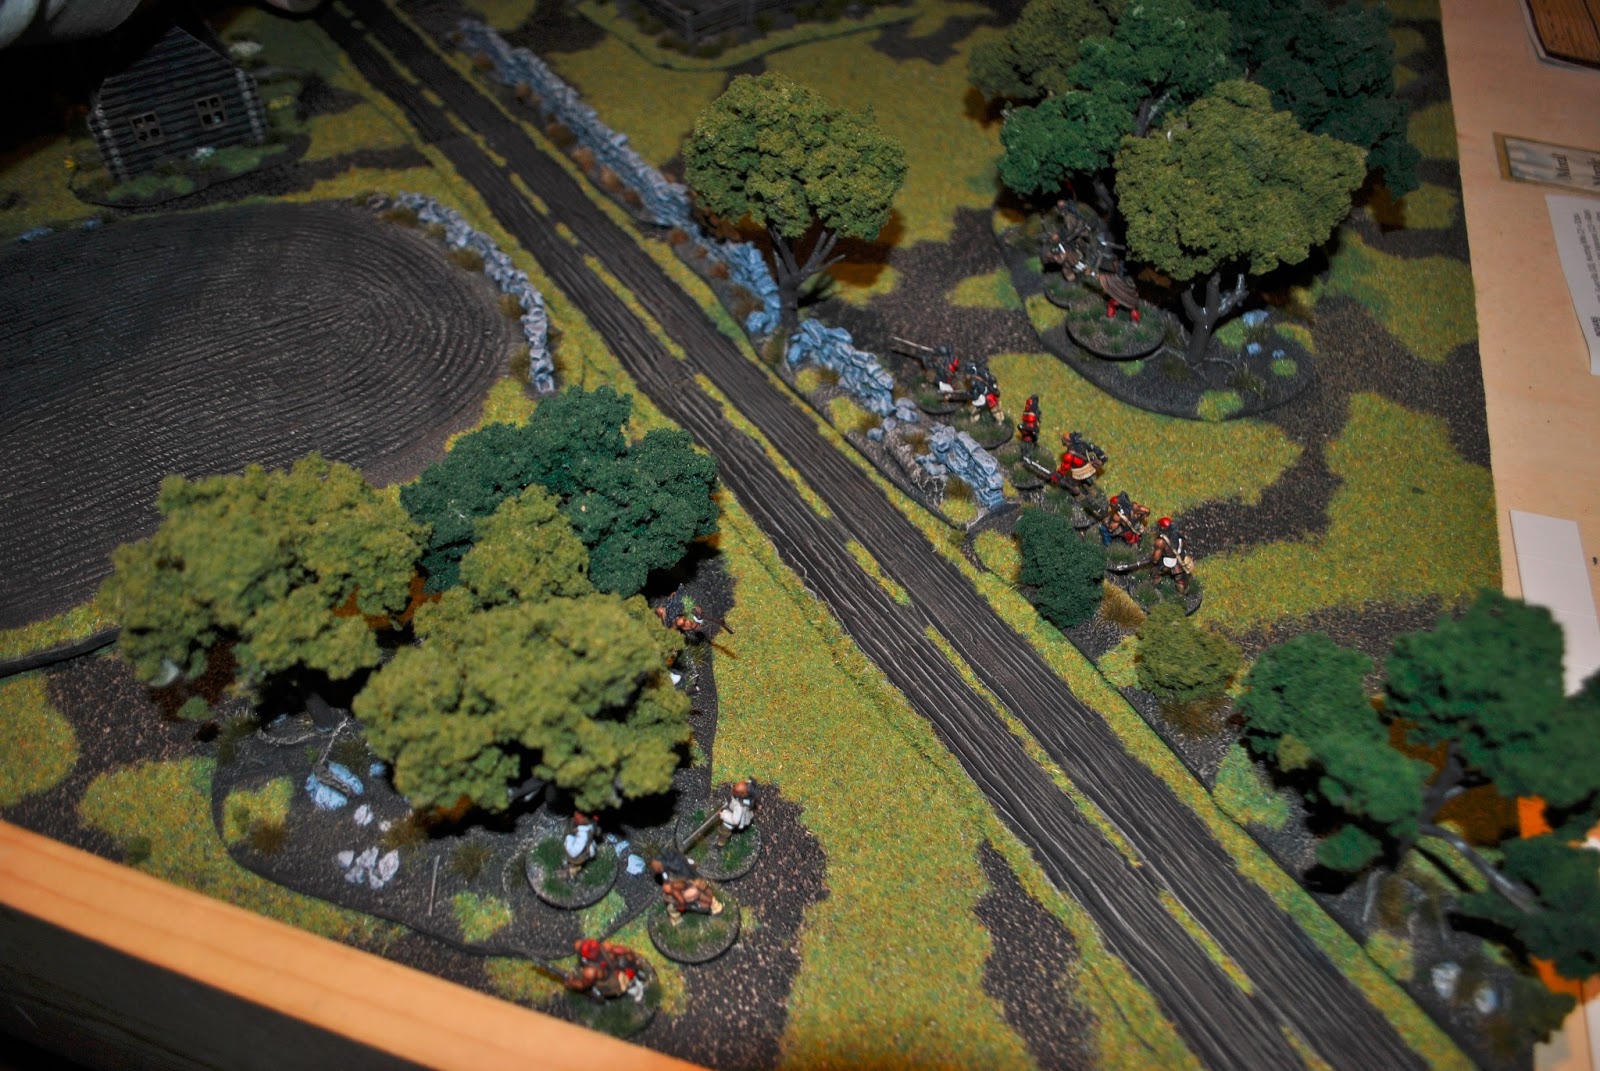
Without the Rangers on the board my braves
make a run to scout the far side of the table.

Braves moving up to put fire into the near building
full of British Regulars.  The Braves near the table edge
need to run up and scout the far side of the table.

The British Regular and Grenadier garrison.

The Grenadiers (top-left) have charged out of the house
into a group of Braves.  They manage to recoil the
Braves after two rounds of melee.


My Braves make it to the far side of the
right-half of the table and successfully scout.

The Braves on the left-half of the table
make it to the far side as well.

After scouting all quadrants the remaining units
make a run for the table edge.


Indian victory!

That's all for now folks!

Saturday, February 9, 2013

Bolt Action Germans

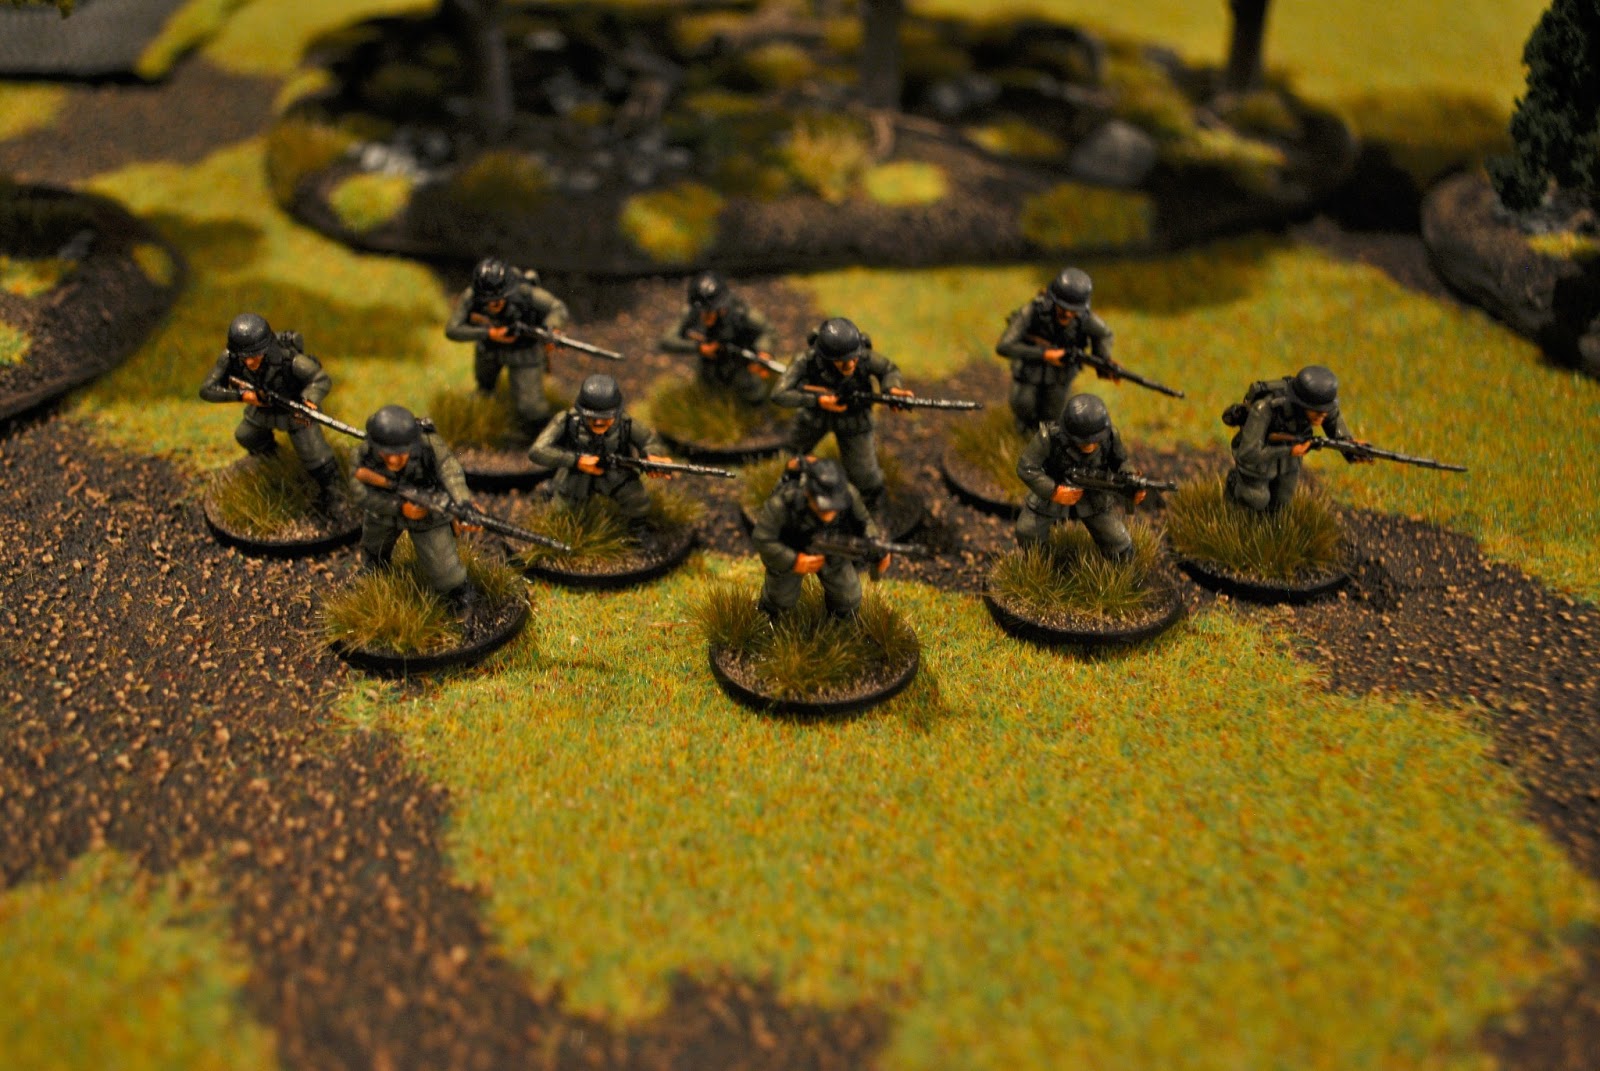
I've managed to get my first wave of Germans completed for Bolt Action.  This is the basis for my grenadier company - I'm painting a PaK40 at the moment - crew is done, but that will be added to the current group soon.  I'll have British done shortly (working through basing now) - same sized force for the most part.  I hope to follow up this batch with British airborne and German Fallschirmjager - 500 points each.  I also have several vehicles in the works that should make for some interesting supported options.

Right now I have:

1 x Officer with two extra riflemen
1 x Medic
1 x FOO
1 x 10 man section (2 x SMG, 1 x LMG, 7 x riflemen)
1 x MMG (MG42)
1 x Mortar (81mm)

Pictures below - enjoy!

The platoon sized force so far ...

81mm Mortar Team

MG42 MMG Team

MG42 MMG Team

Specialists - Medic and FOO

Medic and FOO

My (optional) Panzerfausts

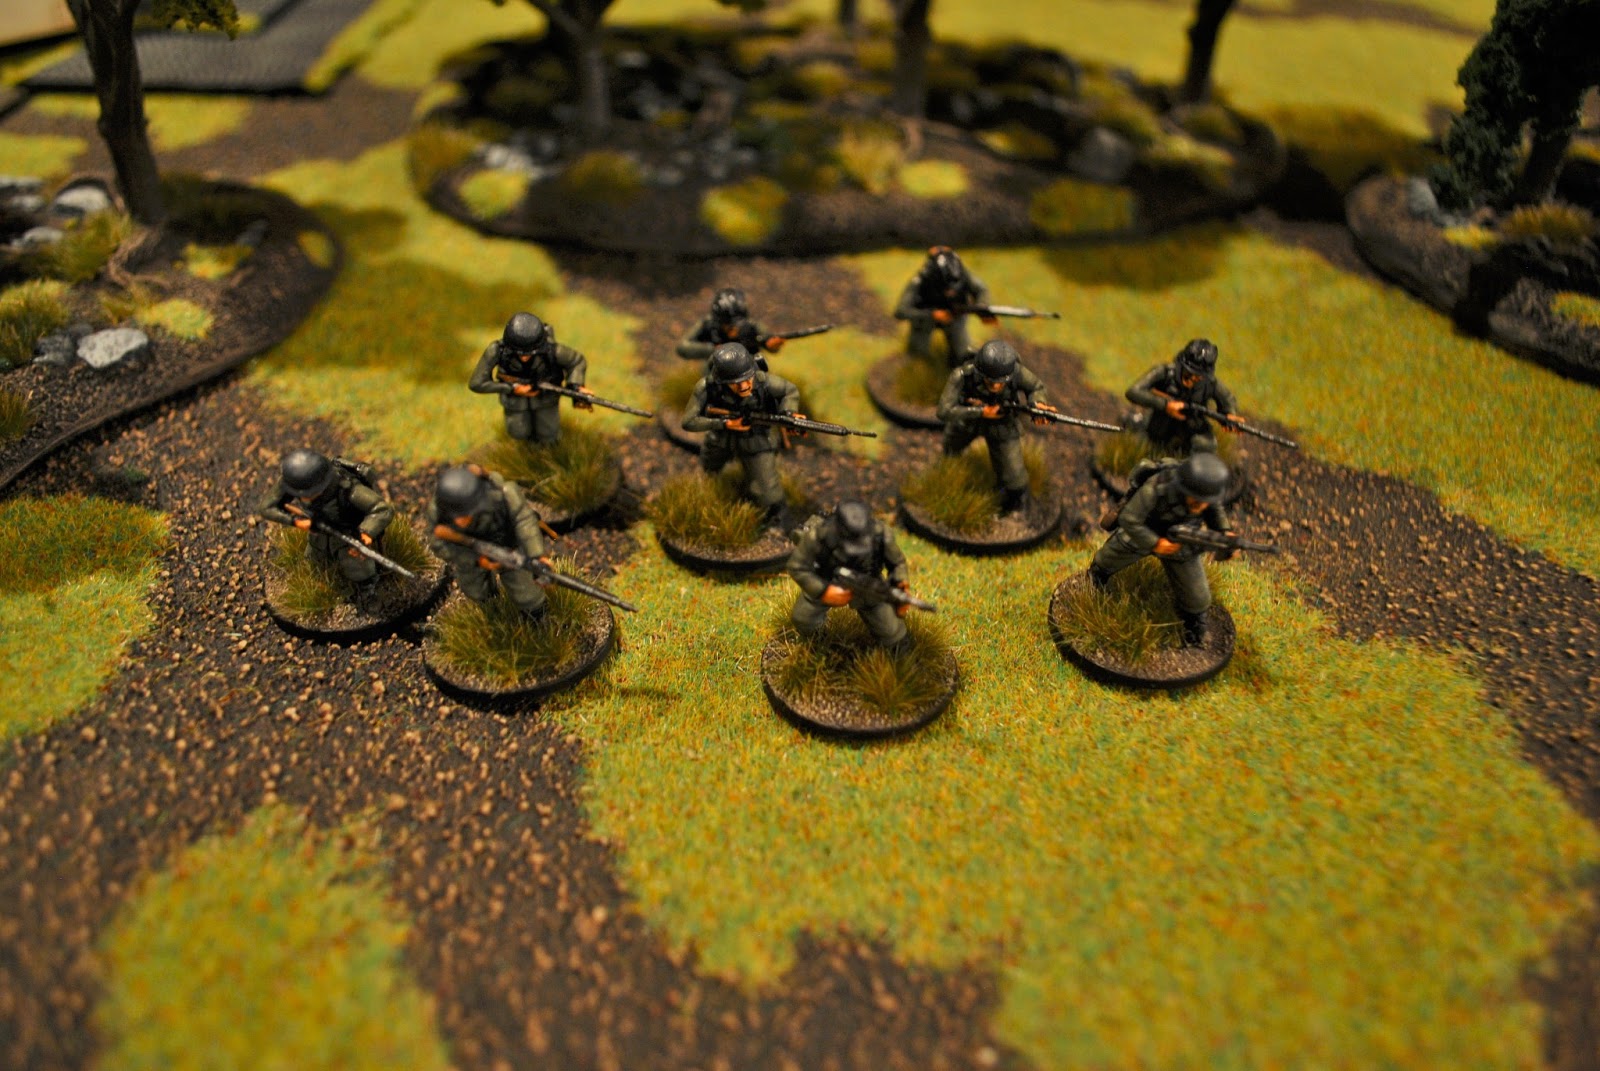
1st Section

2nd Section

3rd Section

Officer with additional riflemen

In addition to the infantry, I also have a few vehicles ready for action.

King Tiger

Hetzer - "dang near killed her!"

Sherman (ok, not German ... but done)

That's all for now ... but stay tuned for more soon.

Sunday, February 3, 2013

Bolt Action WW2 Rules - First Impressions

I was able to get my first game of Bolt Action this evening.  I've read the rule book a couple of times to date and I'm in the process (as evidenced by the pictures) of basing my British and German armies.  I found the rules easy to read, well thought out and quick to pick up.

I decided to keep things simple for the first game.  The troops used are as follows:

BRITISH (all regular)

1 x Officer (2nd Lieutenant)
2 x Riflemen

1 x Forward Artillery Observer (free for British)

1 x NCO (SMG)
1 x LMG
8 x Riflemen

1 x NCO (SMG)
1 x LMG
8 x Riflemen

1 x NCO (SMG)
1 x LMG
8 x Riflemen

1 x MMG

GERMAN (all regular)

1 x Officer (2nd Lieutenant)
2 x Riflemen

1 x NCO (SMG)
1 x SMG
1 x LMG
7 x Riflemen

1 x NCO (SMG)
1 x SMG
1 x LMG
7 x Riflemen

1 x NCO (SMG)
1 x SMG
1 x LMG
7 x Riflemen

1 x MMG

Only a few pictures since this was just an "introduction" game ... I'm working on my WW2 terrain and look ... for this game I had put out some of the 4Ground WW2 buildings and my new cobblestone roads.  Both John Lantz (playing the British) and I had a grand time - the game was fluid and fun.  The dice activation system is outstanding.  I need to spice up my pin markers (ended up using small white dice).

I've heard that many think the MMG's in the game to be under-powered because they don't mow down entire units.  I think they have struck a nice balance with them.  They could be a touch more powerful but I think it would be hard to accomplish that - for example, my first thought would be to inflict two pin for each shot (vs. the standard one) ... but I think they would swing it too far in the other direction.

Close combat is deadly.  If you are the loser of close combat your unit is destroyed.  Although one may think this a little harsh, I like it ... hits are automatic in close combat so you are just rolling for casualties.  SMGs are especially important at this point as they get two dice in close combat ("assault" rule) ... they made a big difference for the Germans who had two in each section.

John and I focused on getting through the game, taking some extra time to make sure we did things correctly ... but even with that the game moved along at a steady pace.  The Germans won primarily because they caught a British section in the open attempting to enter one of the buildings (they were partially behind a building, but the Germans got around to their flank so they could fire at them in the open).  They got shot up very bad and essentially failed their order tests which kept them in the open (although "down").  After that section got hit a second occupied a house, which a German section was able to sneak up on (from the side of the house with no windows).  The German section engaged in the British in the house in close combat, starting <6" from them (so no reaction fire from the British on the move in).  I rolled hot and managed to win (thanks to those two SMGs).  Normally in close combat the attacker inflicts casualties before the defender can strike back (favoring the attacker significantly IMO), but when the defender is defending an obstacle or building the combat is simultaneous.

One thing we forgot to do throughout the first half of the game was to remove a pin marker from a unit that is pinned that successfully passes an order test (for something other than a down order, which is automatic when you are pinned - since you don't take an order test you don't loose a pin).

Only a few pictures as I'm still in the process of basing and doing terrain ...
Starting the game with the Germans on the
near side and British on the far side.


The battle climaxed over the central buildings with the
Germans assaulting the buildings and winning.
I look forward to many more games of Bolt Action in 2013!