Before jumping into the many pictures I took, I did take a short video while I was playing in a Sharpe's Practice game. It pans around the room and you can see it is busy - even though this was during Saturday afternoon, this was representative of Friday, Saturday, and Sunday. I'd even argue that Sunday was the busiest.
Russia Resurgent
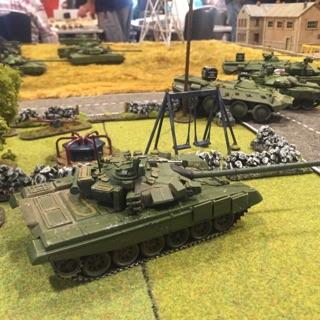
This game was based around a small French forces positioned at the edge of a French town on the border. The Russians managed to break through the Fulda Gap and pushed to the French border before the NATO nations could get reinforcements into the European theater of operations. The Russia orders where simple, use superior numbers and rapid advance to overwhelm the enemy forces - or suffer the ill report of the political officer! The French had to hold the town and slow down the Russians as much as they could.
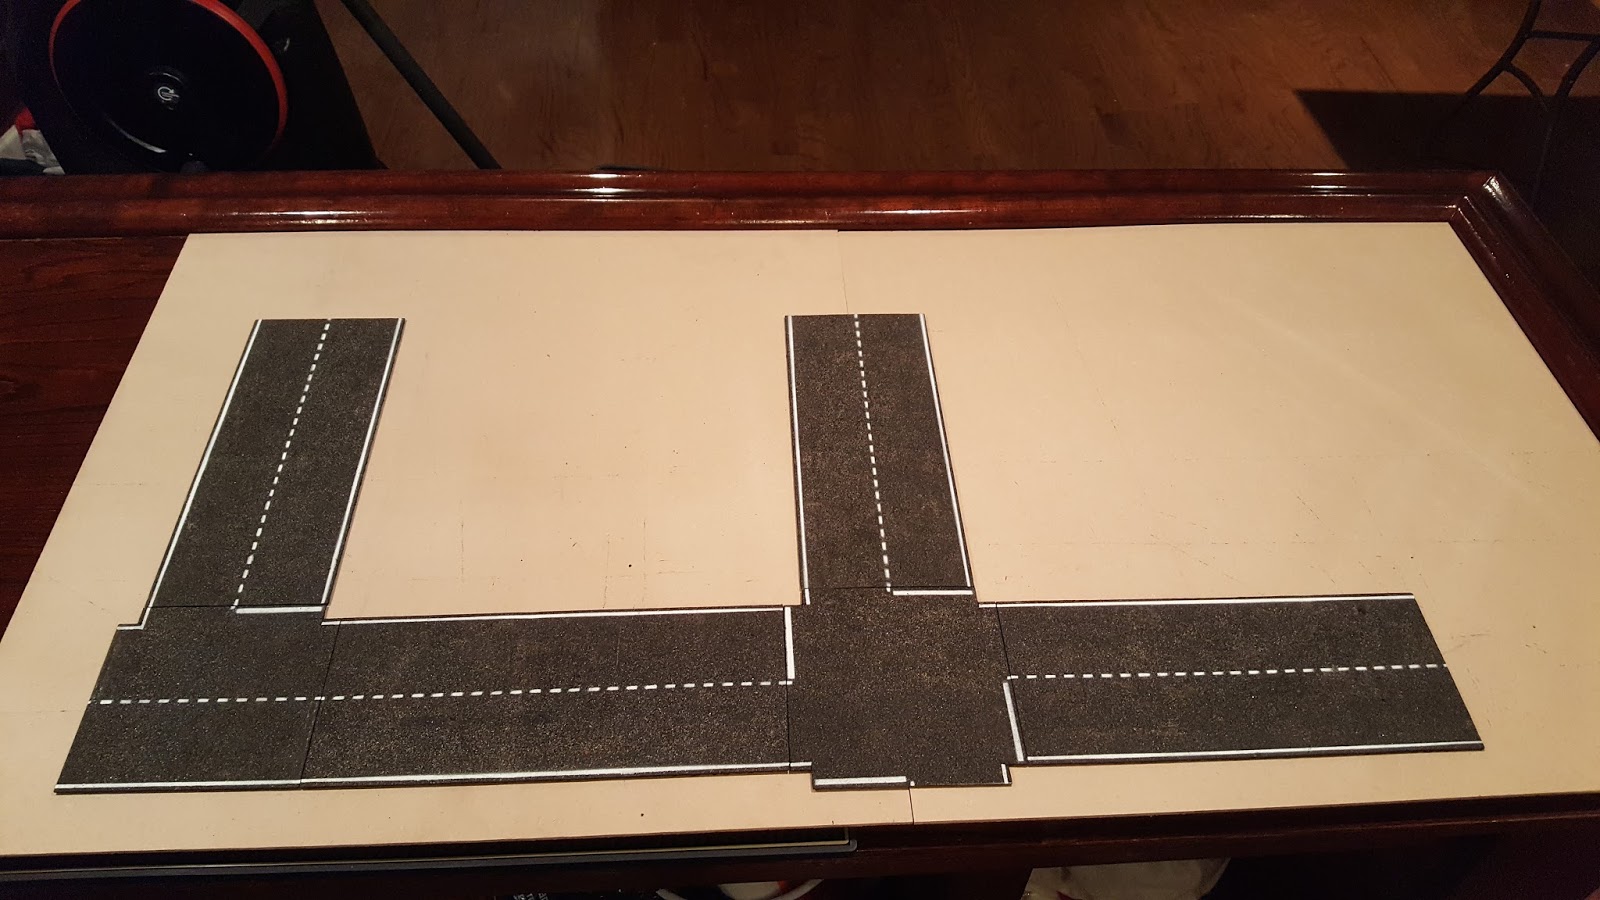
You can see all sorts of new stuff I did for this table: high tension electrical power lines, new trees/bases, paved roads, French armour, playground (needs more work), and more!




Downtown Baghdad
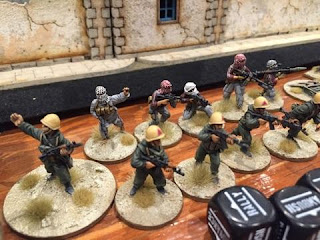
This scenario was different from what I've been running for Operation Iraqi Freedom. A senior Iraqi official for the newly created provisional Iraqi government is attending a "hearts and minds" event - trying to make things look like they are getting better. The press and many civilians are in a small park/square with a mixed USMC and British Army contingent providing a security perimeter. The former Iraqi army and insurgents have planned to start their insurgency by capturing the Iraqi VIP so he can be executed in a video for propaganda. The coalition forces must evacuate the VIP to safety if the situation becomes too dangerous.
The primary egress route was compromised by an IED, so the VIP had to be evacuated through the secondary route. The coalition suffered several casualties, including losing a Warrior IFV, but managed to pull off a minor victory.




The primary egress route was compromised by an IED, so the VIP had to be evacuated through the secondary route. The coalition suffered several casualties, including losing a Warrior IFV, but managed to pull off a minor victory.


Sharpe's Practice
This game was put on by the famous Adam Clark (http://adam-clark.com). I played as one of three French players, running the left flank with Dragoons, Lancers, and a small Grenadier unit. My flank saw a lot of action early, with my Lancers jumping out early to route the British Hussars, but then being shot into oblivion by British infantry and riflemen. The battle then shifted to the other sectors, with the final action taking part in the center. British victory.


WW2 Late War (Bolt Action)
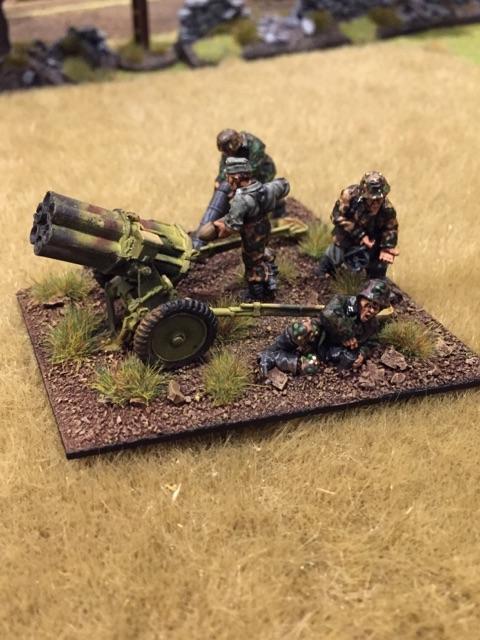
Roy Scaife ran a great game for Bolt Action WW2. This was late war, with the US forces advancing into Germany and facing mixed German resistance. The US pushed hard but in the end the Germans managed to push them off for the day. The US, pushed back by superior armour, fell back and called in the air corps. I was a bonehead on this one and completely forgot to take lots of pictures, so I only and a small number (also, my phone was charging at the time).




54mm Wooden Wars Imaginations
The awesomely creative Thomas Foss (http://skullandcrown.blogspot.com) ran his 54mm Imagination game (essentially WSS). Every single miniature in this game, and game aid, is laser cut. It is a truly unique game, plays easy and fast, and is very fun. I played a brigade on the left flank, helping defend a city. I was rolling hot (using someone else's dice, not mine!) and managed to roll the advancing flank opposite me. Had a blast - as is guaranteed at a game Thomas is running.


Other Games
Below is an assortment of some others games I took pictures of - two key ones being an impressively large and outstandingly painted Wargods game - using the Clash of Iron rules. Another great game was Alamo - which you can see below and in the video at the top of this post.


Well, that is about it ... also played lots of board games. I hope you enjoyed all the pictures. Now I can get back to some regular projects and get more gaming happening!