Sunday, April 7, 2013

Battle Report 4/7/2013 - Muskets and Tomahawks

I was fortunate to get a game of Muskets and Tomahawks in today at my local game store (Game Kastle).  The ever friendly and helpful Seth played the French and Indians while I took on the role of the British.

FRENCH
1 x Regular Officer
12 x Regulars
8 x Compagnie Franches de la Marine
1 x Indian Leader
6 x Indians
6 x Indians
6 x Indians
6 x Indians

BRITISH
1 x Regular Officer
12 x Regulars
12 x Regulars
8 x Grenadiers
8 x Rangers
8 x Rangers
2 x Wagons (being escorted)
20 x Settlers (for the scenario)

We played on a 4'x6' table.  The French objective was to kill all the settlers.  The British objective was to successfully escort their two wagons off the opposite end of the table.  The French sub-plot was to have their officer avoid bloodshed (he couldn't kill anyone during the game).  Ironically, the British rolled one less than the French and their officer had to kill 6 enemy figures in either combat or via shooting by the end of the game.  This was not to be accomplished for the British ... the French however did successfully fulfill their sub-plot.

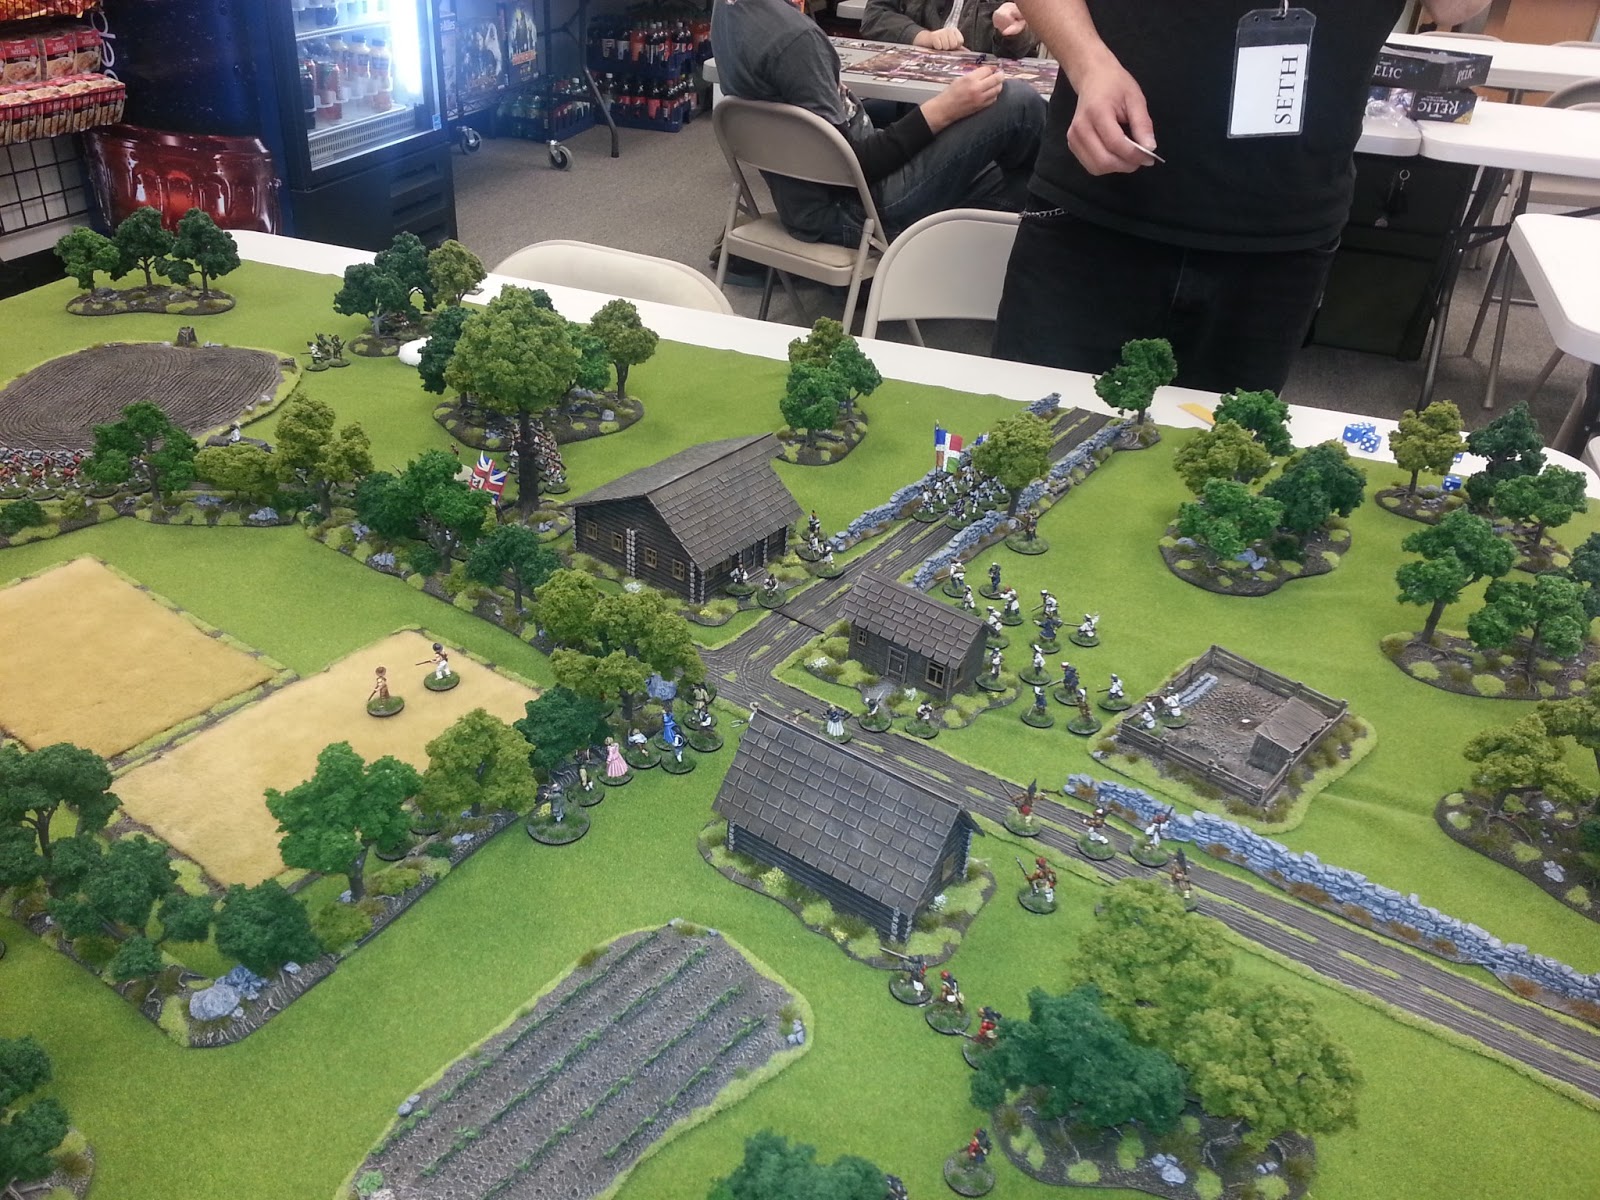
The settlers all setup in and around the small town/cluster of buildings with their fine Mayor attempting to calm everyone down as a British column was nearby and coming to save them (but not soon enough as they would find out!).  Two of the Indian units lay in ambush in the woods along the road to the town at the start of the game - three markers were deployed, one was a dummy marker.  The French and Indians not in ambush started the game either side of the town (long table edge) and near the table edge.  The British column was already well underway heading towards the town on the main road.

We played four turns before the last of the settlers were killed.  The first unit destroyed was one of the French Marine units ... but in a fit of bad luck the random event for that turn was unexpected reinforcements - so that destroyed unit showed right back up again ... nothing like having to kill that same damn unit twice!  But it was a nice twist that really only sped along the inevitable.

I have to say I very much enjoyed playing with lots of settlers around the town.  The French had their work cut out for them.  One of the random events rolled resulted in the civilians not trusting any soldiers (friend or enemy) - so a pack of them fled away from their protectors - and ultimately into the hands of some unfriendly Indians.  Many scalps were taken during the course of this game.  In fact, the number of tomahawk thrown melee's that occurred was high (Rangers, Indians and French Marines all participated in several of these throughout the game).  Lots of fun when you get to throw tomahawks!

In the end however, all the settlers were killed.  A fatal flaw on my behalf was not deploying one of the regular units out into the wheat fields to provide protection for the fleeing townsfolk - I got all jammed up on the road and ended up fighting over the large house - which I eventually lite on fire.

I very enjoyable game with a great opponent - thus continues my 100% enjoyment of/satisfaction with, the Muskets and Tomahawks rules.  Pictures below.

Forgive the quality of the pictures as I had left my nice camera at home and had to use my mobile phone to take the pictures.

A great day for a game at Game Kastle.

The British column.

Settlers milling about - what to do!

The Mayor attempts to clam people near the t-intersection.

Chaos ensues as the French advance.

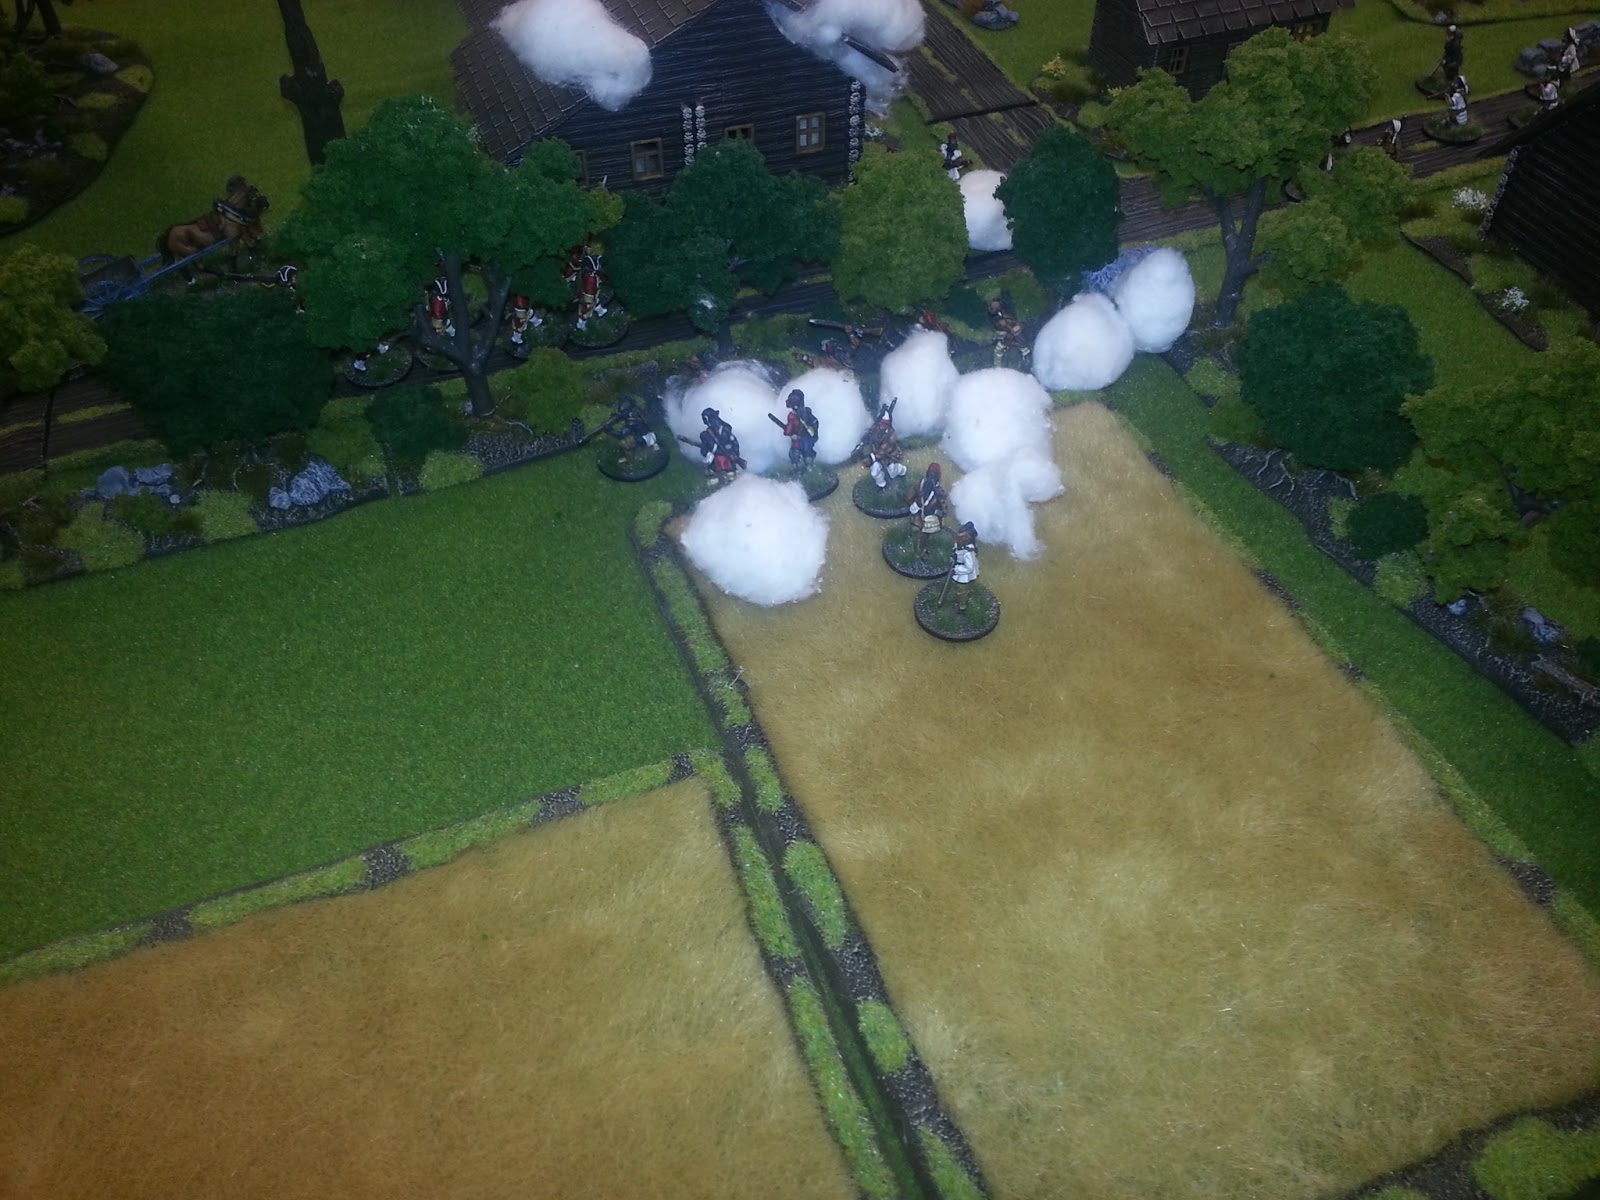
Rangers and Indians duk'in it out tomahawk style!

Seth rounds the table reveling in his scalping of innocents! 

The settlers flee towards the fields.

Indians running down settlers in the fields.

The main house is on fire!

The scene of the last settlers stand.
"Game over man, game over!"

Burn baby, burn!

Until next time folks!  Canadian Militia - just finishing up their bases with tuffs so should have pictures of those up soon.

Sunday, March 31, 2013

Civilians and Settlers for the French and Indian War

Work has been extremely busy lately which is why I've been silent for a few weeks ... however fear not as progress has been made on several fronts!  I've been fortunate enough to have another large wave (perhaps my final wave) of French and Indian War miniatures completed for Muskets and Tomahawks.  I'll be making a separate post for my French reinforcements that are done now - this post is focused on the civilians and settlers that will be filling out my local habitations - both native and not.  Once again a special thanks to Artmaster Studio for great work.

First up, those awesome Perry Miniatures wagons that are available.  I just had to have these are they are a excellent added touch to any battlefield.  I have three wagons of various sizes that I'll use for scenarios (escort for example) or to just add some flavor to the local battlefield.

Powder cart, Perry Miniatures AW125

Tumbrel cart, Perry Miniatures AW127

Ammunition wagon, Perry Miniatures AW126

I've added 12 native "civilians" as well (as I have a few long houses and will do up a small native settlement).

Conquest Miniatures

Conquest Miniatures

Redoubt Enterprises

Redoubt Enterprises

My american colonists are led by the Mayor (local leader) and his lovely wife.

The Mayor and his wife (or mistress)

Rounding out the american colonists are 20 of the sort you'd find around town or on a farm.  These are a mix of Conquest Miniatures and Perry Miniatures.

American colonists

American colonists

American colonists

American colonists

I'm working through basing a new French regiment of regulars (La Reine) and an officer and two units of Canadian Militia (Coureur des Bois).  I'm also doing a large batch of Bolt Action vehicles for my German and British armies (~15 vehicles), and of course more terrain - so lots to come!

Wednesday, March 6, 2013

Anti-tank? Yes please!

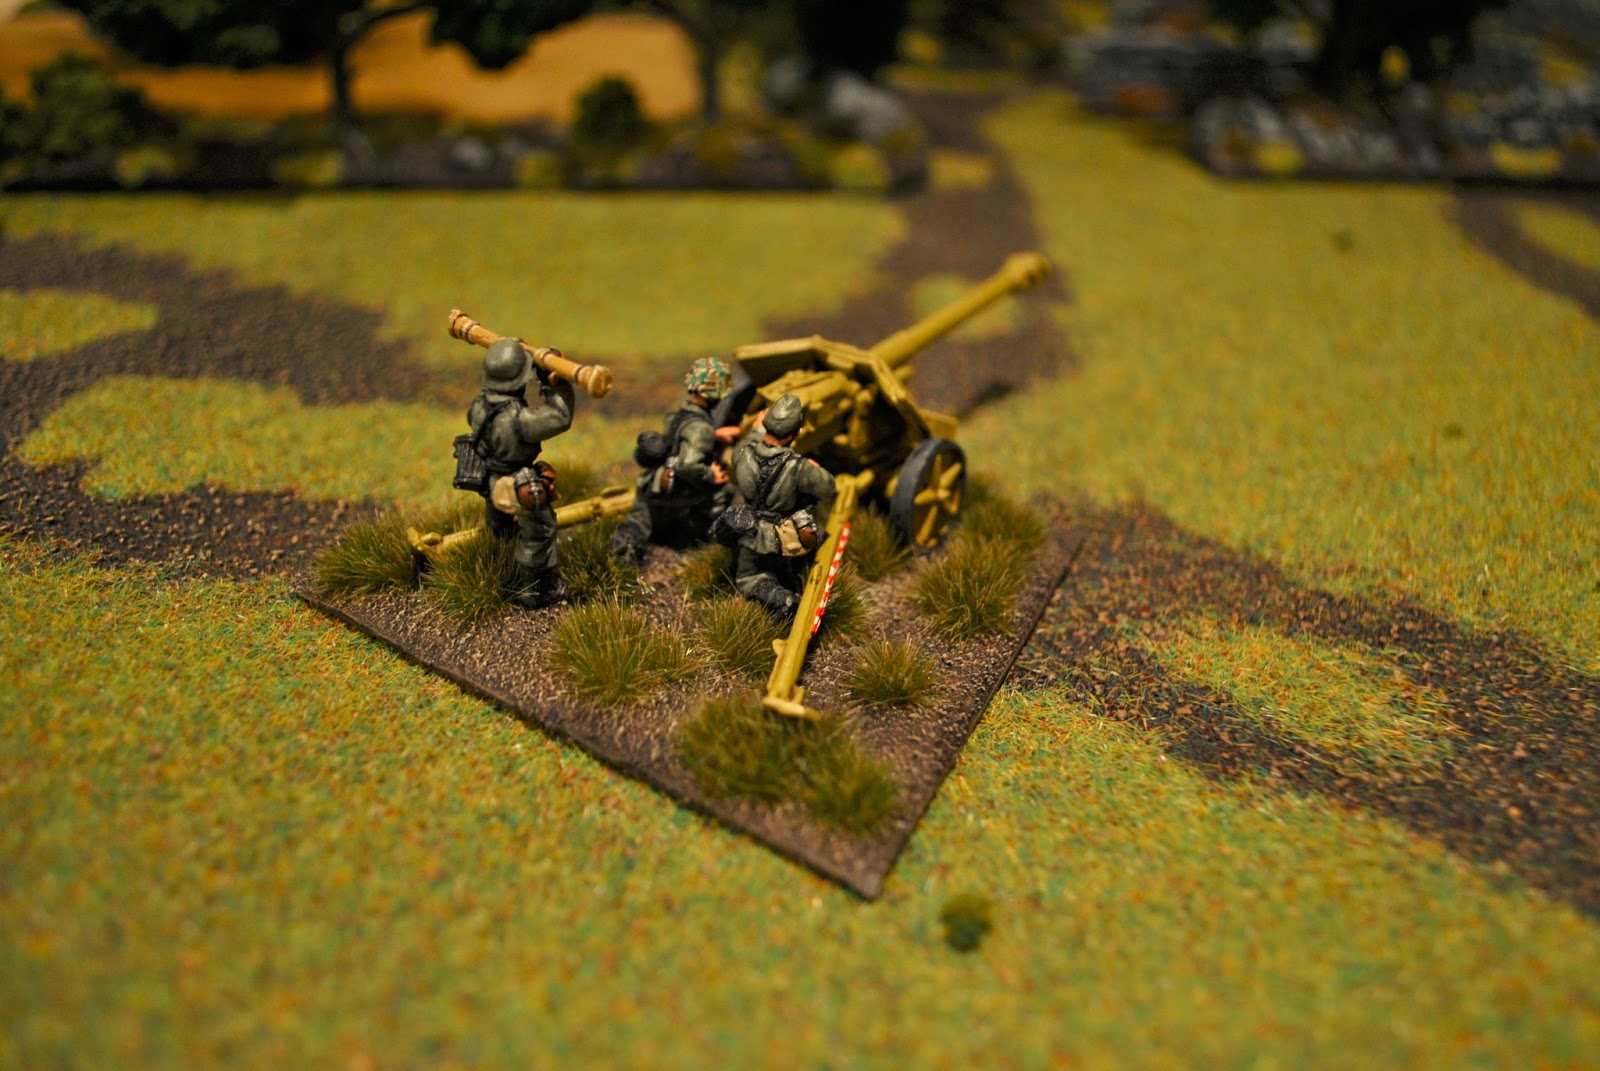
I just finished painting my British 6pdr anti-tank gun.  I also wrapped up my PaK40 the other day and now both my British and German armies have anti-tank gun teams added to them.  I haven't done any camo on the PaK40 yet ... I may do it ... I may not ... going to wait and see.

Before we get to the pictures ... how about a quote from Kelly's Heroes (after Cowboy drives into the barn at the beginning and crashes into a support column):

Corporal> "God dammit Cowboy!"

Cowboy> "I don't know what shit you talk'in bout boy; there aint three tanks out there, there's about 20 of them - aint that right Willard!"

Man I love that movie!  Pictures below of the gun teams.

Ready for action!

British 6pdr

British 6pdr

British 6pdr

British 6pdr

German PaK40

German PaK40

German PaK40

German PaK40

I'm looking forward to using these soon in a game of Bolt Action!

Saturday, March 2, 2013

Explosions and Craters

With my recent games of Bolt Action I've been inspired to build some blast markers/explosions and some craters to represent artillery and mortar strikes.  Hopefully you like them --- I'm looking forward to using them in my games!

Materials list:

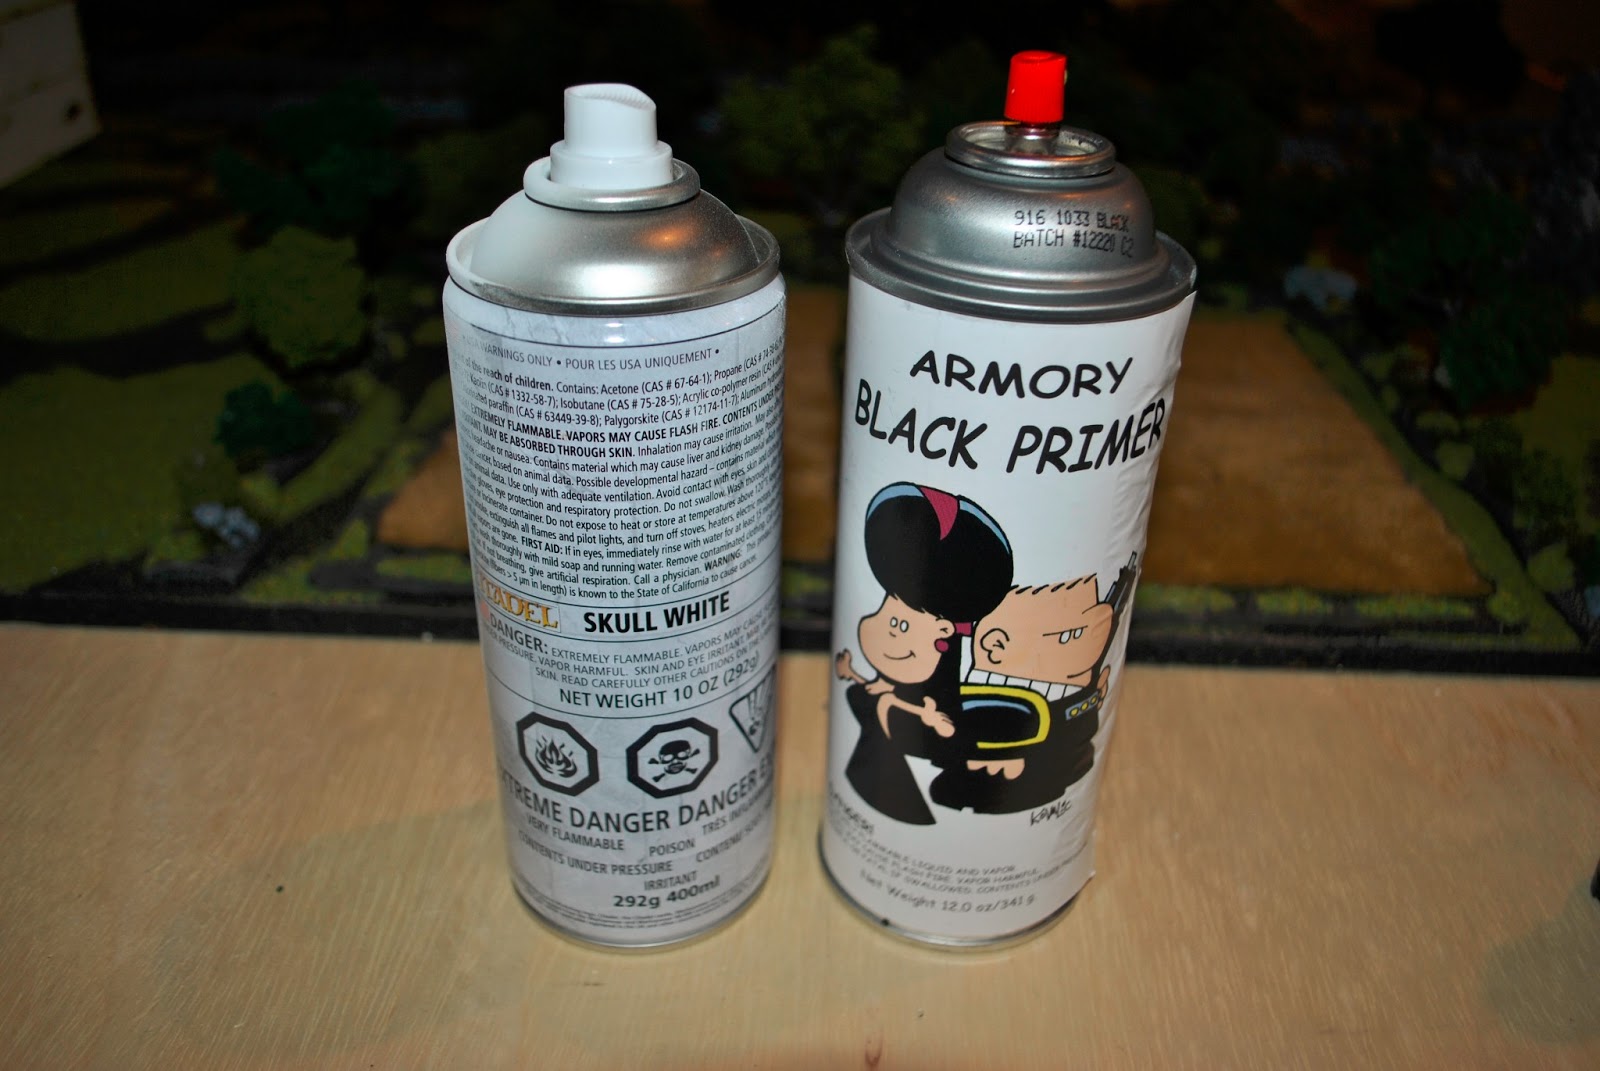
1 x Armory Matt Black Spray Primer
1 x GW Skull White Spray Primer
1 x Woodland Scenics Clump Foliage Package (any color)
1 x Hot Glue Gun with lots of glue sticks
2mm thickness MDF bases 60mm round (from Warbases - for the large blasts)
25mm round Rendra plastic bases (for the small blasts)
Several stripes of round balsa wood dowels (for creating the armatures for the large blasts)
Several wire spears 50mm long (for creating the armatures for the small blasts)
(optional) 2 x packs of blast craters from Architects of War

The first thing I did was my blast craters from Architects of War.  Below is a picture and the steps I used to finish them.

Step1: Black primer.
Step2: Drybrush of GW scorched earth.
Step3: Drybrush of GW graveyard earth.
Step4: Light drybrush of Foundry Sand 10C (can also use GW bleached bone).
Step5: Painted the rocks with Foundry Slate Grey 32A.
Step6: Drybrush the rocks with Foundry Slate Grey 32B.
Step7: Drybrush the rocks with Foundry Slate Grey 32C.
Step8: GW static grass around the blast hole.

AoW blast craters

I started with the armatures.  I used my drill to drill holes at angles for the "outside" ring of the blast and drilled a straight up hole for the center of the blast.  I used my small hand drill for the small blast marker to achieve the same structure for the armatures on the small base.  Picture below.

Base and armatures done

Next I used the hot glue gun to glue the Woodland Scenics clump foliage to the armatures.  You really do need a proper hot glue gun (they are cheap) for this as if you just try to glue it you'll have a slow and/or difficult go of it.  I start by getting foliage on the base, then I work the armatures individually, then I fill out the bottom of the blast a little as needed.

Now, using a hot glue gun for this you are going to get lots of "streaks" from the hot glue.  Let them dry then use tweezers to remove them.  If you try to remove them while they are not dry they'll make a bigger mess. Pictures below.

Adding the clump foliage

Adding the clump foliage

Next I got my spray paint out.  The first thing you want to do at this point is get a healthy base coat of black primer on the clump foliage ... but that doesn't mean spray it from 1cm away!  I recommend about 4 "rounds" of black spray.  The first I try to hit it from about 8-12 inches away ... getting "under" it (as much as you can while it is not on it's side), in the sides, from the top down, all around.  The reason you don't want to be too close is that the power of the spray will blow off the clump foliage.  By taking a lighter approach first the paint will help secure the foliage that isn't set firmly by the glue.  The second round I tip it on it's side and hit it from the bottom.  The third round is really just touch ups ... making sure that I have got black into all the cracks and such.  Pictures below.

Black and white spray primer

Sprayed black

Ok, almost there!  This last step is critical.  Time for the white spray primer.

Take your black blast markers ... get the GW white spray paint.  It is critical that you do this from about 2-3 feet ... yes, feet, away.  I start far away and move a little closer depending on how the white is applying to the clump foliage.  If you are too close you'll get black recesses with very white clumps ... it will look not right.  You are attempting to get the blast marker into the "mist" of the spray paint.  I spray at all the various angles until it looks right.  Once you get this done the blast marker is complete.  Pictures below.

Completed blast markers

Large blast (for artillery strikes)

Large blast size comparison (that is a Warlord Games
28mm Bolt Action miniature)

The small blast marker (for mortar strikes) - note it
is sitting in one of my blast craters

Small blast marker beside a blast crater

Ok, they'll do ... not the best but good enough for me.  You can of course add some "flames" in there if you want using colour washed cotton, or the Flames of War pre-coloured flames (not sure if they still sell it ... I used to have a bunch).

Until next time - happy gaming!

Friday, March 1, 2013

Star Wars X-Wing Miniatures - Set Complete

With the release of Wave 2 (huzzah!) of the ships for the Star Wars X-Wing Miniatures game by Fantasy Flight Games I've been able to complete my fleet of ships for both the Rebel Alliance and Imperial Fleet.

The fine folks over at Battle Foam have several sets that help protect your miniatures.  I had picked up the P.A.C.K. 216 set that includes foam trays for all the ships I have and the rules, markers and such.

My Rebel fleet rounds out with the following:

1 x YT-1300
6 x X-Wing
4 x Y-Wing
6 x A-Wing

My Imperial fleet includes:

2 x Bounty Hunter
8 x Tie Fighter
4 x Tie Advanced
5 x Tie Interceptor

Pictures of the fleets below.

My Rebel fleet

My Imperial fleet

Sunday, February 24, 2013

Bolt Action British

Progress ... huzzah!  My base British army for Bolt Action is now complete.  I used every last bit of Swamp Tuffs I had to wrap this up ... almost got stuck waiting for more to arrive.  I'm happy with how the army has come out, and I'm particularly pleased with the decals that are included in the Warlord Games boxed set.

I'm nearing completion on a 6pdr anti-tank gun and have several vehicles to complete, but this is the core of the army.  I need to add a sniper and forward observation team.

1 x Officer w two extra riflemen
1 x Medic
1 x MMG team
1 x 3" Mortar team
1 x 2" Light Mortar team
1 x PIAT team
10 x Infantry (1 NCO w SMG, 1 LMG and 8 riflemen)

Pictures below - enjoy!

My base British army.

Ready for inspection!

Officer with two extra riflemen.

"Medic!"

3" mortar team.

Vickers MMG team.

2" light mortar team.

PIAT team.

One of three infantry sections.
As always, more to come!

Monday, February 18, 2013

Give Your Dice Some Love!

As many of you may have seen in my gaming pictures I use a clear bucket to roll my dice in --- this is called a "Dice Shield" and is an exceptional piece of gamer bling.  The Dice Shield I have is actually just a prototype of the product ... I was lucky enough to bribe the creator at a local convention with enough cash for him to give it up to me!  I've just been informed that the project is now live up on Kickstarter ... which is great ... because I want one for each corner of my table (right now we share a single one in the middle of the table ... would rather have one on each side at least).

Disclaimer:  I'll be clear, I have no financial investment involved here ... I'm merely a "user" ... and I have no real connection to the creator who, beyond meeting him at a local convention once and chatting with him a couple of times over that weekend, I have no other involvement with him.

The Dice Shield - even comes with extender legs
(pegs - not pictured) so it hovers above
your miniatures and terrain.

Anywho, please check it out ... and get one for yourself on the Dice Shield Kickstarter!