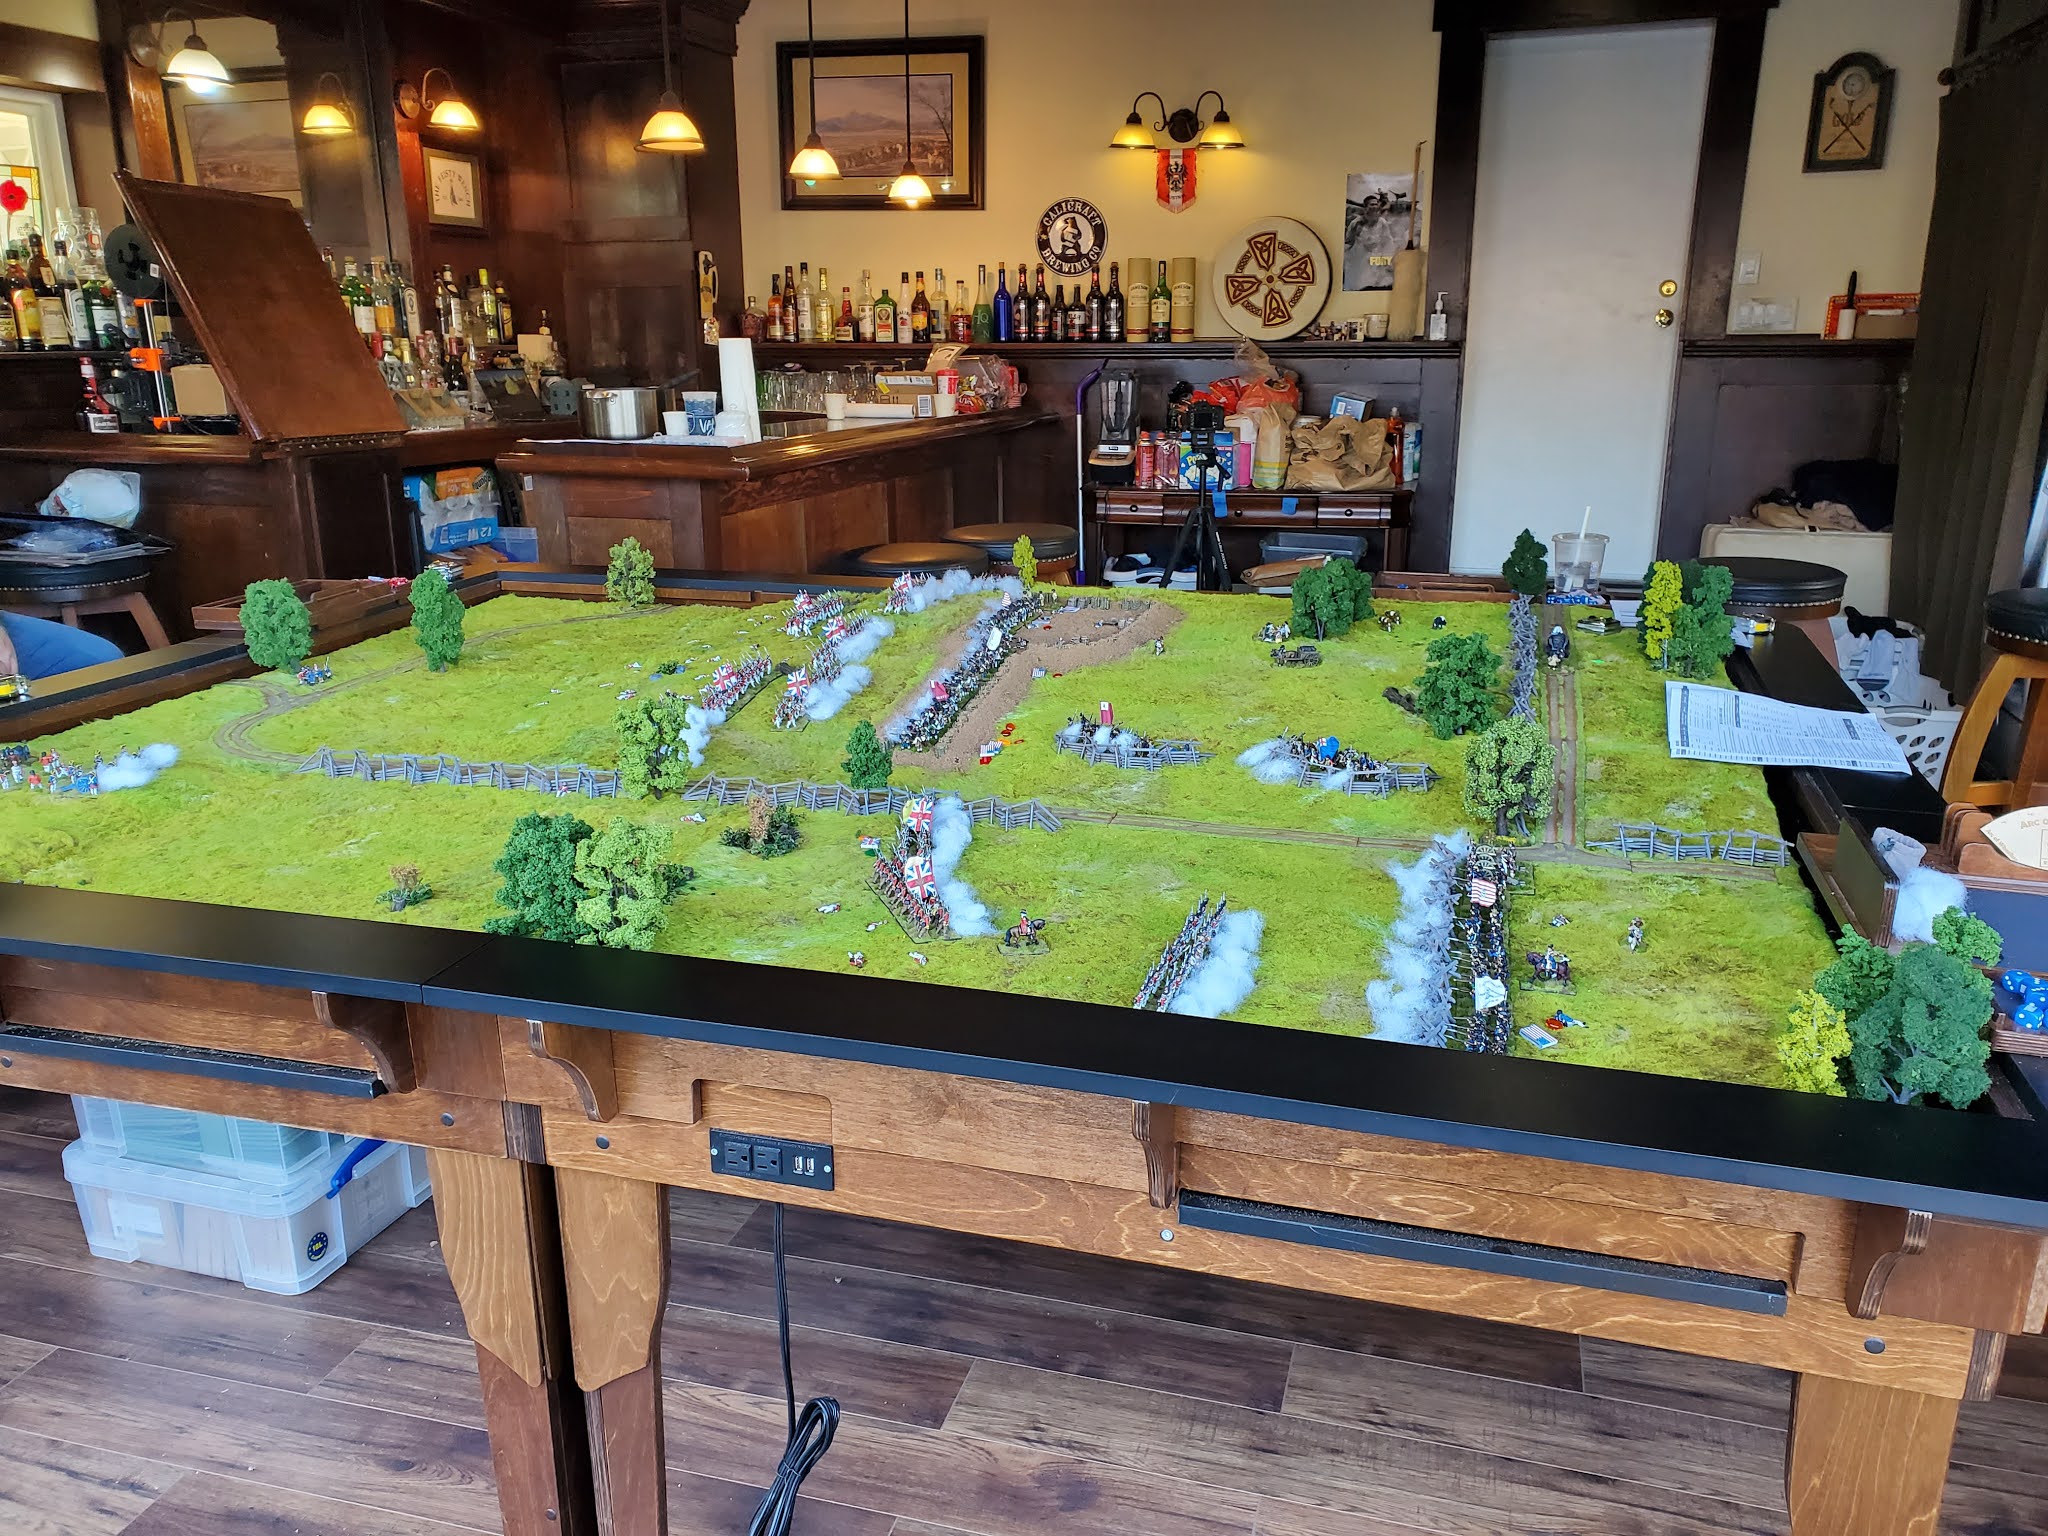
I'm now off on vacation through the end of the year. Today the "bubble/quarantine" group got together to play the battle of Breed's Hill (aka Bunker Hill).

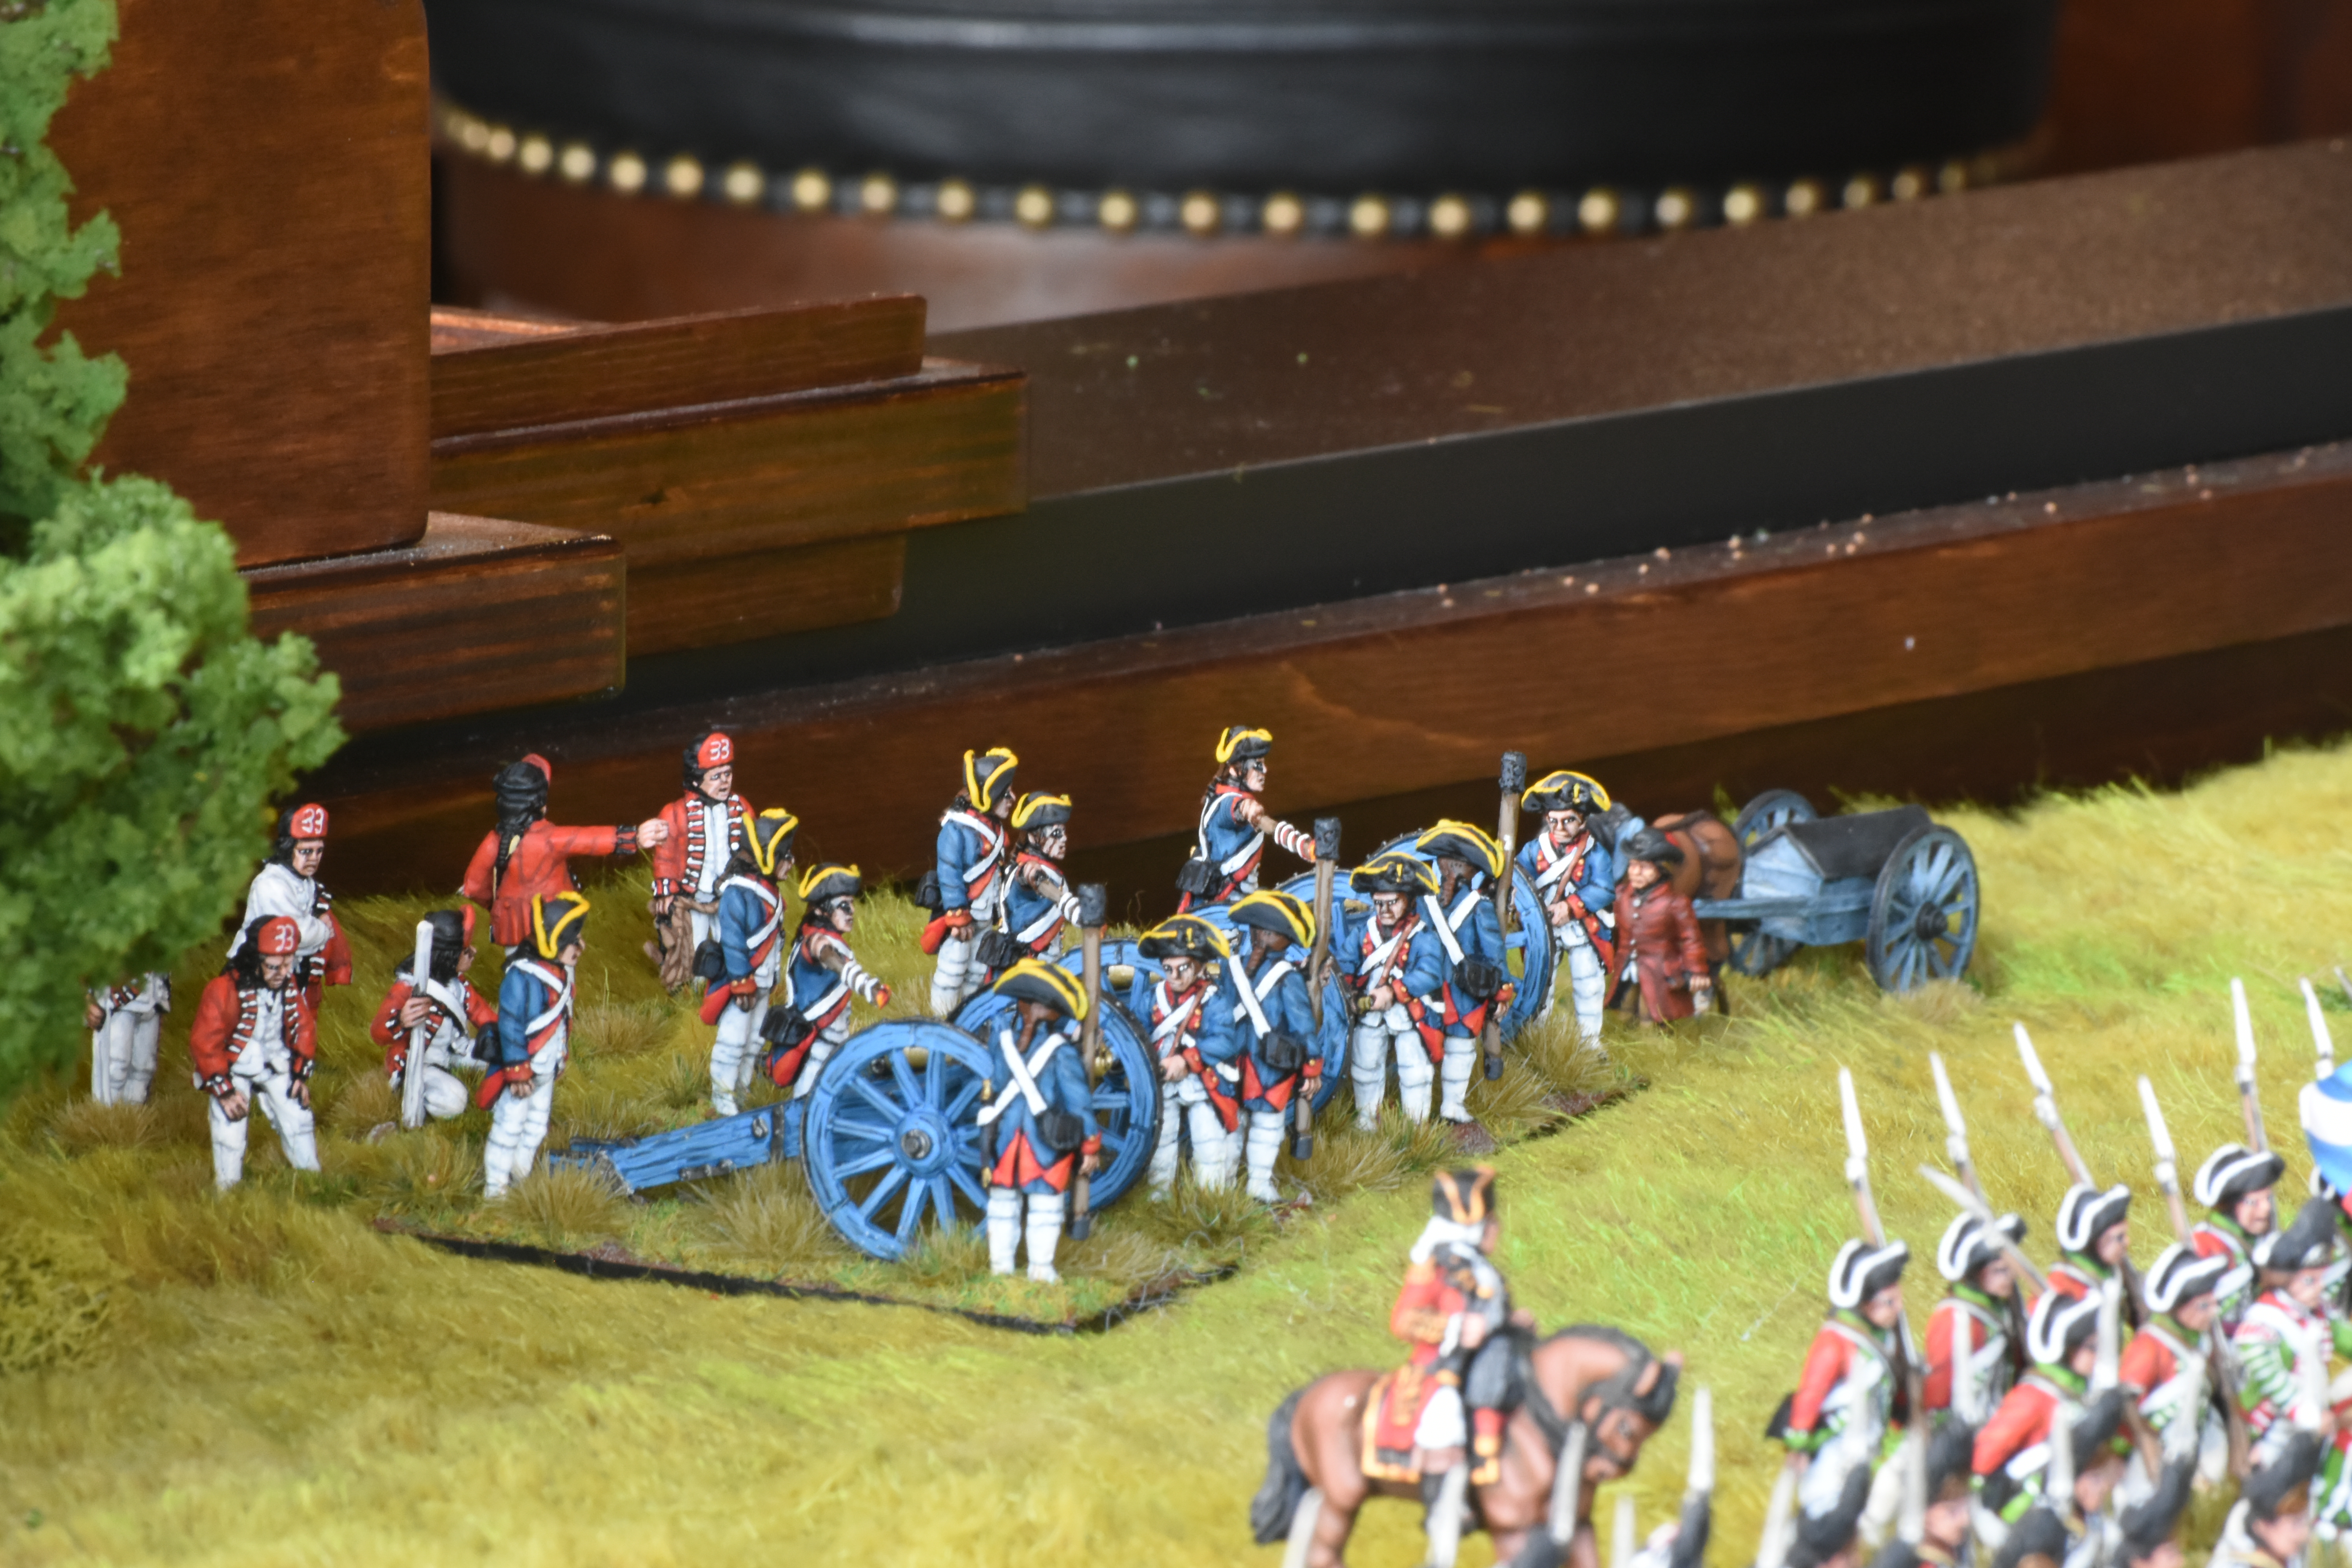
I didn't build a custom redoubt for this layout - instead I opted to reuse my resin fortification pieces that I also used for the siege lines for my ACW Battle of Vicksburg game. I poured some extra dirt/sand over them to hide the gabions as best I could. Not totally covered, but good enough to play the scenario and not have to create a one off large terrain item I'd had to store forever (these past few years I've really emphasized creating layouts with fully modular terrain that is easier to store).
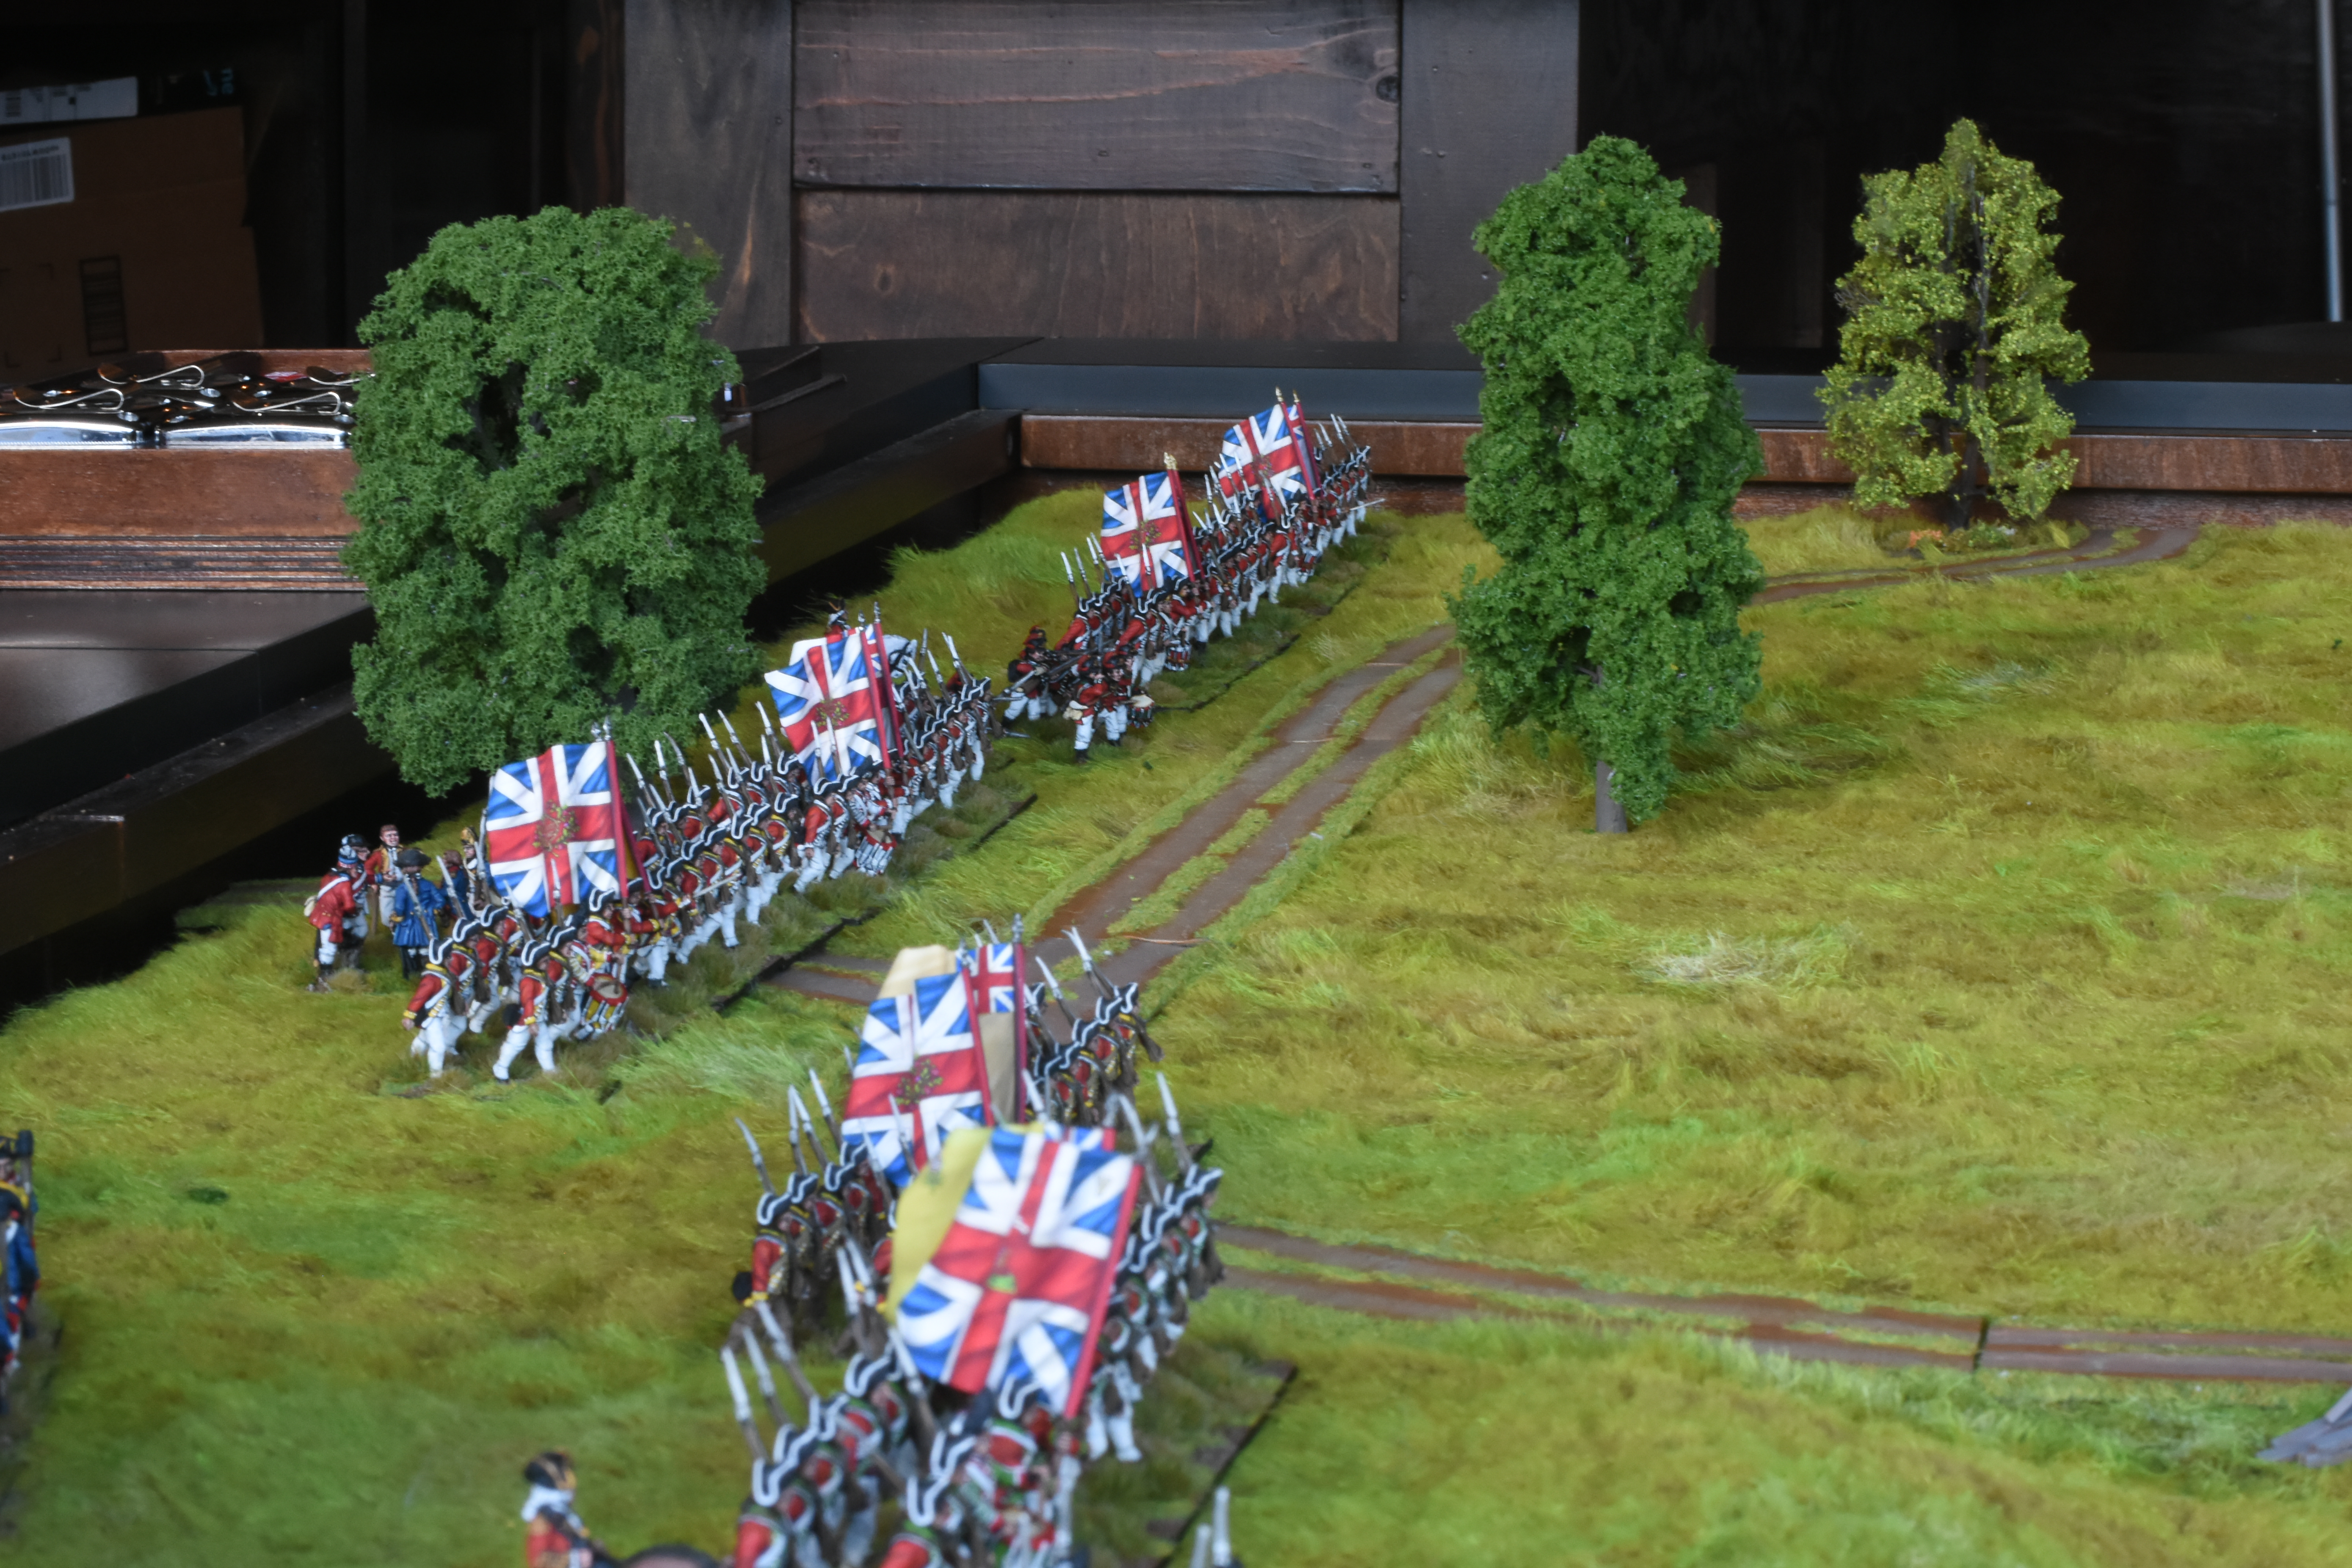
Two notes on historical accuracy. First, yes, no gabions in the rebel redoubt (explained above). Second, there were three fleches, not two (as seen in this game) -- but I could only fit two in a reasonable sized area that worked for scenario the playability. There is a whole lot less on this table than I had out for my Guilford Courthouse game since the battlefield was fairly open. I did my best to liven up the scene.
Some of the pictures I took the night before --- I added more dirt/sand to hide the gabions better this AM so it would look better (and it did).
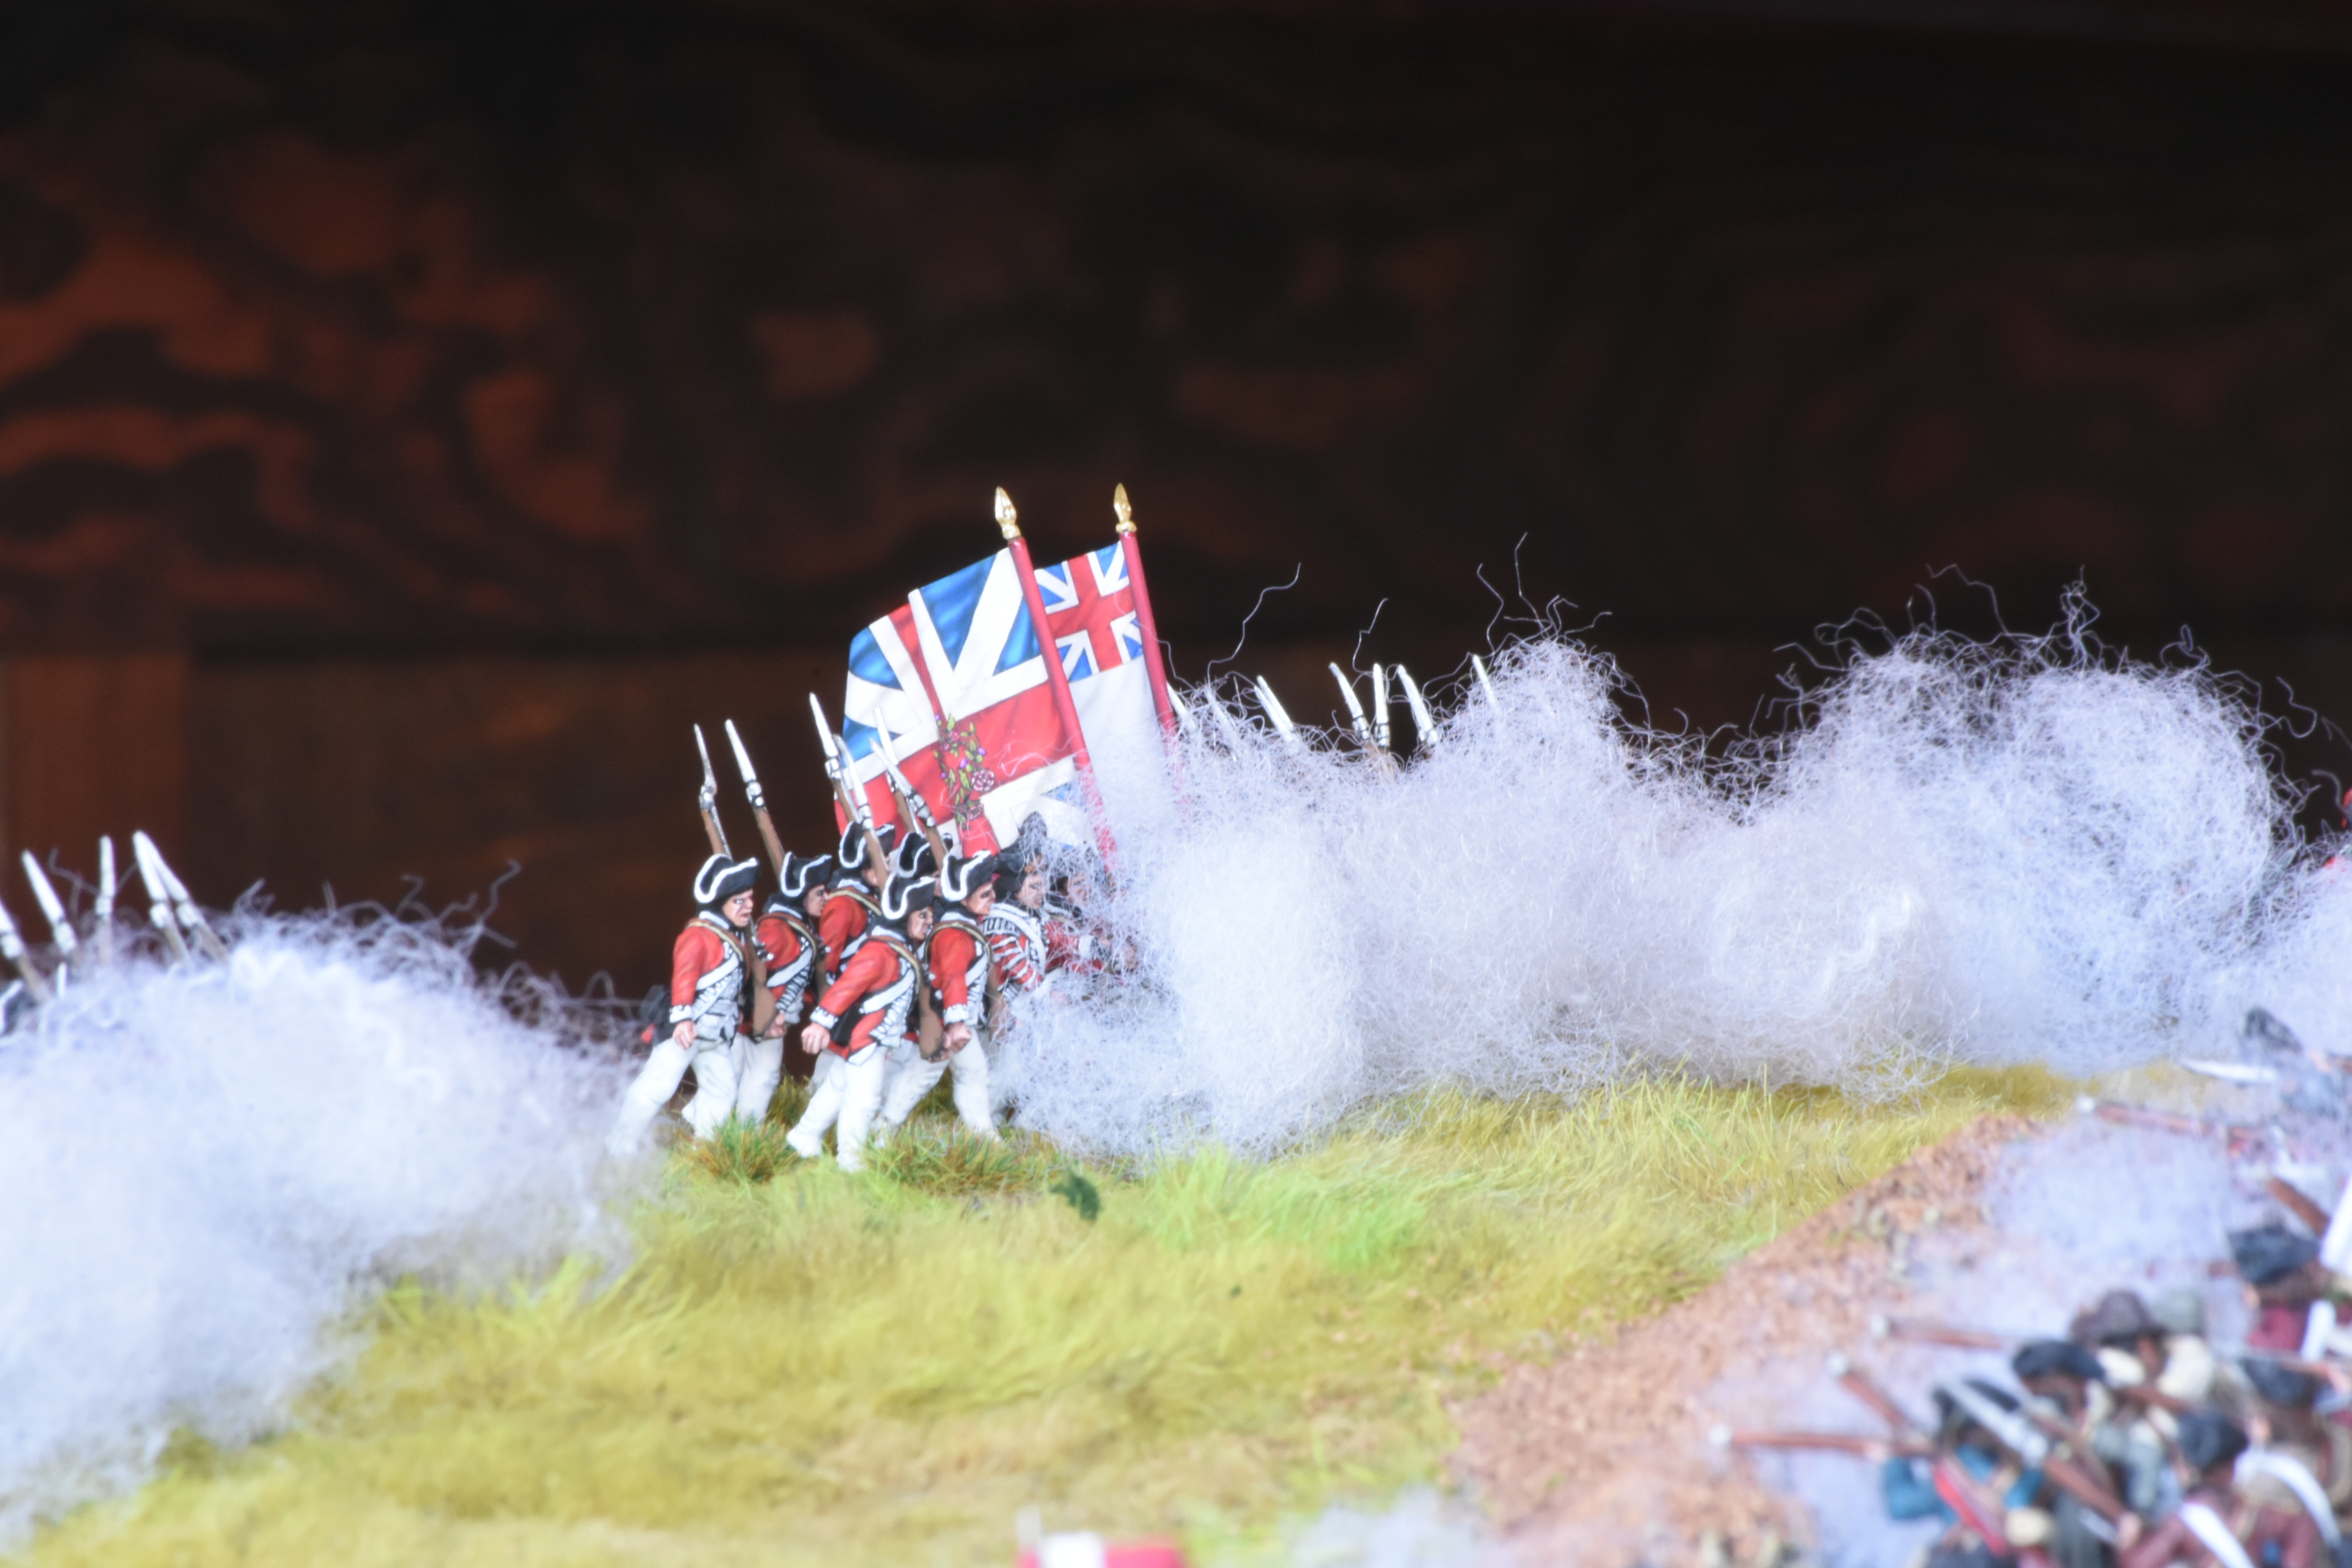
Net result was 15 VPs for the Americans and 12 VPs for the British. It was a slog up the hill and I failed multiple morale tests causing disorders while advancing. If not for the reinforcements (2nd Marines and 63rd foot) the British would have been thrown back handily by the Americans in the redoubt/breastworks.
Lots of pictures below ...


That's two AWI battles in 8 days. On a roll here. Will be taking a bit of a break for Christmas the rest of this week, but will be continuing to base units to wrap up the rest of the AWI collection.
For AWI I think the next game I may do will be Brandywine.
Absolutely epic Jay! Some amazing photos, almost like they were pulled from a movie. I'm surprised we didn't see those Warlord blinking firing markers on the table though 😀
ReplyDeleteLol, oh yeah ... completely forgot about the blinking lights ... I mostly use those at conventions for some extra bling,lol :-)
DeleteWow, what a splendid looking game Jay, I do like the terrain (even the gabbions!😊) and the pictures, must have been a fantastic moment!
ReplyDeleteThanks Phil! I figured someone out there would point out that it isn't historically accurate fo have gabions out ... there's always that one person :-) Merry Christmas - I hope you are staying safe, sane and healthy.
DeleteFantastic looking game
ReplyDeleteThanks Neil! :-)
DeleteSplendid looking game Jay👍
ReplyDeleteThanks Matt! :-)
DeleteThis is a really great looking game Jay - I have played Breeds/Bunker Hill previously and came out with similar results - the Light Infantry got blown away by the Rebels at the rail fence on the beach etc - but the Brits did manage to take the positions in the end - helped by the reinforcements who arrived via Charlestown!
ReplyDeleteThanks! Very similar indeed. The Light Infantry we used to screen the advance of the grenadiers. They broke one of the militia units at the fence. But the Lights broke just before they charged in and the grenadiers took a canister shot before charging in (and 2 volleys). Did enough damage that in the course of the melee they went shaken and had to withdraw to rally.
DeleteWell that’s just quite wonderful
ReplyDeleteThanks!
DeleteGame looks absolutely stunting, Jay! Photos are so great that and I can watch them endlessly:)
ReplyDeleteThanks Dimitry! I hope you are enjoying some games of WW2 before the end of the year :-)
DeleteRedoubts, muskets, brave defenders lines of lovely looking resolute troops all fighting for control of Bunker Hill what's not to like I say!
ReplyDeleteChristopher
Well put, thanks Christopher!
DeleteWooooow! Looking great!!
ReplyDeleteThanks Michal! :-)
DeleteThis is so good, I don't why I bother. Are you layering foil between the two sides of your flags? I have the same flags and they don't look near as well done. I am working on a Lexington and Concord scenario. I was going to skip Bunker Hill as I didn't think it could be much of a game but now I am having second thoughts. Bravo!
ReplyDeleteAbsolutely awesome terrain and figures! I particularly like how you have added several little vignettes and casualty figures to the battle as they add so much realism and variety to the the table top. Superb photography and such a joy to view (via TMP).
ReplyDeleteThanks,
Rod
P.S. Where did you get the mat? The colors and length of grass are perfect.
Hello there! I know this is quite an old blog post, but I wanted to comment because I love your table so much! I recently finished a large 28mm AWI project and I utilized Perry plastics to a large extent as you did.
ReplyDeleteOne thing that I noticed immediately is that you used Perry Continentals to make a lot of your British regiments. I did the exact same thing! It bugged me that the Perry British box only had the trail arms and port arms poses. It looks so much better to have the British at the shoulder like you have them!
Really amazing work you've done here!